As an Amazon Associate, we earn from qualifying purchases. Some links on this site are affiliate links at no extra cost to you. Our recommendations are based on thorough research and editorial judgment.
How To Use Embroidery Floss For Friendship Bracelets
To make friendship bracelets using embroidery floss, we start by cutting 30-36 inch lengths of floss. Next, we secure the strands with a knot about 3 inches from one end. 🤝 Using tape or safety pins helps keep everything in place while we work. We’ll master basic knots like forwards and backwards, and experiment with colors for unique patterns. To finish, we tie off the ends securely. Ready to create beautiful designs together? Let’s get started!
Key Takeaways
- Cut embroidery floss strands to lengths of 30 to 36 inches, adjusting for more strands if needed.
- Knot the secured strands about 3 inches from one end, using tape or safety pins for stability.
- Master basic knot techniques like forwards and backwards knots to create desired patterns and designs.
- Experiment with complementary and gradient colors to enhance the visual appeal of your bracelet.
- Finish the bracelet by knotting the ends, using a lark’s head knot, or applying metal clasps for durability.
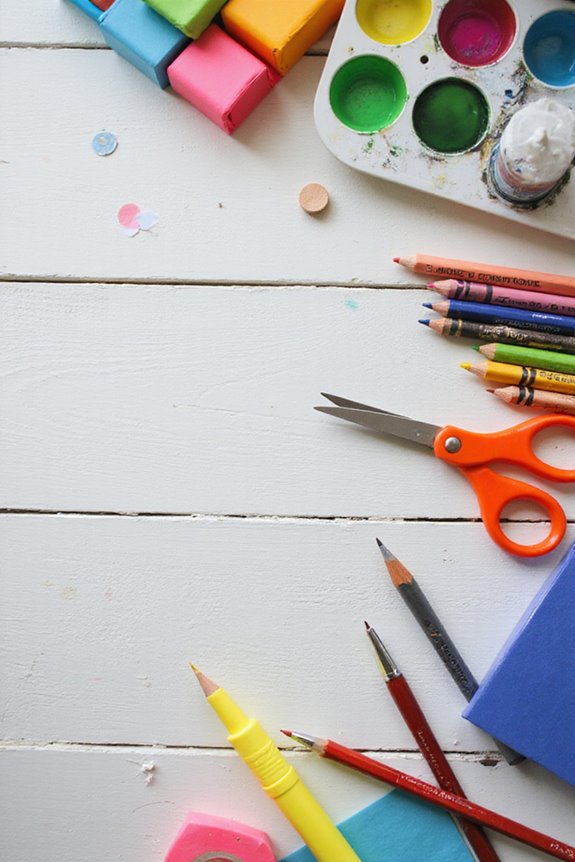
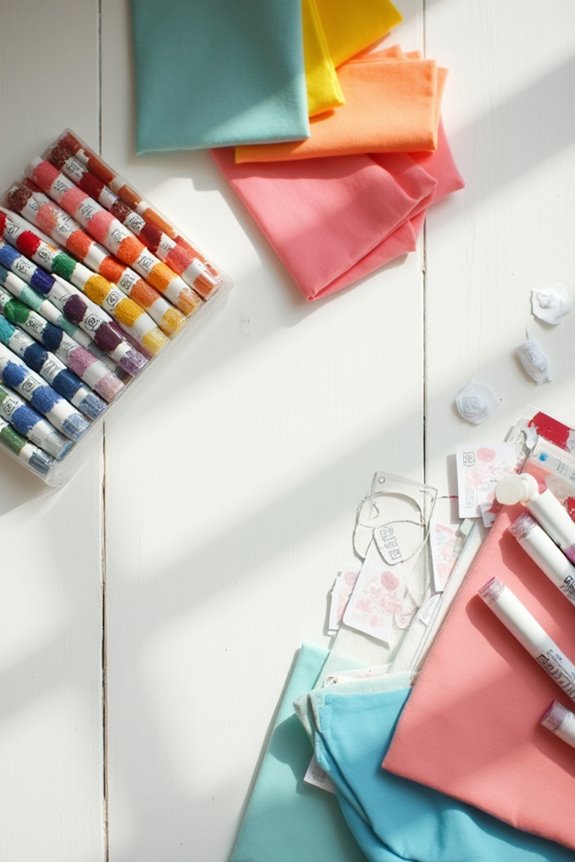
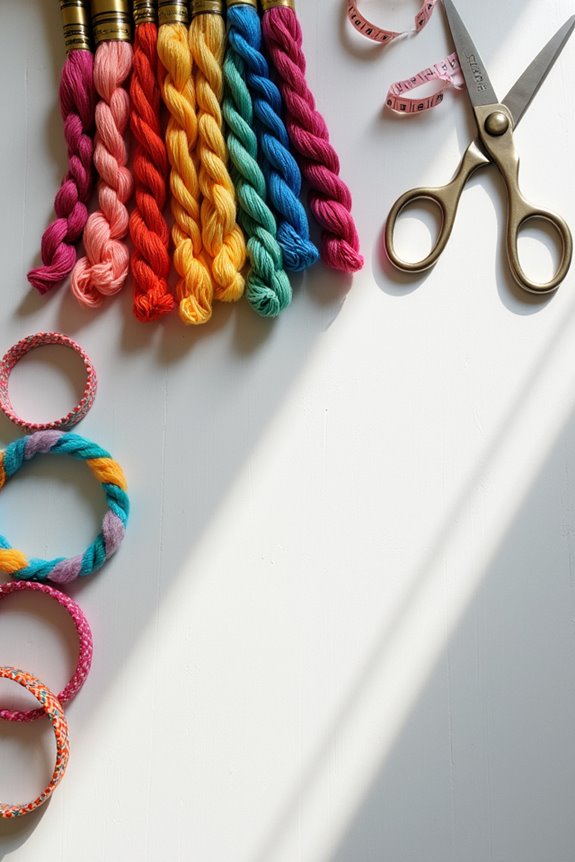
Materials Needed for Friendship Bracelets
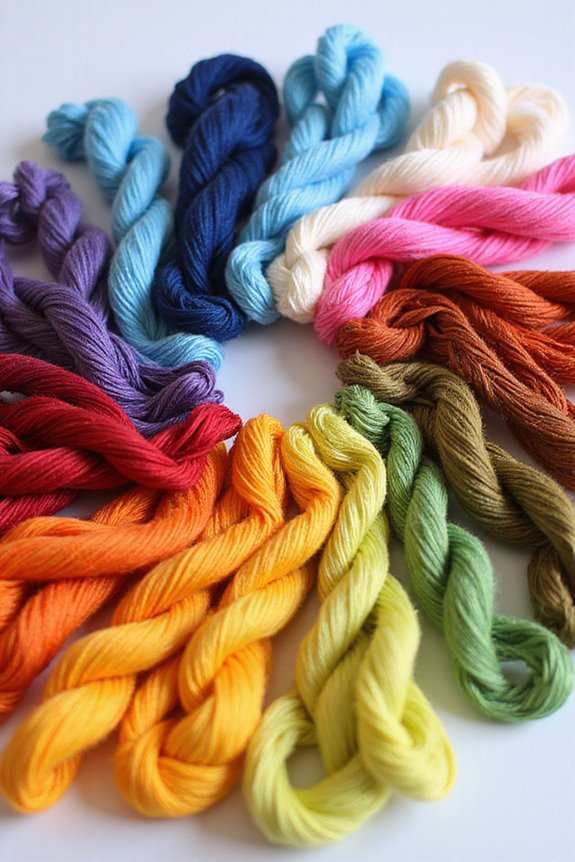
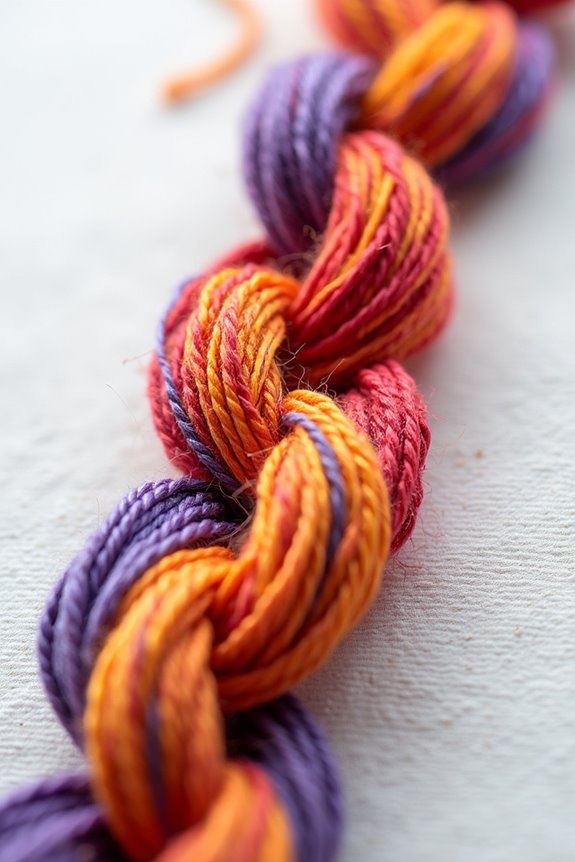
When we immerse ourselves in creating friendship bracelets, having the right materials is essential to our success. 🧵 First off, embroidery floss is our best friend for these projects, as it comes in six strands that we can easily separate for beautiful patterns. Other thread types, like hemp cord for a natural look, and nylon cord for durability, can also be useful.
To keep our work steady, we can use securing methods like tape or safety pins to hold our projects in place. Many kits offer high-quality materials that ensure safety and durability, making them perfect for our crafting endeavors.
Here’s a quick breakdown of what we might need:
- Embroidery floss
- Hemp or nylon cords
- Scissors
- Tape or pins
With these materials, we’re set for a fun and creative adventure!
Recommended Products

Keep a pack in your sewing basket for felt projects, applique and embroidery

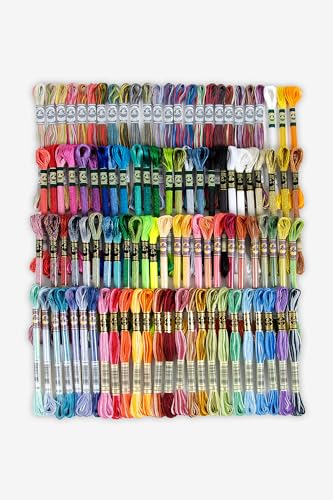
447 colors Embroidery Floss with Organizer Storage Box, Covering all 447 colors,8m/bobbins.

505 colors per set, 8 meters/8.74 yards per strand
Preparing the Embroidery Floss
Getting started with preparing our embroidery floss is essential for a smooth bracelet-making experience. First, we should focus on cutting lengths that guarantee we have enough material. A standard length is about 30 to 36 inches, but if our bracelet has more than six strands, let’s add an extra 6 inches. To measure, multiply our wrist circumference by five—so a 6-inch wrist needs at least 30 inches of floss.
Once we’ve cut our strands, we’ll need to secure them. Tie a single knot about 3 inches from one end and use tape or safety pins to hold the knot in place. This keeps our strands taut and organized as we start crafting our bracelet! 🎨✨ Additionally, using waterproof options for storing our embroidery floss can help safeguard against moisture damage during the crafting process.
Recommended Products

★★★ 40 ASSORTED COLORS PACK INCLUDING 2 SPOOLS WHITE+2 SPOOLS BLACK - 42 HUGE SPOOLS 4000M (≠400m) Polyester Embroidery Machine Thread into one pack = 168000 Meters in Total. The PERFECT stock and BEST choice for your small embroidery business.

DMC 100 Skeins Pack

★★★ 25 BASIC COLORS PACK - 25 HUGE SPOOLS 5000M (≠500m) Polyester Embroidery Machine Thread into one pack = 125000 Meters in Total. The NECESSARY stock and BEST choice for your small embroidery business.
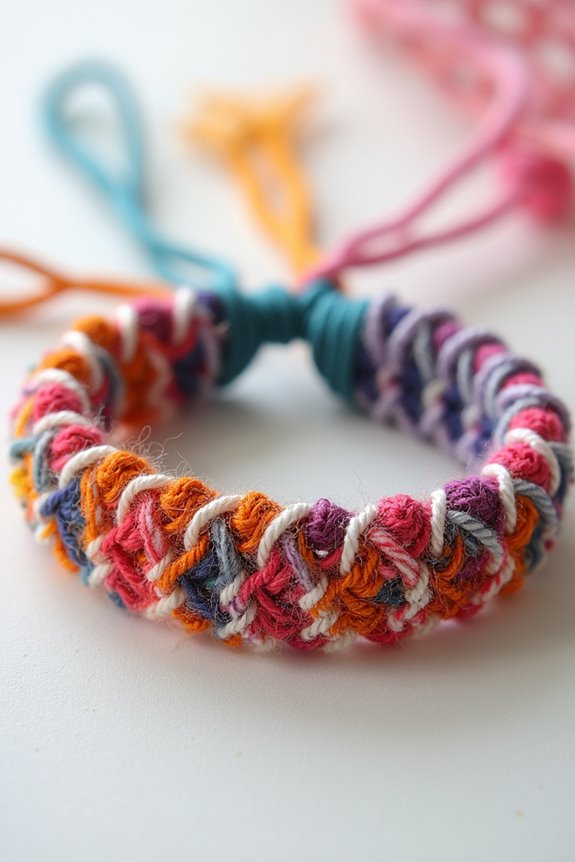
Mastering Basic Knot Techniques
Quick Tips for Knotting:
To start mastering friendship bracelet knots, let’s familiarize ourselves with four basic types: forwards, backwards, forwards-backwards, and backwards-forwards. Each knot consists of two hitches tied sequentially with consistent knot tension.
- Forwards Knot: Cross the left strand over the right and pull through the loop.
- Backwards Knot: Cross the right strand over the left and pull through.
Always keep your interior strands straight—this helps maintain clarity in your patterns. Aim to “ride the knot” up high before tightening to avoid loose loops. Remember, adjusting knot direction influences pattern design; forwards create right slants, while backwards create left. Additionally, using high-quality bamboo crochet hooks can enhance your overall crafting experience by providing better grip and reducing hand fatigue.
With practice, we’ll master these techniques for beautiful bracelets!
Recommended Products

Complete Set of 12 Sizes: Includes 3.5mm (E), 4mm (G), 4.5mm (7), 5mm (H), 5.5mm (I), 6mm (J), 6.5mm (K), 7mm (L), 8mm (M), 9mm (N), 10mm (P), and 12mm (P/Q) hooks for versatile crafting.

CROCHET HOOK SET: This beautiful set of Wood Crochet Hooks includes 8 hooks for all your crafting needs; Each hook is 6" long and set includes the sizes E-4, F-5, G-6, 7, H-8, I-9, J-10, and K-10.5 (3.5, 3.75, 4, 4.5, 5, 5.5, 6, 6.5 mm)

SIZE - Set of 13 crochet hooks size include (Length – 7 inches) - 3.5mm, 4mm, 4.5mm, 5mm, 5.5mm, 6mm, 6.5mm, 7mm, 7.5mm, 8mm, 9mm, 10mm, 12mm. which can meet your daily knitting requirements. Suitable for making scarf, blanket, carpet, rug, shawl, sweaters etc.
Creating Unique Patterns
- Use complementary colors for bold contrasts.
- Try gradients by blending light to dark shades for a smooth shift.
- Mix bright and neutral colors to add depth without overwhelming the design.
To modify patterns, we can change strand counts, or mix classic styles like chevrons with stripes. Adding asymmetrical designs or mirrored knot directions can create intriguing effects.
Incorporating variety in projects can also inspire new ideas for your unique designs.
Don’t hesitate to experiment! Each unique pattern we create tells our own story while making our friendship bracelets even more special.
Recommended Products

Color: Assorted
SUPERIOR QUALITY: These 4 specialty thread styles are manufactured in France to exacting DMC standards

DESIGN: Landscape designs are a highlight of the Thea Gouverneur cross stitch collection. This colorful counted cross stitch pattern features a view of Rome
Finishing Your Bracelet
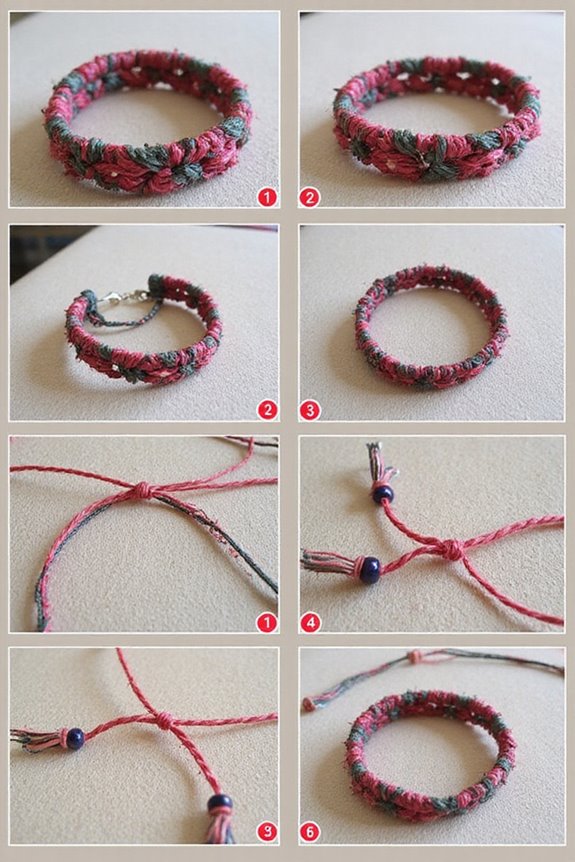
Let’s check out some more advanced methods to give our bracelets a polished look! We can start by applying some knotting techniques. First, tie a single knot about 3 inches from the end of your strands. A great closure option is the lark’s head knot, where we attach one longer strand to create a loop.
- For a tidy finish, we can twist or braid the ends.
- Consider metal clasps for a professional touch; just insert the ends into clamps and secure them with pliers.
These methods not only enhance our bracelet’s appearance but also guarantee durability. Knotted or braided ends prevent unraveling, allowing us to enjoy our beautiful creations longer! 😊 Additionally, using quality tools and materials is essential for achieving a polished look in crafting, as noted in the quality tools mentioned in leather crafting starter kits.
Recommended Products
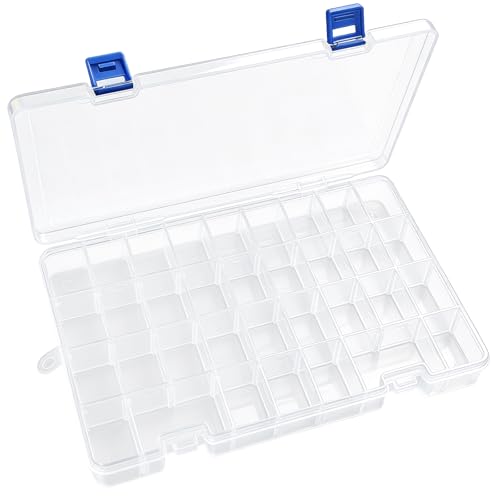
Removable Dividers for Custom Storage:The dividers in this bead organizers and storage are adjustable, allowing you to create compartments to suit your specific needs (All dividers are detachable). Whether for tiny accessories or larger tools, the adjustable layout lets you optimize space and keep everything well-organized.

403 Pack Value Embroidery Kits: Our Cross Stitch Kits come with 250 colours Embroidery Threads and various cross stitch tool, 30 pcs 3 size embroidery needles, 4 pcs cross stitch needle-threading tools, 1 pcs scissors, 12 pcs pins, 100 pcs pony beads, masking tape and so on. You can easily start the cross stitch floss project with this value kit.

BULK EMBROIDERY FLOSS KIT – Paxcoo embroidery thread included 447 skeins embroidery threads along with a set of gold eye needles that is great for beginners
Frequently Asked Questions
Can I Use Other Types of Thread Besides Embroidery Floss?
Absolutely, we can use different thread types for our projects! However, let’s pay attention to thread thickness comparison; some alternatives like perle cotton can vary greatly, affecting our knotting experience and overall bracelet quality.
How Do I Choose Colors for My Bracelet Design?
When choosing colors for our bracelet design, let’s explore color theory and create eye-catching color combinations. We’ll consider schemes that reflect our style, ensuring they harmonize well for a stunning final piece.
What’s the Best Way to Store Leftover Embroidery Floss?
As we gaze at our tangled floss, let’s explore storage solutions. Utilizing clear bins and mini ziplock bags offers fantastic floss organization tips, keeping our colorful threads tidy, accessible, and ready for our next creative adventure.
How Do I Fix Mistakes While Knotting?
When we’re knotting, we can easily fix mistakes by using proper knotting techniques. For mistake correction, gently loosen knots with a needle, and be sure to monitor knot tightness for a consistent appearance.
Can Children Safely Use Embroidery Floss for Bracelet-Making?
Yes, children can safely use embroidery floss for bracelet-making with proper safety precautions. We recommend adult supervision, especially for younger kids, and choosing age-appropriate techniques to guarantee a fun and secure crafting experience together.