As an Amazon Associate, we earn from qualifying purchases. Some links on this site are affiliate links at no extra cost to you. Our recommendations are based on thorough research and editorial judgment.
What Are The Most Popular DIY Wall Art Ideas
We’ve got some exciting DIY wall art ideas to transform your space! 🎨 Consider sponge painting for textured effects, or try geometric shapes using painter’s tape for clean lines. 🖌 Needle felting is great for soft, vibrant designs, while punch needle embroidery adds depth with loop heights. Don’t forget origami, which can create stunning three-dimensional pieces. Finally, air dry clay accents offer unique designs that can be painted and sealed. Stick with us to explore even more creative techniques!
Key Takeaways
- Sponge Painting: This technique creates textured effects easily, allowing for both subtle and bold looks with paint variations.
- Needle Felting Creations: Engaging and hands-on, this method uses wool to create unique wall art with depth and color gradients.
- Punch Needle Embroidery: Utilize tightly woven fabric to create dynamic designs, enhancing the artwork’s texture through varied loop heights.
- Origami Art: Folding paper into geometric shapes can offer dynamic arrangements; use color gradients for added visual appeal.
- Air Dry Clay Accents: Coiling or slab-building clay designs add unique textures; finishing with paint and varnish preserves the artwork’s integrity.
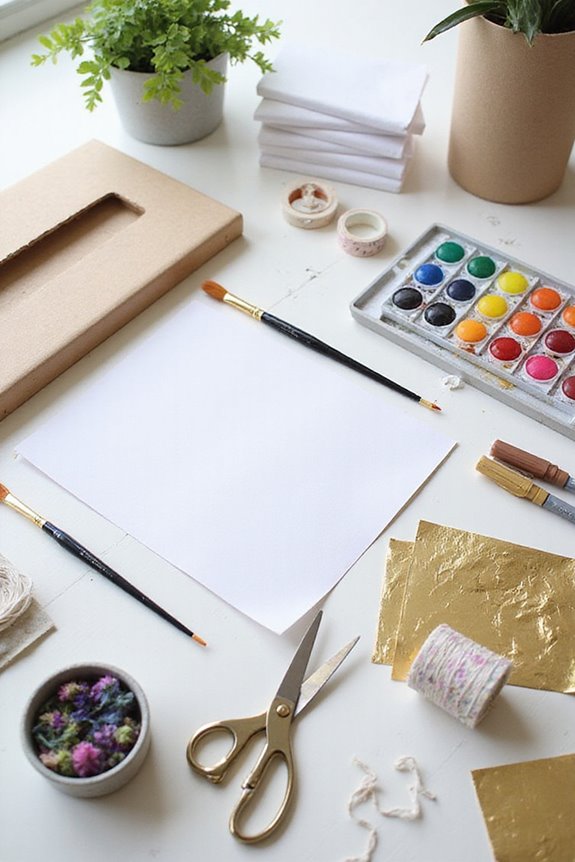
Simple Painting Techniques
When it comes to simple painting techniques, we’ve got a variety of fun options to explore. 🎨 Whether you’re a beginner or a seasoned DIYer, these methods can transform your walls with ease.
Let’s start with sponge painting techniques. Using a natural sea sponge, dip it lightly in paint, then dab onto your walls for a textured effect! You can achieve subtle or bold looks by adjusting paint thickness.
Next, let’s talk about geometric shapes. By taping off areas for squares or diamonds, you can fill them with vibrant colors for a modern vibe. Using painter’s tape helps create clean lines for those geometric shapes. Additionally, consider using graduated measurements to ensure that your paint mixtures are precise, enhancing the overall quality of your artwork.
Needle Felting Creations
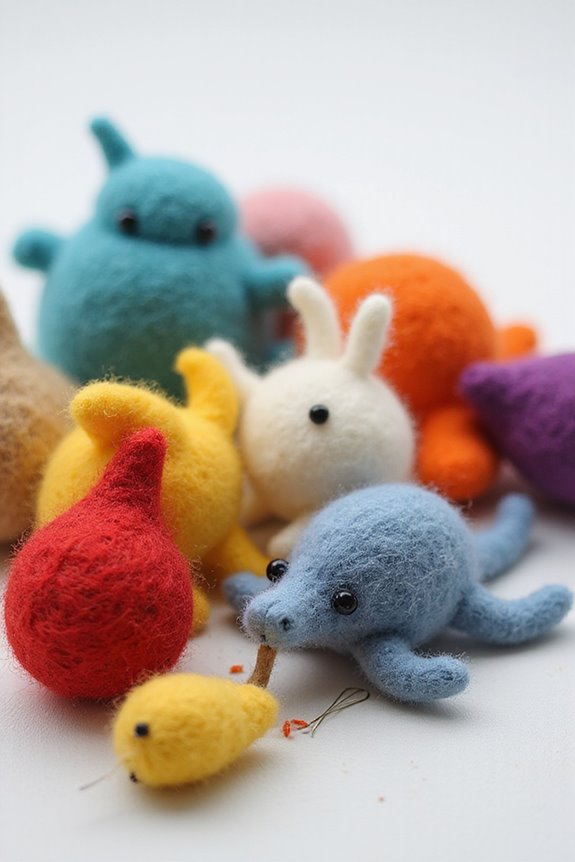
Needle felting offers a unique and enchanting way to create wall art, especially if you enjoy working with your hands. 🖐 As we explore this craft, let’s gather our materials and examine some basic techniques to get started.
To create beautiful designs, we’ll use various needle felting techniques. Start with shallow needle pokes to avoid deep marks and maintain wool coverage. For color, wool color blending can create stunning gradients; layering colors will add depth to our creations.
Here’s what we’ll need:
- Felting needles (size 38 star)
- Base fabric (tight weave)
- Wool rovings (15+ colors)
- A felting mat
Additionally, using high-quality natural wool can significantly enhance the crafting experience. Let’s roll up our sleeves, experiment, and discover the art of needle felting together!
Punch Needle Embroidery Projects
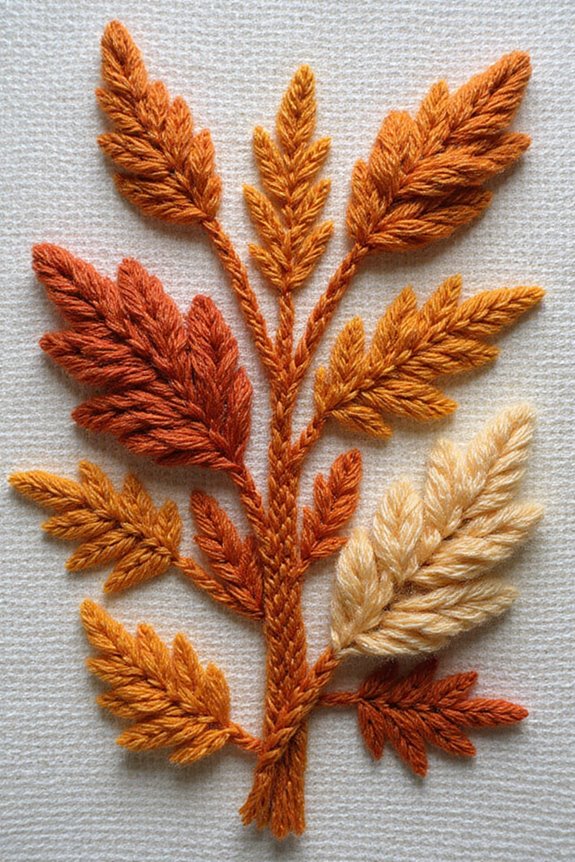
Punch needle embroidery projects offer a fantastic way to create textured wall art while expressing our creativity. To get started, choose tightly woven fabric like monk’s cloth or burlap for better support.
We can control loop height and texture variation by using different needle sizes and adjusting our stitching technique. Experiment with color combinations and design themes, like florals or lettering, to bring our art to life. Additionally, selecting high-quality materials can significantly enhance the durability and overall look of our projects.
Once we’ve finished stitching, don’t forget those essential finishing techniques! Use glue to secure loops on the back, trim excess fabric, and whipstitch edges to prevent fraying. Finally, mounting our piece on a canvas enhances its durability and presentation. 🎨
Let’s plunge into this fun and rewarding craft!
Origami Art for Wall Decor
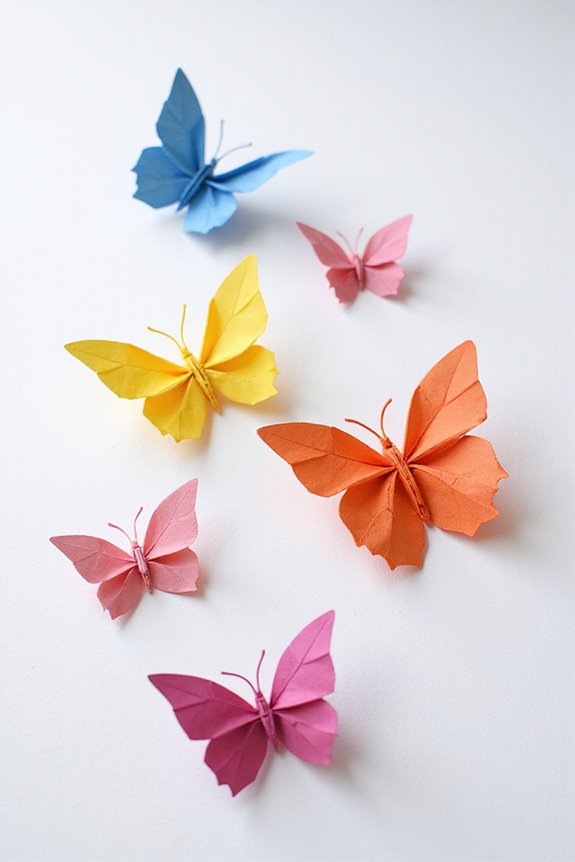
Here’s a quick overview of what we’ll need and some key concepts:
To create stunning origami wall art, we’ll focus on origami techniques and folding basics. We’ll begin with simple paper folding using rectangular A4 or quality origami paper. Key folds include diagonal, corner, and tip folds to create geometric shapes like triangles and hexagons.
💡 Helpful Tips:
- Use a stiff cardboard backing for stability.
- Experiment with sizes and layering for dynamic wall arrangements.
Consider combining flat and 3D shapes for added texture. Incorporating color gradients enhances the visual appeal. Remember, practicing these folding techniques is essential for mastering each piece, and online videos can guide us through complex sequences! Additionally, having a user-friendly design can significantly enhance your crafting experience. Happy folding!
Air Dry Clay Accents
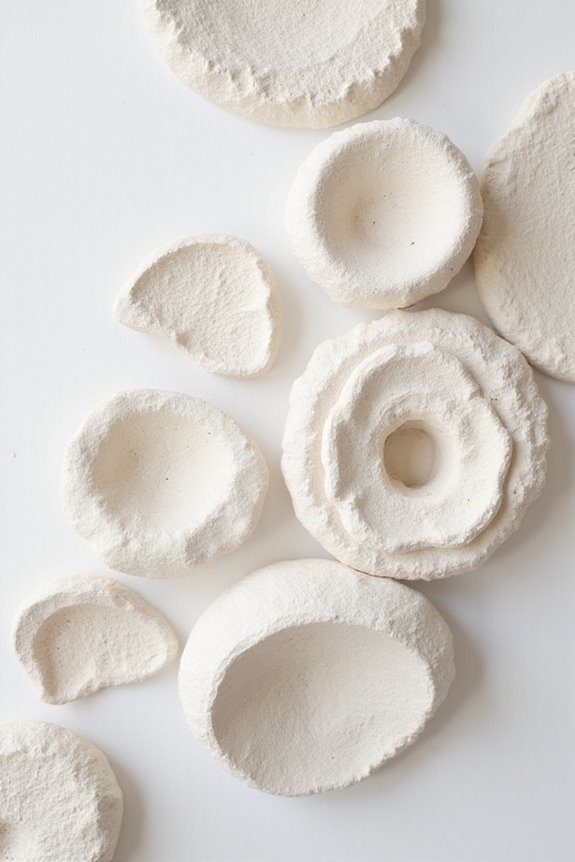
Air dry clay accents can transform a plain wall into a creative masterpiece, especially when we incorporate our unique designs and textures. To start, we can use clay texturing techniques like coiling or slab building. Once our pieces are shaped and dried, we can enhance them with acrylic paints, which offer various surface finishing methods. Using heavy-body acrylics will show off our brush marks, while fluid acrylics fill in those tiny crevices beautifully. Additionally, incorporating non-toxic materials ensures that our crafting experience remains safe and enjoyable.
🖌 Tip: Always apply a primer beforehand to guarantee our paint adheres well. After finishing, sealing with varnish will protect our artwork from wear and tear, keeping it looking fresh for years. Remember, every detail counts in making your wall art truly special!
Crafting Gallery Walls
Creating a gallery wall opens up a world of artistic possibilities, allowing us to showcase our favorite pieces in a way that’s both personal and visually appealing. To start, let’s think about different gallery wall themes we’d like to express, from nautical styles to personal artwork.
When it comes to framing choices, we can choose between uniform frames for a cohesive look or varied frames to add interest. Here are some tips:
- Shelf Gallery Walls let us easily rearrange pieces.
- Clustered Layouts create bold focal points.
- Keep a consistent spacing of 2-3 inches between frames for balance.
Using Color and Material Trends
When we think about using color and material trends in our DIY wall art, it opens up a wonderful opportunity for personalization and creativity. 🌈 Let’s explore color blocking! Bold colors like deep terracotta and electric cobalt blue bring energy to our spaces. Pair these with earthy neutrals for balance—think burnt sienna on creamy walls.
Now, let’s experiment with texture layering! Use natural materials like wood and woven fibers to add depth. Combine textured paints with recycled elements for a unique look.
A good tip: keep your designs cohesive by matching your colors and materials. This will enhance your art and create harmony in your home. 🎨 Happy crafting!
Frequently Asked Questions
What Are the Best Tools for DIY Wall Art Projects?
When tackling our DIY wall art projects, we need essential tools like brushes for our painting techniques and reliable cutting tools for crafting materials. Having the right equipment makes creating innovative, vibrant pieces easier and more enjoyable!
How Can I Ensure My Wall Art Is Durable?
To guarantee our wall art’s durability, we should focus on material selection, opting for high-quality surfaces. Applying protective coatings like clear varnishes can greatly enhance longevity, keeping our creations safe from moisture and damage.
Where Can I Find Inspiration for DIY Wall Art?
Did you know 70% of DIYers find their inspiration online? We can explore various inspiration sources, like Pinterest and YouTube, while experimenting with creative techniques, ensuring our wall art reflects our unique style and personality!
What Is the Best Way to Hang Different Types of Wall Art?
When it comes to hanging different types of wall art, we can explore various hanging techniques. By considering the wall art styles and their weight, we’ll guarantee a stable, visually appealing display in our space.
How Do I Choose a Cohesive Color Scheme for My Wall Art?
When choosing a cohesive color scheme for our wall art, we should consider color psychology and theme consistency. By selecting colors that evoke desired emotions, we can create a harmonious atmosphere in our spaces.