As an Amazon Associate, we earn from qualifying purchases. Some links on this site are affiliate links at no extra cost to you. Our recommendations are based on thorough research and editorial judgment.

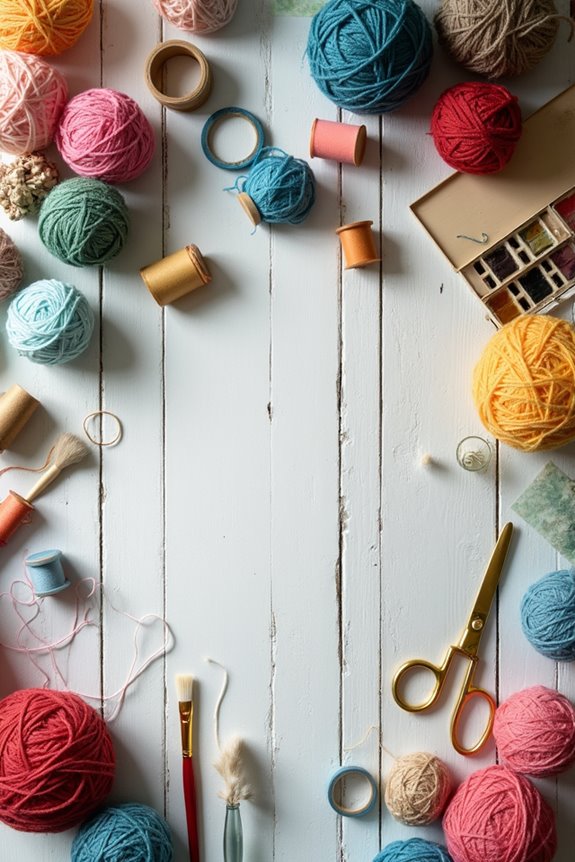
What Are The Best Practices For Craft Photography

To capture stunning craft photos, I recommend a few best practices. 🌟 Start with one primary light source, positioning it at a 45-degree angle for balanced illumination. Use a low ISO of 100 for clarity, and consider a macro lens for close-ups. For backgrounds, choose muted tones to keep attention on your craft. Finally, don’t skip post-processing! Adjust white balance and crop for better composition. Stick around, and you’ll discover even more helpful tips! 📸
Key Takeaways
- Use natural lighting during golden hours for warm, soft illumination that enhances craft details.
- Position your key light at a 45-degree angle and use light modifiers to create balanced shadows.
- Select simple, muted backgrounds to prevent distractions and apply the rule of thirds for composition.
- Shoot with a low ISO setting and stability from a tripod to ensure sharp, clear images.
- Edit images by adjusting color grading and white balance to achieve a polished, cohesive look.
Optimal Lighting Techniques
When it comes to craft photography, having the right lighting techniques can make a world of difference. 🌟 If you want to showcase your crafts beautifully, you should focus on one primary light source. This keeps shadow management simple, creating just one shadow for clarity.
- Utilize natural illumination near windows during golden hours for soft light.
- For indoor setups, artificial diffusion with LED panels helps control light intensity.
Position your key light at a 45-degree angle for balanced illumination. Use light modifiers like softboxes to soften harsh shadows, enhancing texture.
Adjust light ratios to set the mood and highlight craft details. By mastering these techniques, you’ll achieve incredible results and showcase your creativity effectively! 📸 Additionally, consider using a light box with adjustable brightness options to further enhance your lighting control.
Recommended Products

【MULTIPLE COLOR TEMPERATURE & ADJUSTABLE BRIGHTNESS】There are 3 Color temperatures (2800K, 4800K & 6500K) which offer different lighting atmosphere; This Studio Light is equipped with 356 Led beads which offers a stable and ample output of 15W. Features a high CRI of 97+ for precise color rendering. Adjust the brightness in a range of 10 to 100% with button up and down on remote to meet different photography circumstances, offering extra lighting for your works.
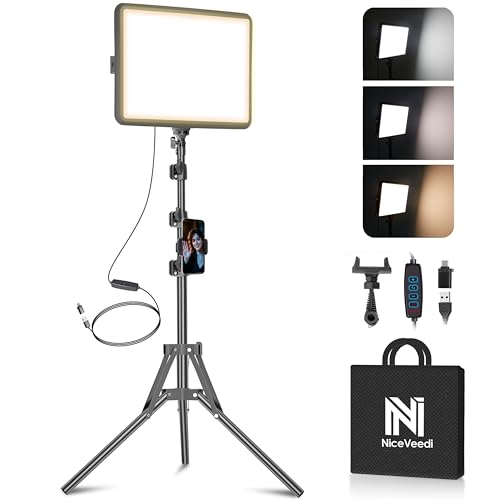
【Upgraded 15W Output Studio Lights】Built with 356 premium LEDs, this photography lighting delivers a powerful 15W output for bright and consistent lighting. The adjustable 2800K–6500K color range and smooth 10–100% brightness control let you shape the mood and tone of any scene with precision. Ideal for photography, video recording, live streaming, makeup, video conferences, and social media content creation on TikTok, YouTube, and more.

【Bi Color LED Panel Light】 The video light features 192 LEDs (96 warm and 96 cool), 3200K to 5600K color temperature, 0-100% brightness, 2400Lux and a high CRI of 97+, as key or soft fill lighting equipment kit for portrait photo, videography podcast, filming, studio camera photoshoot, photography, YouTube/TikTok social media recording, live streaming, barber, etc.
Camera Settings and Equipment Essentials

Mastering camera settings and equipment is essential for taking stunning craft photography. 📷 Whether you’re using a DSLR or a mirrorless camera, having manual controls helps you achieve the best results.
Start by using camera modes like aperture priority, which lets you adjust depth of field easily. For larger depth, choose a high f-stop, like f/16, while lower f-stops, say f/2.8, create beautiful background blur.
Keep your ISO as low as possible, ideally 100, for clear images. A sturdy tripod is my go-to equipment recommendation for sharp detail. Finally, consider investing in a macro lens for those crisp, close-up shots that showcase your craft. Remember to test for colorfastness when photographing fabric items to ensure the colors remain vibrant during the process. Happy snapping!
Recommended Products

LENS ATTACHMENT: Easily screws on to the front of your lens, and instantly expands the field of view for breathtaking wide-angle photography. Features a detachable macro lens for extremely high-resolution close-ups of small objects.

✔ COMPATIBLE WITH ALL SMARTPHONES, TABLETS, and LAPTOPS including ALL iPhone models, Samsung Galaxy and Note, Google Pixel, Huawei and more. CONTENTS INCLUDE: TruView 0.45x Wide Angle Lens, Clarus 15x Macro Lens, TruGrip Lens Clip, GlowClip Mini Rechargeable LED Light + Charging Cable, Quick-Release Lanyard, DuraCase, EasyClip, and Cleaning Cloth.

LENS ATTACHMENT: Easily screws on to the front of your lens, and instantly expands the field of view for breathtaking wide-angle photography.Features a detachable macro lens for extremely high-resolution close-ups of small objects.
Background and Composition Strategies
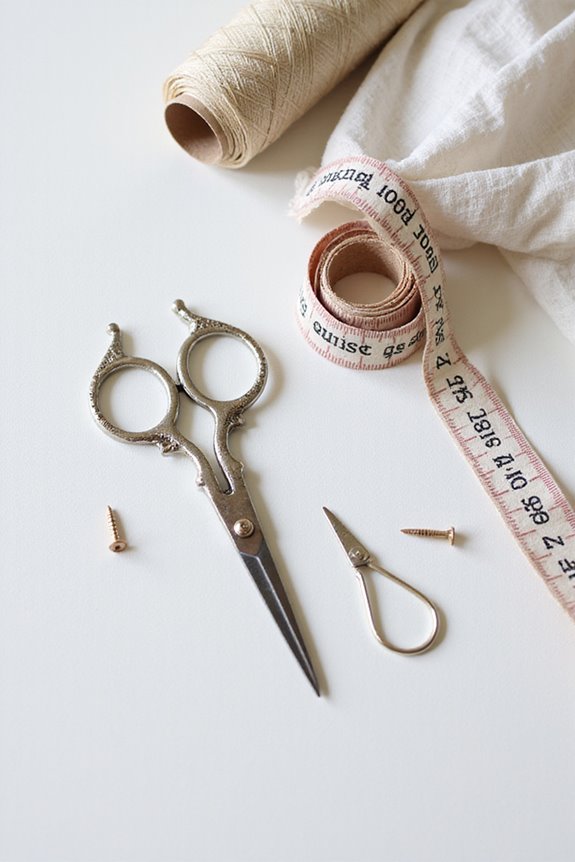
Choosing the right background can make all the difference in your craft photography. 🖼 Since it’s essential for drawing attention to your subject, aim for contrast that helps your craft piece stand out.
When using background selection, pick muted tones to avoid distraction. Natural materials like wood or fabric add texture, making your craft feel more relatable. Additionally, consider how material quality can enhance the overall aesthetic of your photographs.
For composition techniques, try the rule of thirds to place your craft off-center, creating visual interest. Introduce foreground elements for depth, and embrace negative space to isolate your craft.
Always keep your background simple—avoid chaos that draws the viewer’s eye away from your subject. With these tips, you’re on your way to capturing stunning craft photography!
Recommended Products

Satiny and Glossy: This imitated silk photo background fabric is made of 100% polyester, which is enough silky for taking stereoscopic exquisite photos.

HIGH QUALITY: 8 pieces 4.5 inches long spring nylon clamp. Our spring clamps are made of durable plastic. Rugged nylon construction helps keep the project placed and lasting performance for longer life.

Ideal Shooting Locations and Times

Finding the right location and time for your craft photography can greatly enhance the overall appeal of your images. 🌅 Urban settings, with their bold architecture and textured backgrounds, provide a dynamic atmosphere that’s perfect for capturing craft pieces in a unique light.
Consider shooting in natural environments, like parks or beaches, for a softer, more organic feel.
Here are some quick tips for the best results:
- Golden hour: Shoot shortly after sunrise or before sunset for beautiful, warm light.
- Cloudy days: These provide even lighting, perfect for highlighting craft details.
- Avoid crowds: Early mornings or late afternoons are ideal for fewer distractions.
Choose locations with stunning backdrops, like historic buildings or coastal scenery, to make your work stand out. Additionally, incorporating vibrant colors from natural surroundings can further enhance your craft photography.
Recommended Products

Size:7*5 ft(210 cm*150 cm),brightly colored polyester fabric

Size: 7 (W) x 5 (H) FT (2.1 x 1.5 M). Any size or pattern can be customized only if you need .

ENJOY THE PERFECT SUNSET FEELING AT HOME: Create the most charming ambiance in any room of your home with this amazing Sunset Lamp Projector that turns any boring wall into a beautiful sunset for you, your family and friends to enjoy. With soothing and calming tones, our romantic sunset lamp is all you need to create a soul-warming atmosphere that will relax your body and mind!
Post-Processing Tips for Enhanced Images
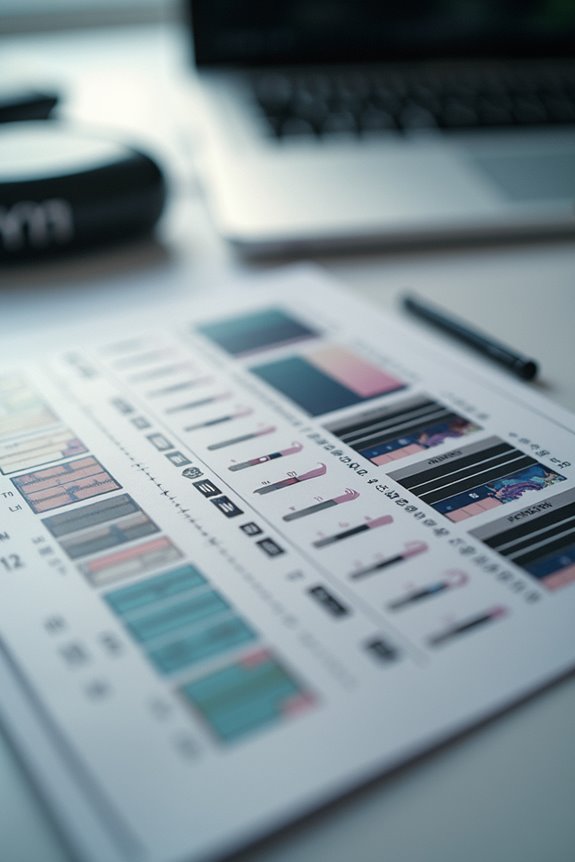
Next, focus on color grading. Adjust hues and saturation to match the mood you want to convey. Don’t forget to correct white balance for true-to-life colors!
Finally, apply noise reduction to minimize graininess, especially in low-light shots. Sharpening comes next—enhance details without creating halos.
Remember to crop for better composition and eliminate distractions. By carefully balancing these elements, you’ll transform good images into striking visuals that truly showcase your craft! 📸 Additionally, using high-quality materials like those recommended for cross stitch project bags can elevate the overall aesthetic of your photography.
Recommended Products


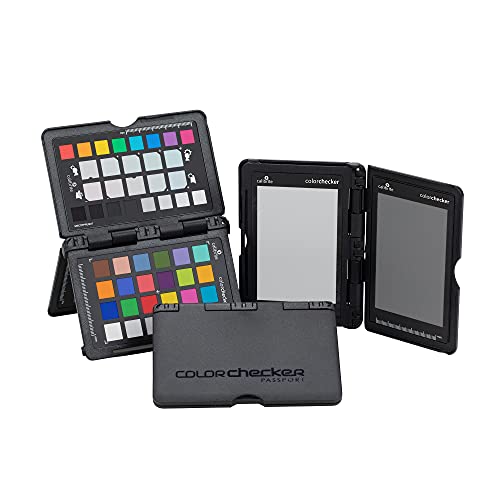
SPECIFICATIONS: Portable ColorChecker Passport kit with 4 targets for exposure control, custom white balance, camera profiling, and enhancement patches, folding protective case with multiple positions, includes lanyard for quick access, Calibrite PROFILER calibration software supports DNG and ICC profiling workflows.
How Do I Clean My Lens for Clearer Images?
I’ve found that proper lens cleaning is essential for image clarity. I use an air blower, then a soft brush, finishing with a microfiber cloth and specialized solution to keep my lens clear and effective.
What Props Should I Avoid for Craft Photography?
Did you know that 65% of viewers are distracted by unnecessary clutter? I always avoid props with distracting colors or excessive patterns—they draw attention away from my crafts, ruining the visual harmony I aim for in my photos.
Can I Photograph Crafts in Low-Light Conditions?
Absolutely, I can photograph crafts in low light! I use low light techniques and add artificial lighting to enhance details. Experimenting with various setups really helps capture the beauty of my crafts effectively.
How Can I Showcase Texture in My Photos?
Imagine dancing shadows revealing each subtle groove. I’ve found texture techniques like side lighting and golden hour sunlight work wonders, enhancing those lighting effects. Capturing textures adds depth, making every photograph a visual feast.
What Common Mistakes Should I Avoid in Craft Photography?
When it comes to craft photography, I’ve learned to avoid poor lighting techniques and remember composition tips. Overexposure and cluttered backgrounds can ruin my shots, so I aim for balance and clarity in every image.