As an Amazon Associate, we earn from qualifying purchases. Some links on this site are affiliate links at no extra cost to you. Our recommendations are based on thorough research and editorial judgment.
How To Use Punch Needle For Beginners
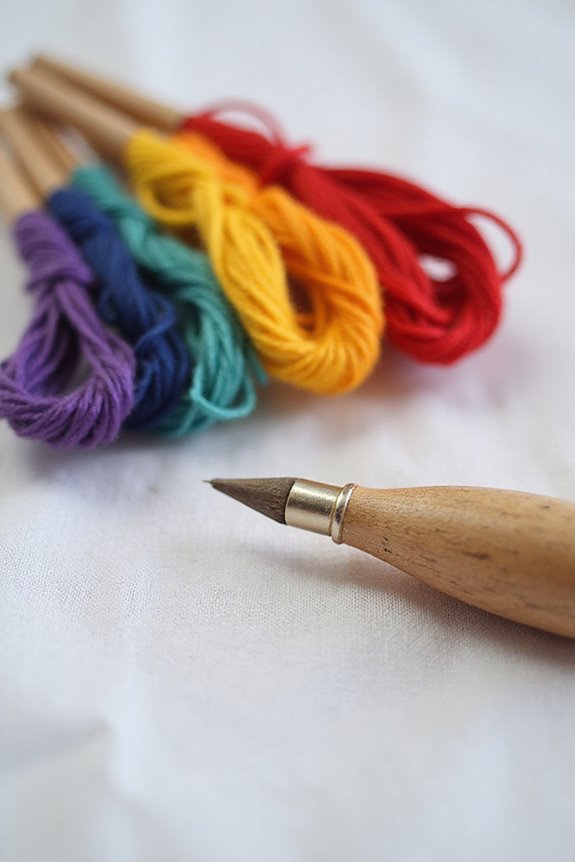
To get started with punch needle, we’ll need some great materials! First, choose a loose weave fabric like monk’s cloth or burlap, and select a bulky yarn (12–16 ply). 🎨 Next, thread your needle by inserting a threader and pulling yarn through. Master the technique by holding the needle like a pencil, angling it straight down for consistent loops. 🧵 Once you’ve got the basics down, you’ll learn all about stitching strategies for beautiful patterns!
Key Takeaways
- Choose a loose weave fabric like monk’s cloth, and use bulky weight yarns for easier stitching.
- Thread the punch needle properly, ensuring the yarn is securely attached through the needle’s eye.
- Master basic punching techniques by holding the needle like a pencil and maintaining consistent loop formation.
- Follow design flow and vary loop lengths for texture, layering colors for a dynamic look.
- Finish your piece with a fabric border, trim edges, and store it in a dry place for preservation.
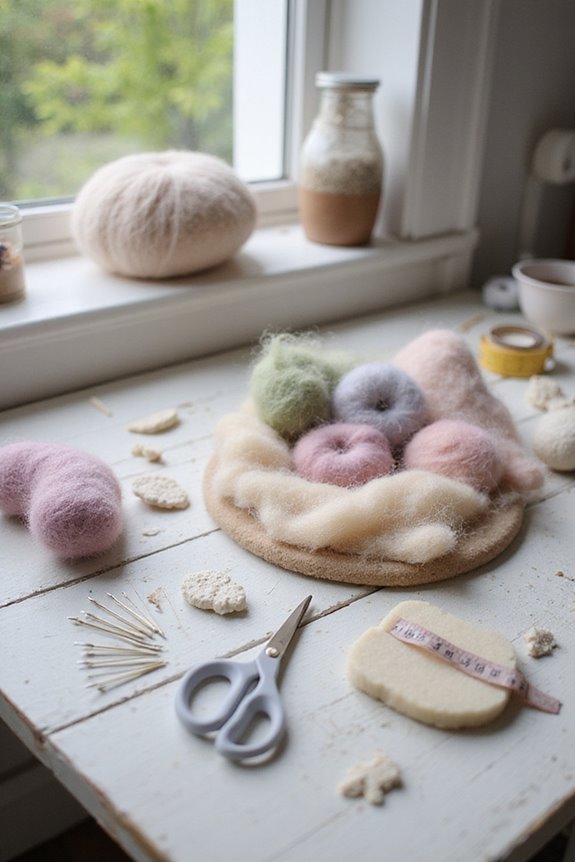
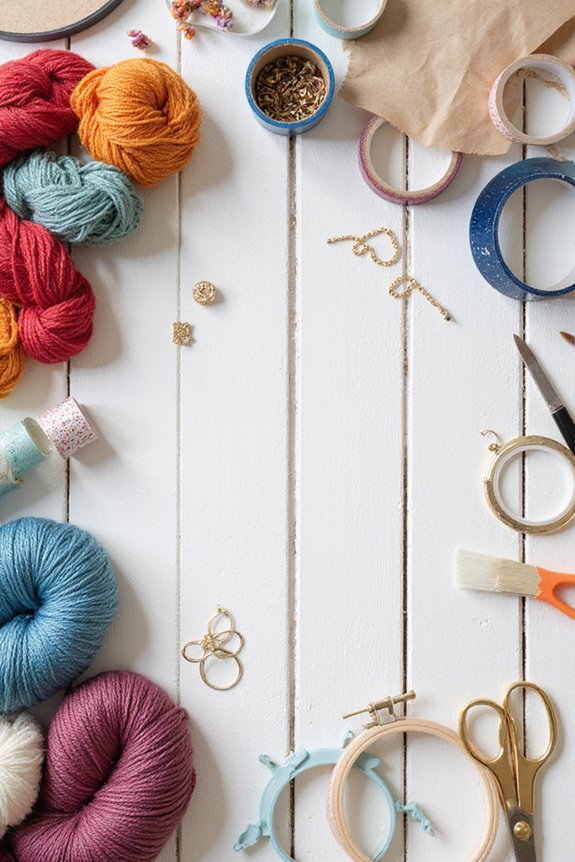
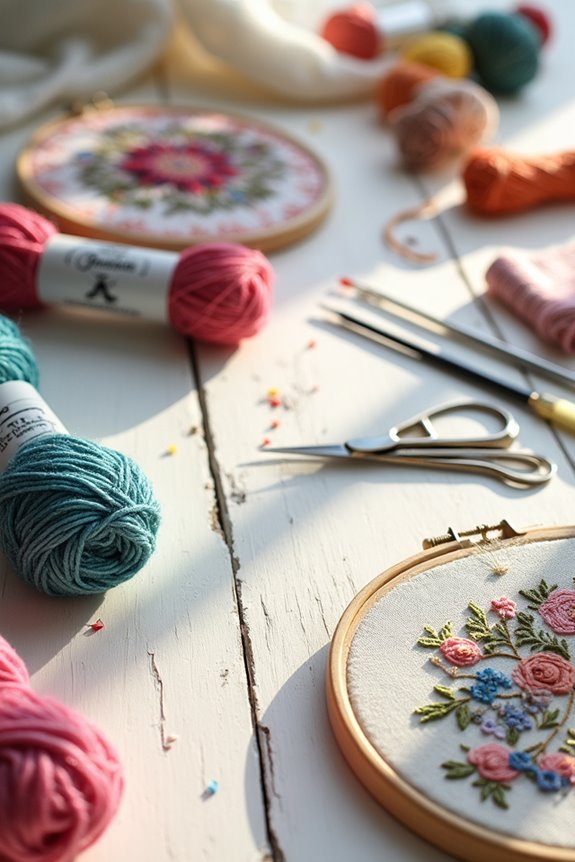
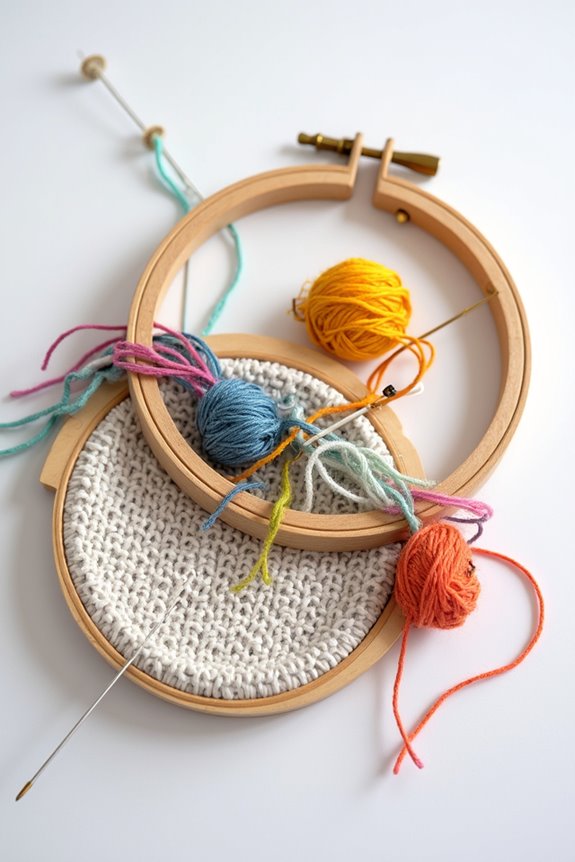
Preparing Your Materials and Tools
When we’re getting ready to plunge into punch needle, the first step is preparing our materials and tools. 🧵 It’s vital to choose the right fabric, yarn, and equipment to make the process smooth and enjoyable. For fabric selection, monk’s cloth is a top choice due to its loose weave, ideal for holding yarn loops. We should also consider linen or burlap, but testing their compatibility with our chosen yarn is key. Additionally, opting for high-quality materials can significantly enhance your crafting experience.
Next, let’s get our yarn organized! Using bulky weight yarns of 12–16 ply makes stitching easier. Confirm we have double or triple strands of thinner yarn for larger needles. Keeping yarn separated prevents tangles, so take a moment to unwind those skeins neatly. Happy punching!
Threading the Punch Needle
Threading the punch needle is an essential part of getting started with your project. 🎉 It might feel a bit tricky at first, but with some easy steps, we can make it a breeze!
- Insert a metal needle threader from the sharp end toward the handle.
- Pass it through until it emerges at the back.
- Attach your yarn to the loop and pull the threader back, drawing the yarn through the hollow needle.
- Finally, feed the yarn through the needle’s eye near the pointed end.
Using the threader technique prevents common problems like snagging, so relax and take your time. If you encounter a jam, unwind your yarn or try a thinner option. Additionally, using adjustable needle sizes allows you to experiment with different yarn thicknesses and fabric types for a more versatile crafting experience. Happy threading!
Mastering Basic Punching Techniques
Mastering basic punching techniques is key to achieving beautiful and consistent results in your punch needle projects. 🎨 We all want our work to shine, so let’s plunge into some important tips!
- Hold your punch needle like a pencil for better control.
- Angle the needle straight down to guarantee consistent loop formation.
- Keep the needle’s eye aligned with your motion for smooth stitching.
For stitch depth, push the needle down until the handle nearly touches the fabric. Pull back just enough to clear the surface. Avoid lifting too high, as this can create uneven loops. Additionally, using high-quality cotton or polyester blends can significantly enhance your crafting experience by providing durability and stability.
Effective Stitching Strategies and Patterns
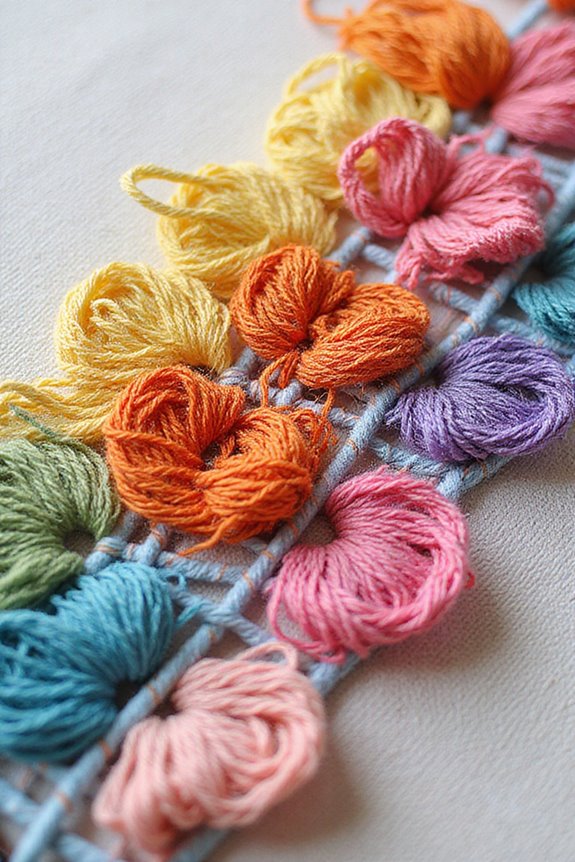
To create effective stitching patterns, it’s essential that we comprehend how our techniques can enhance our designs. 🧶 By focusing on consistent loop size and spacing, we can achieve a polished look in our punch needle projects.
- Loop consistency is key; keep needle depth uniform to avoid uneven textures.
- Maintain the stitch direction by following the design’s natural flow, ensuring smooth rows.
- Experiment with texture contrast by varying loop lengths; longer loops can add depth in backgrounds, while shorter loops define the foreground.
- Embrace pattern layering, punching overlapping colors to create dynamic designs.
Additionally, understanding the importance of safety features in crafting, such as finger protection, can enhance your overall crafting experience. We’ll discover that by practicing these strategies, our punch needle work will flourish into beautiful, textured art pieces!
Finishing Touches and Maintenance Tips
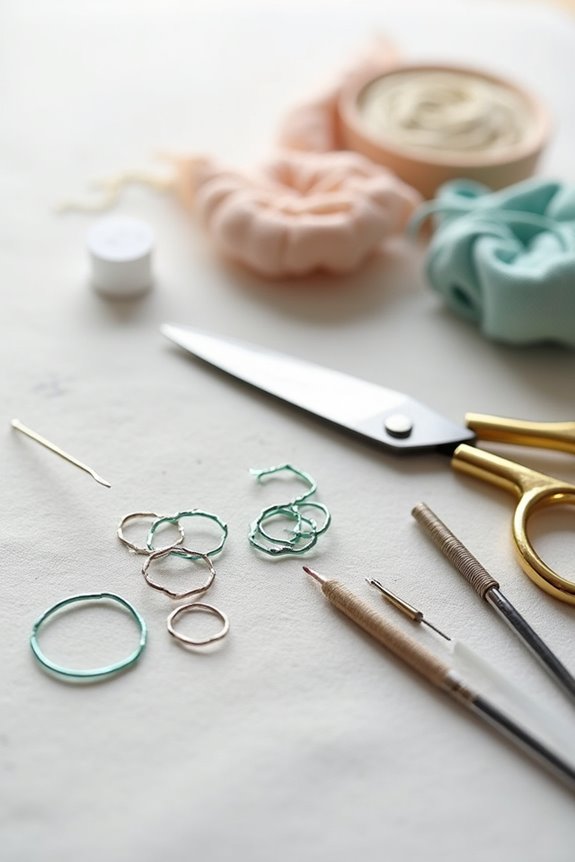
As we immerse ourselves in the finishing touches for our punch needle projects, it’s important to remember that these final details can truly elevate our work. 🥇 We want our pieces to look polished and professional, so let’s focus on a few key steps to achieve that clean finish.
- Finishing Edges: Leave a 1-inch fabric border for trimming and perform a running stitch around the edges to secure fabric. Double stitch for added durability!
- Felt Backing: Cut felt slightly smaller than the hoop and attach it with glue or whip stitch to protect our beautiful loops.
- Maintenance: Store finished pieces in a dry place and gently brush away dust. Check for loose yarn ends regularly to keep our projects looking their best. 🧵✨ Additionally, ensure that you use appropriate needles to maintain the integrity of your punch needle work.
Frequently Asked Questions
Can I Use Any Type of Yarn for Punch Needle?
Sure, we could use any yarn types, but why make things difficult? Instead, let’s choose our yarn thickness wisely—wool for durability, cotton for comfort. It’ll be much smoother sailing in our punch needle adventures!
How Do I Clean My Punch Needle Tool Correctly?
Cleaning our punch needle tool correctly involves using effective cleaning techniques, like pushing the needle through fabric and cutting threads. Regular maintenance guarantees smooth operation and keeps our projects looking neat and professional every time.
What Projects Are Best for Beginners in Punch Needle?
Did you know 70% of beginners find small projects most rewarding? We recommend starting with easy patterns like bookmarks or coasters, helping us build confidence while mastering punch needle basics without overwhelming ourselves.
How Long Does It Take to Complete a Punch Needle Project?
Project duration varies greatly. As beginners, we might take 1–2 hours on small pieces, but complex projects could span several days. Following beginner tips and planning ahead can greatly streamline our process and make stitching more enjoyable.
Where Can I Find Punch Needle Patterns for Beginners?
Searching for beginner designs feels like a treasure hunt. We can explore online resources like Raising Nobles and Crewel Ghoul, where enchanting patterns await, guiding our journey into the art of punch needle with delight.