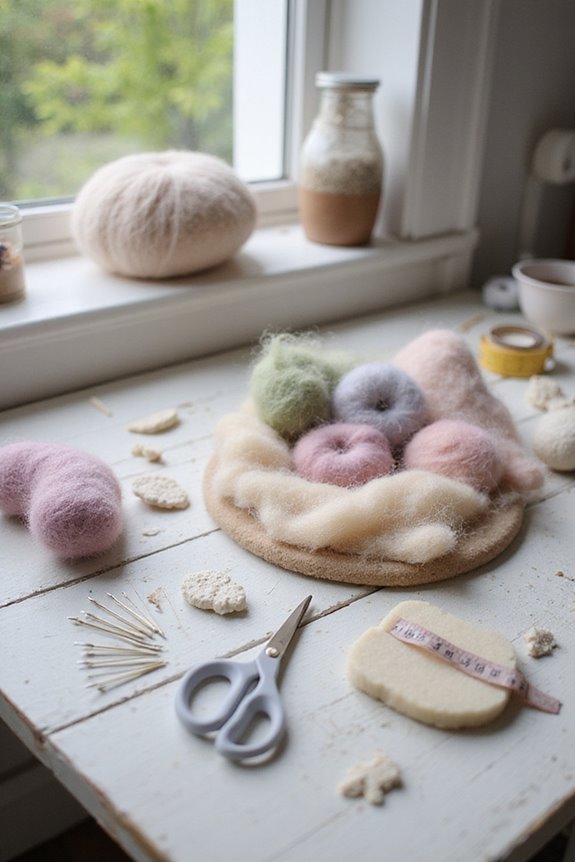
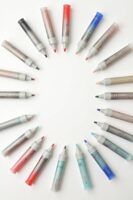
When choosing the best stamps for card making, we recommend using both photopolymer and rubber stamps. Photopolymer stamps allow precise placement with their transparency, while rubber stamps are known for their durability. Consider sizes between 2×2 inches to 4×4 inches for focal points. Using high-quality stamps guarantees clear impressions. 🌟 For specific techniques and creative ideas, like scene building or ink blending, we can explore together as we elevate your card-making skills!
Key Takeaways
- Photopolymer stamps are excellent for detailed designs due to their transparency for precise placement.
- Rubber stamps provide durability and crisp images, making them ideal for extensive use in card making.
- Choose stamps sized between 2×2 inches to 4×4 inches for optimal visual impact on your cards.
- Ensure your stamps offer fine detail resolution for clear images and larger designs for bold statements.
- Select high-quality, reusable stamps compatible with platforms like MISTI for exact positioning in your projects.
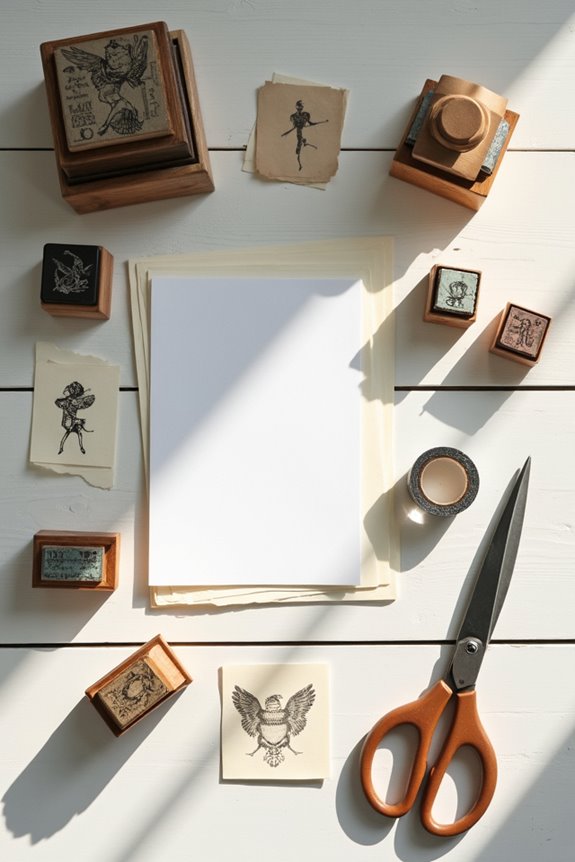
Types of Stamps Suitable for Card Making
When we plunge into card making, choosing the right type of stamp can make all the difference in our project. 🤔 There are several types of stamps available, each with unique features that cater to different techniques and styles.
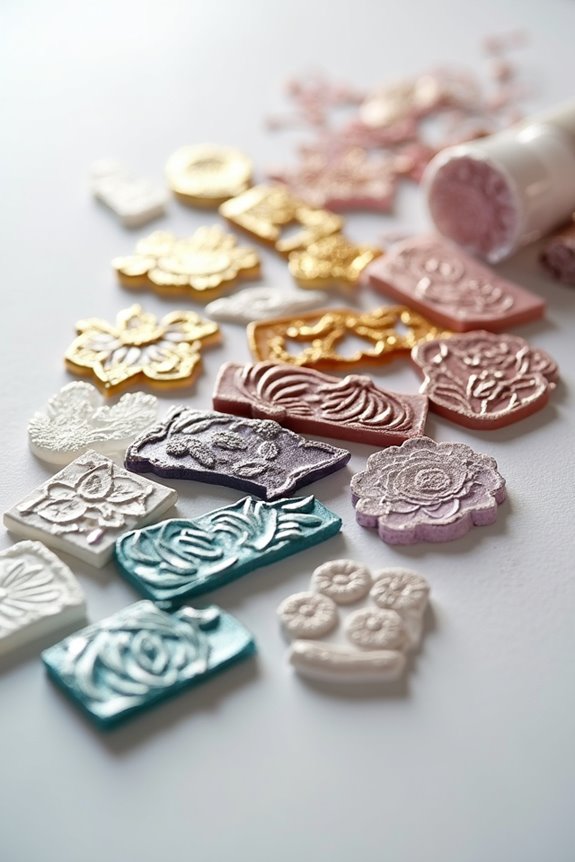
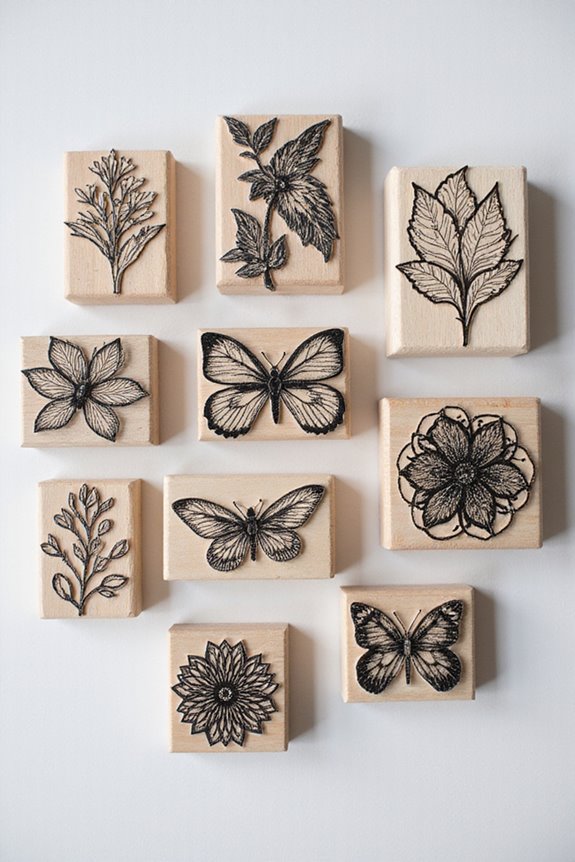
- Photopolymer Stamps: These offer photopolymer advantages, like transparency for precise placement. However, they may stain over time.
- Rubber Stamps: Renowned for rubber stamp durability, they provide crisp images and withstand heavy use, making them ideal for traditional stampers.
Both stamps have their strengths. Photopolymer stamps are perfect for detailed designs, while rubber stamps are favored for their longevity. By understanding these options, we can select the right stamps to enhance our card-making journey! Additionally, using acid-free adhesives is crucial in preserving card quality over time, ensuring that your creations remain vibrant and intact.
Popular Stamping Techniques for Card Making
Stamping techniques are like the secret ingredients that elevate our card making to new heights. 🌟 By mastering these methods, we can create stunning visual effects that grab attention and add depth to our projects.
Using tone on tone techniques, we can combine varying shades of the same ink color for subtle dimension. For a bolder approach, two-tone effects allow us to stamp a solid image in a light ink and darken the edges to create shadows. Using a stamping tool like a MISTI makes this process easier.
Additionally, spotlight stamping helps us emphasize specific areas with contrasting colors. Techniques like Rock and Roll enhance our designs by adding smooth color gradations, making our cards uniquely beautiful without complicated layers. Project Bags with a 2-layer pocket system can also help keep our stamping supplies organized while we create. Let’s get stamping!
Ink and Coloring Methods for Stamped Images

Key Ink Techniques to Try
When working with stamped images, we can explore some fun ink techniques! Here are a few ideas you’ll love:
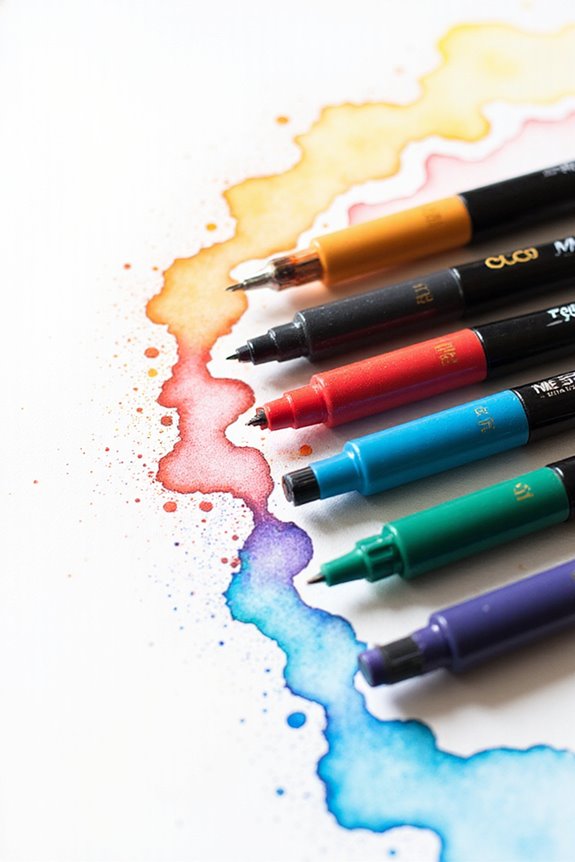
- Ink Blending: Start with light colors, layering darker shades for depth. Use blending tools to create smooth transitions. 🎨
- Watercolor Effects: Lightly spritz your cardstock before stamping to achieve a beautiful diffused look. Alternatively, use watercolor pencils for controlled blending.
- Shadow Effect Technique: Stamp a lighter color over your image to add dimension.
- Rock and Roll Stamping: For gradients, stamp with a light color, then roll the edges in a darker ink.
Adding non-toxic, water-based formulas to your ink collection can enhance your creative process while ensuring safety. Combining these methods can truly enhance your creations and make your card designs pop! Give them a try and watch your cards come to life!
Essential Stamp Features for Card Making
Choosing the right stamps for our card-making projects can make a significant difference in how our designs turn out.
Here are some essential features to take into account:
- Stamp Material: Clear stamps provide precise placement and design versatility, making layering easier. Rubber stamps offer durability but may require more pressure for clean results.
- Size Matters: Opt for stamps between 2×2 inches to 4×4 inches for focal impact without overwhelming our cards.
- Detail Resolution: Fine details guarantee clear, crisp images. Larger, simpler designs make bold statements.
- Mounting Options: Think about stamps compatible with platforms like MISTI for exact placement and easy storage.
- Reusability: Choose high-quality stamps designed for multiple impressions to extend their lifespan.
These features guide us when selecting the best stamps for our projects! 🖌✨ Additionally, considering material quality and thickness can ensure that the stamps not only produce great impressions but also last through many crafting sessions.
Creative Usage Ideas With Stamps
- Create a Creative Background: Repeatedly stamp various images in different colors on white cardstock. This simple technique gives us vibrant, patterned card fronts without needing advanced skills.
- Scene Building: Choose one stamp as the focal point and layer others to craft a beautiful scene. Position sentiment strips across the design for balance.
- Personal Touch: Combine stamps for unique textures that enhance any theme. Experiment with watercolors or layered stamping to add depth and dimension. Additionally, consider utilizing user-friendly designs that simplify the stamping process and encourage creativity.
Expert Tips for Optimizing Stamp Use
Optimizing our use of stamps can really enhance our card-making experience, especially when we implement a few expert tips. First, let’s focus on stamp organization. Keeping our stamps sorted by type helps us quickly find what we need for each project.
When it comes to bulk stamping, batch processing is key. Start with the slow-drying steps, like heat embossing, to maximize drying time.
Utilizing stamping tools, like the Stamparatus, can save time and guarantee consistent placement. Don’t forget to clean stamps promptly to maintain sharp impressions!
Lastly, consider using large rubber stamps for bulk projects, but be mindful of ink application. By following these tips, we can make our card-making more efficient and enjoyable! 🖌✨
Frequently Asked Questions
Can I Use Any Ink Type With All Stamp Types?
When considering ink compatibility with stamp materials, we can’t use any ink type for all stamps. Each material has specific inks that yield the best results, ensuring our projects look their finest. Let’s choose wisely!
How Do I Properly Store My Stamps for Longevity?
When it comes to storing our stamps, we should avoid cutting corners. Utilizing proper stamp storage solutions and maintaining humidity control guarantees our precious collection stays in top shape for years, preserving their beauty and integrity beautifully.
Are There Specific Cleaning Products for Different Stamp Materials?
Absolutely, we’ve found that different stamp materials require specific cleaning techniques. For effective stamp maintenance, we should use gentle cleaners for acrylic, while rubber stamps benefit from mild soap and water for regular upkeep.
What Is the Best Way to Organize My Stamp Collection?
When we think of organizing techniques, neat stamp storage stands out as essential. Let’s plan our collections carefully, sorting stamps methodically and using consistent labels, ensuring everything’s easily accessible and visually appealing for our future enjoyment.
Can Stamps Be Used on Surfaces Other Than Paper?
Absolutely, we can use stamps on various surface materials beyond paper, like fabric stamping, metal, and glass. It’s a fun way to create unique designs across different mediums, showcasing our creativity in exciting new ways!