To get started with punch needle embroidery, we’ll need a few essential tools. Grab a good punch needle tool that matches your yarn thickness and some bulky yarn (12-16 ply) for thicker needles. Let’s prepare our fabric by stretching it tightly in a hoop. 🧵 Work on your basic technique by holding the needle like a pencil and maintaining a steady rhythm. Check for common issues, like yarn blockages, to keep our project smooth. Soon, you’ll be ready for creative projects! 🎨
Key Takeaways
- Select the right punch needle tool and yarn thickness to match your project, such as bulky yarn for thicker needles and finer yarn for thin needles.
- Prepare your fabric by inspecting for loose threads, marking grid lines, and stretching it tightly in a hoop or frame.
- Practice basic punch needle techniques like maintaining a steady rhythm and holding the needle correctly to create consistent loops.
- Troubleshoot common issues like yarn blockages and tension problems to ensure smooth stitching and avoid puckering in your design.
- Explore creative project ideas like animal motifs, seasonal themes, and personalized accessories to inspire your punch needle embroidery journey.
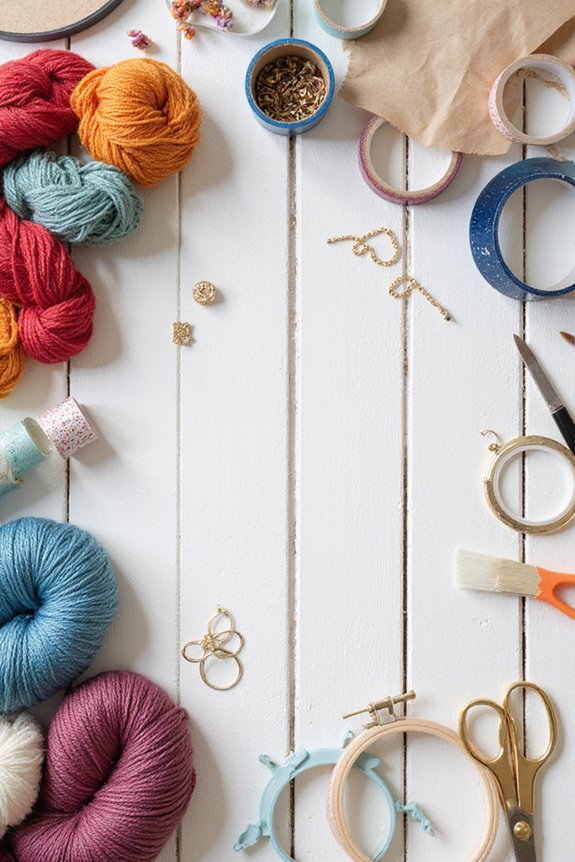
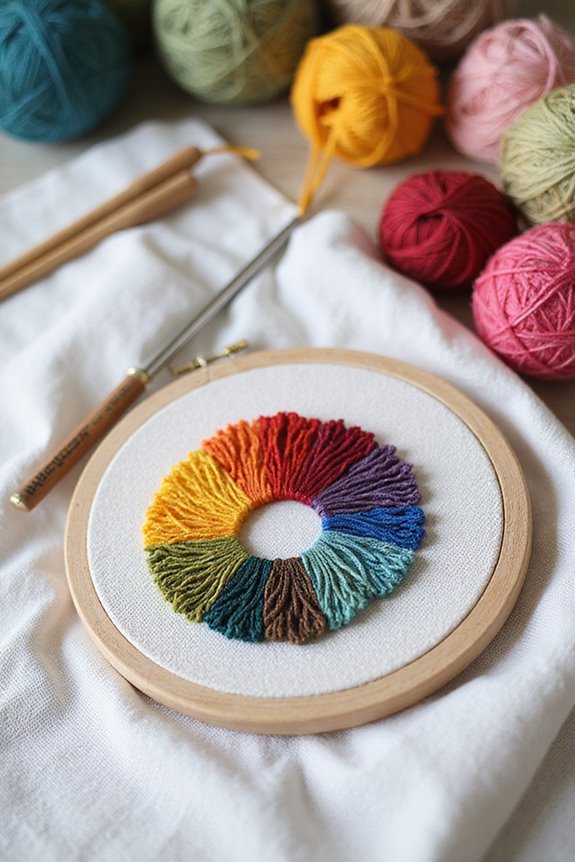
Essential Tools and Materials for Punch Needle Embroidery
When we explore the world of punch needle embroidery, having the right tools and materials is essential for a successful start. 🎨 You’ll need a good punch needle tool that fits your chosen yarn, as different sizes work best for various thicknesses.
- Needle Types:
- Consider adjustable needles for varied textures or fixed-size ones for simplicity, ideal for beginners.
- Yarn Selection:
- Match your needle with the right yarn; for thicker needles, use bulky yarn (12-16 ply).
- Thinner needles work with finer yarn or embroidery floss, sometimes used in strands for additional bulk.
We recommend beginner-friendly options like the Oxford Regular #10 or Lavor Chunky Adjustable. Additionally, investing in high-quality materials can significantly enhance your overall crafting experience. With these tools, we’re ready to get started!
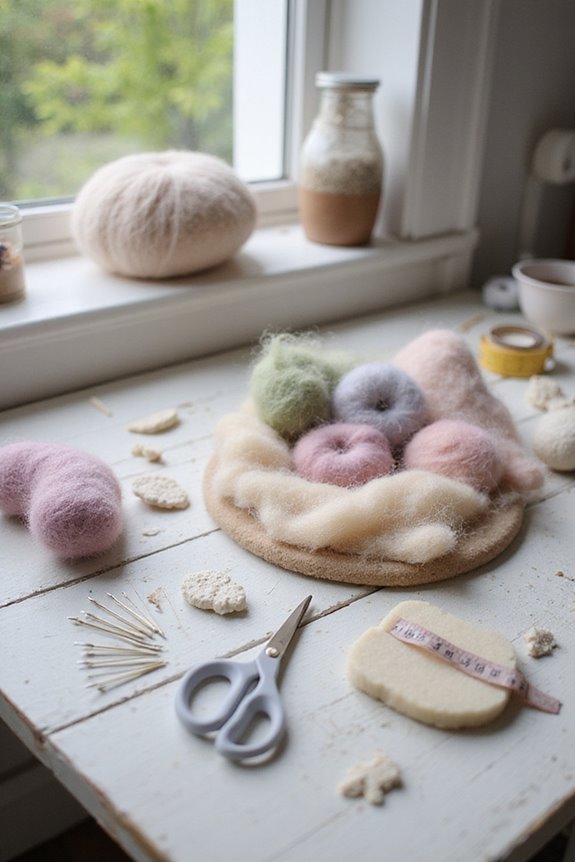
Preparing Your Fabric and Workspace
Finally, inspect your fabric for loose threads, and mark grid lines if needed for design guidance. Additionally, be sure to choose a suitable needle size for your project to ensure the best results. Happy stitching!
Basic Techniques for Punch Needle Stitching

Mastering basic techniques for punch needle stitching is essential for creating beautiful designs. 🧶 We’ll guide you through key steps to guarantee your stitching flows smoothly and consistently.
- Needle Position: Hold the punch needle like a pencil, keeping it vertical with the bevel facing forward.
- Loop Tension: Push the needle down until the handle touches the fabric, ensuring consistent loop size. Lift the needle slightly after each punch, then slide it forward.
- Rhythm: Maintain a steady rhythm as you repeat the punching, lifting, and sliding motions.
- Corners: At corners, keep the needle down, rotate the hoop, and continue in the new direction.
Additionally, practicing with clear patterns and instructions will help you enhance your confidence and skill level as you progress in your crafting journey.
Troubleshooting Common Issues
Troubleshooting common issues in punch needle embroidery can feel overwhelming, but we’re here to help make it easier. One common problem is yarn blockages. If you notice your needle isn’t moving smoothly, check for fuzz buildup or knots in your yarn. Snip and clean the channel for ideal flow!
Next, let’s discuss tension issues. If your stitches are loose, confirm there’s enough slack between your yarn ball and needle. Maintain a loose pile to stabilize those loops. For consistent stitches, watch your punching depth. Too tight can cause puckering. Additionally, using high-quality materials can enhance your overall experience and reduce common problems.

👉 Tips:
- Inspect needles regularly for damage.
- Use compatible fabric types to prevent distortion.
Project Ideas to Inspire Your Creativity
Tips: Let’s explore some fun project ideas to spark our creativity with punch needle embroidery!
- Animal Motifs: Think of adorning pillows with charming rabbits or birds to add warmth to our spaces.
- Seasonal Themes: Create wall hangings featuring vibrant autumn leaves or cheerful spring blooms to celebrate the year.
- Geometric Shapes: Mixing geometrics with nature provides a contemporary twist; let’s try combining simple triangles with floral patterns.
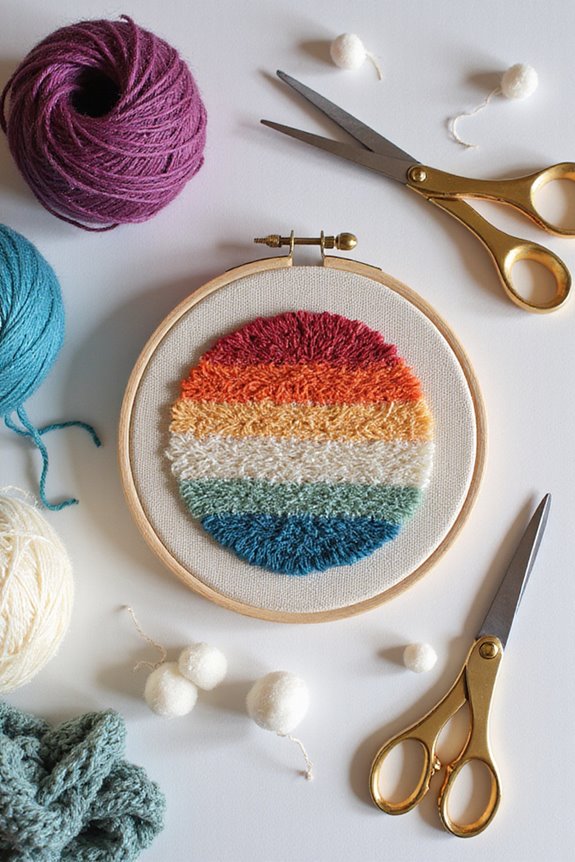
- Color Experimentation: We can use multi-colored yarns for stunning gradients in our designs.
- Functional Accessories: How about personalizing tote bags or making coasters? These keep our style fresh while serving a purpose.
- Incorporating Needle Felting: For a unique touch, consider using high-quality materials like Merino wool in your designs to enhance texture and depth.
Let’s get creative and enjoy the process!
Frequently Asked Questions
Can I Use Any Type of Fabric for Punch Needle Embroidery?
We can’t just use any fabric type for punch needle embroidery. Careful fabric selection is essential; looser weaves work best, while tighter fabrics may hinder our crafting. Let’s experiment with different options to find our favorites!
What Is the Best Yarn Thickness for Beginners?
When we consider the best yarn thickness for beginners, bulky weight yarns—around 12 to 16 ply—are ideal. Using these yarn types helps us maintain better control and visibility while creating beautiful punch needle projects together.
How Do I Clean My Finished Punch Needle Project?
When it comes to cleaning our finished punch needle project, using gentle cleaning techniques is essential. We’ll guarantee proper project maintenance by soaking, rinsing carefully, and laying it flat to air dry for best results.
Can Punch Needle Embroidery Be Washed?
Yes, we can wash punch needle embroidery! With proper punch needle care, choosing durable fabrics, and gentle methods, our projects can withstand washing while maintaining their beauty, making them easy to enjoy for years to come.
How Long Does It Take to Complete a Punch Needle Project?
As we plunge into our punch needle projects, the project time dances between a few hours for simple designs and stretches endlessly for complex ones, reminding us that each stitch we make adds beauty and depth.