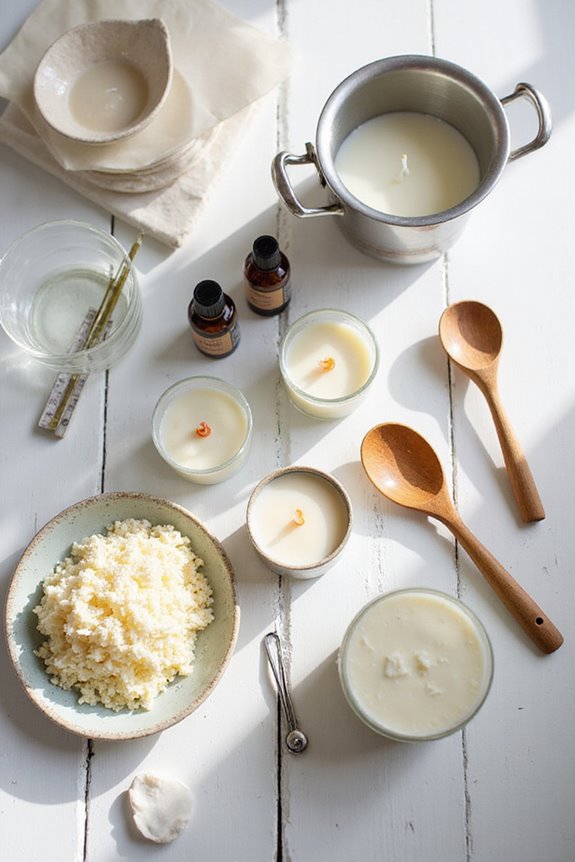
To get started with candle making, we need some essential supplies. First, we’ll need wax, like soy or paraffin, for our candles. Next, let’s choose the right wicks that match our wax and container sizes. We also need containers or molds to shape our candles. Don’t forget a double boiler or electric wax melter for safe melting, thermometers for temperature checks, and a kitchen scale for accuracy. With these tools ready, we can create beautiful candles together! 🕯✨ Keep going to learn more tips!
Key Takeaways
- Wax: Choose the appropriate type, such as soy, beeswax, or paraffin, based on desired burn quality and scent retention.
- Wicks: Select the correct wick diameter and material to match your candle’s size and wax type for optimal burning performance.
- Molds and Containers: Use silicone or glass molds for shaping, while containers are ideal for vessel candles with aesthetic appeal.
- Melting Equipment: Invest in an electric wax melter or double boiler to ensure safe, even melting of wax without burning.
- Measuring Tools: A kitchen scale and thermometer are essential for accurate wax measurement and monitoring melting temperature.
Candle Wax Types and Selection
When diving into candle making, choosing the right wax is essential for creating beautiful and fragrant candles. 🎨 We can select from a variety of wax types, each with its own unique qualities and characteristics that can enhance our candle-making experience.
- Paraffin Wax: It’s affordable, holds scent well, but isn’t eco-friendly.
- Soy Wax: Burns cleaner, lasts longer, and supports sustainable practices—plus, it holds more fragrance.
- Palm Wax: Great for unique designs but has a lower scent load.
- Coconut Wax: Premium option with smooth burns and excellent scent throw.
- Beeswax Benefits: Offers natural fragrance but can be tricky to dye.
- Rapeseed Wax: Soft and eco-conscious, perfect for containers. Additionally, soy wax is derived from natural soybeans and is biodegradable, making it an eco-friendly choice for consumers.
Choosing the Right Wicks
Choosing the right wick for our candles is essential, and understanding the different types can make all the difference in our final product. 📏 A well-chosen wick burns cleanly and evenly, ensuring our candles smell great while also achieving the desired aesthetic.
Here are some key wick performance factors we should consider:
- Wick Diameter: Match it to the candle’s diameter for the best burn.
- Wax Type: Thicker wicks work better with denser waxes like beeswax.
- Wick Sizing Guidelines: Always consider additives and fragrances, which may require wick adjustments.
We can explore flat braided wicks for easy maintenance or zinc-core wicks for durability. Additionally, using a candle wick centering device can help ensure that the wick stays centered during the pouring process, enhancing both functionality and appeal in our candle making!
Containers and Molds Overview

Containers and molds play an essential role in our candle-making journey. 🕯 Understanding the different options available helps us create beautiful and functional candles.

Here’s a quick overview of popular mold materials:
- Silicone molds: flexible and heat resistant, perfect for intricate designs.
- Metal molds: durable, ideal for pillar candles, but may require release aids.
- Plastic molds: budget-friendly, great for beginners, but can warp.
- Polycarbonate molds: transparent, smooth finish, but not for beeswax.
- Glass molds: used in container candles, reusable, and present colors beautifully.
When choosing mold designs, consider the complexity and type of candle you wish to create. With this knowledge, we can confidently select molds that suit our unique projects! Additionally, be aware of the heat resistance and wax compatibility to ensure successful candle-making outcomes.
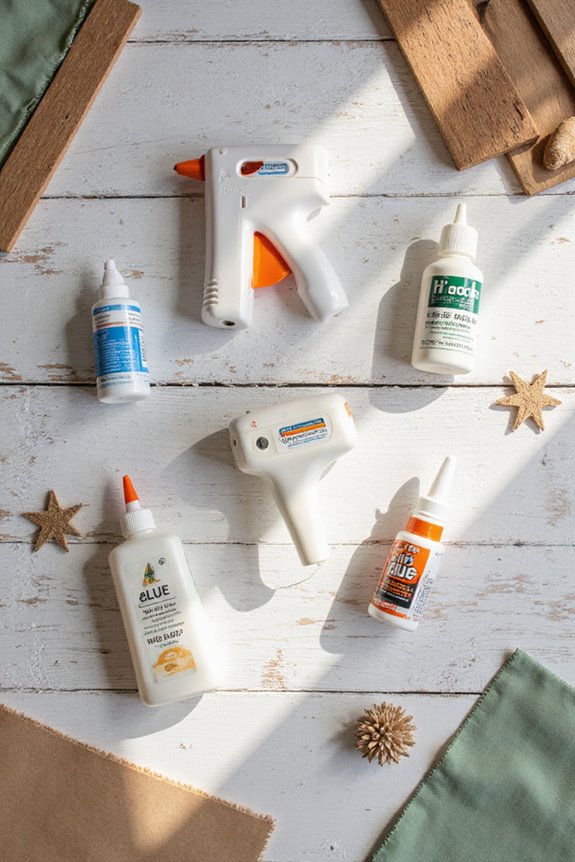
Essential Melting and Measuring Equipment
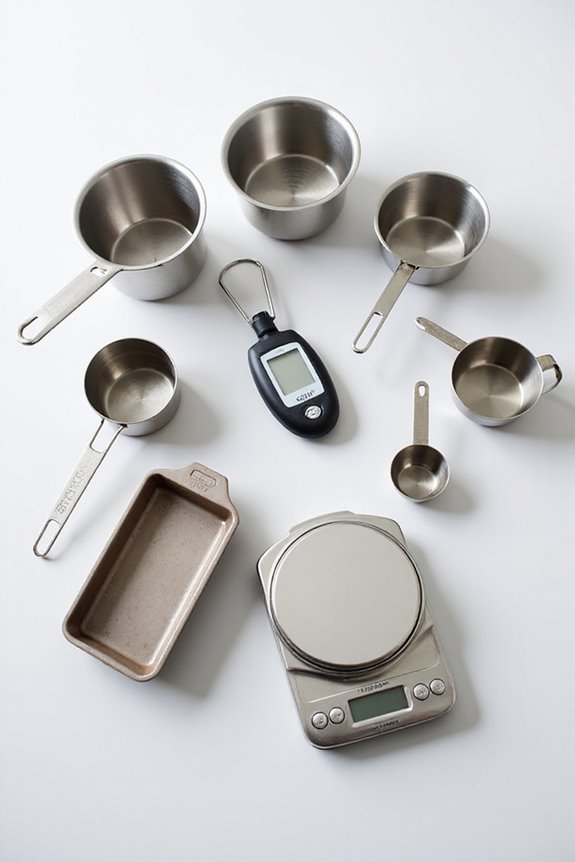
Understanding the essential melting and measuring equipment is crucial for successful candle making. 🔍 We’ll need the right tools to guarantee our wax melts evenly and that our measurements are accurate. Here’s what we should have on hand:
- Electric Wax Melter: Efficient for larger batches.
- Double Boiler System: Prevents burning with indirect heat.
- Thermometers: Digital or candy for checking wax temperature guarantees proper melting.
- Kitchen Scale: For measuring wax amounts precisely, which aids in measuring accuracy.
- Heat-Resistant Spoon: Perfect for mixing wax without damage. Additionally, consider using eco-friendly materials for sustainable candle making practices that enhance your craft.
Fragrance Oils and Colorants
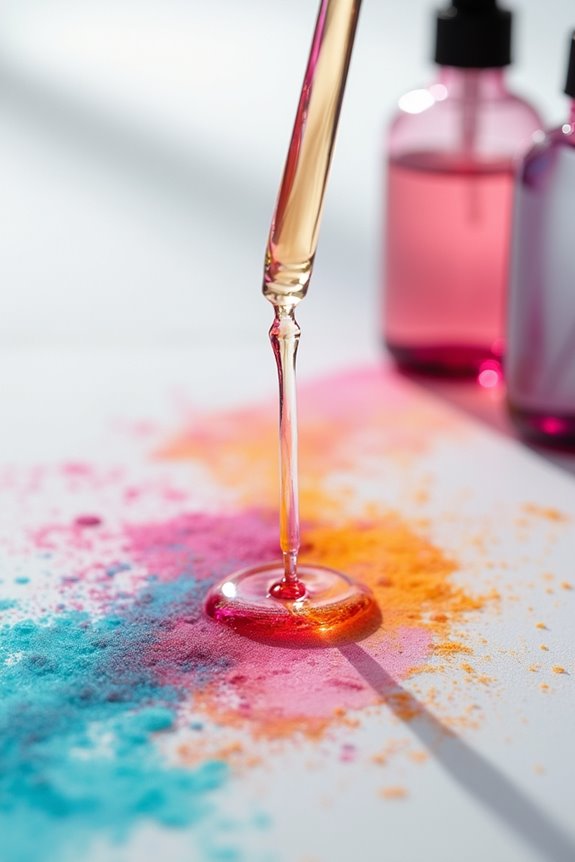
When we immerse ourselves in candle making, the right fragrance oils and colorants can elevate our creations considerably. 🌟 Fragrance oils bring our candles to life with delightful scents that enhance the atmosphere, while colorants add visual appeal.
To choose fragrance oils, we should consider:
- Fragrance profiles: From fresh citrus to cozy spices, pick what fits our mood or theme.
- Wax compatibility: Verify the oils mix well with the waxes we’re using, like soy or paraffin. High concentration ensures strong scent throw in candles and diffusers, making it essential to select oils accordingly.
Colorants must complement our oils too.
– Colorant compatibility: Test colorants to verify they don’t interfere with scent or burning quality.
Wick Accessories and Tools
Wick accessories and tools are essential for creating great candles that burn evenly and safely. 🌟 Just like selecting the right materials, using the right tools makes all the difference in the quality of our candle.

For proper wick positioning, we should use wick holders or centering tools. These tools keep our wick stable during pouring. Clothespins or bow tie wick bars can also do the trick!
Wick maintenance is equally important. We recommend using a wick trimmer to cut wicks to about 1/4 inch for ideal performance. Regular trimming prevents soot buildup and maintains a steady flame.
Additional Tools for Candle Making
To make our candle-making experience smoother and more efficient, it’s important to gather the right additional tools. Here’s a quick list to take into account:
- Digital kitchen scale: For precise wax and fragrance measurements.
- Thermometer: To monitor melting wax temperature accurately.
- Pouring pitcher: Guarantees clean transfers of melted wax.
- Molds: Use silicone or metal molds for advanced candle techniques.
- Labels: Enhance your creative candle presentations by naming your creations.
Incorporating these tools helps us achieve consistent results while exploring custom designs. Don’t forget heat-resistant gloves and scissors for trimming wicks! Let’s gather these supplies and elevate our candle-making skills together. 🕯✨
Safety Precautions in Candle Making
Let’s remember to keep a clean workspace, free from flammable items, and always have a fire extinguisher nearby. We shouldn’t leave melting wax unattended; it can overheat and pose a danger. Additionally, wearing long sleeves and closed-toe shoes will help protect our skin and feet from potential burns. Following these precautions will make our candle-making process safe and enjoyable! 🕯✨
Tips for Maintaining Clean Burns
When we make and burn candles, we want to guarantee they not only smell great but also burn cleanly. Here are some helpful tips for maintaining clean burns:
- Wick Cleaning: Trim the wick to about ¼ inch before each burn. This stabilizes the flame and reduces soot.
- Remove Debris: After burning, clear any wick trimmings from the wax pool to prevent uneven burning.
- Extinguishing: Use a candle snuffer instead of blowing out the flame, minimizing smoke and mess.
- Burn Duration: Aim for 2-3 hours per session to melt the wax evenly and avoid overheating. This helps maintain the candle’s integrity.
Testing and Experimenting With Your Candles
- Cure Time: Always wait until candles are fully cured before testing to avoid misleading results.
- Controlled Environment: Burn in a draft-free area away from flammable materials.
- Observations: Use a timer to track flame stability and wax pool for at least four hours.
For fragrance testing methods, measure scent strength both cold and hot. Rate on a scale of 1-5 to gauge consistency. Adjust wick sizes based on performance, ensuring a stable flame and efficient burn. 📏 Document every detail to easily replicate successful batches. Happy testing!
Frequently Asked Questions
How Long Does It Take for Candles to Fully Cure?
When we think about candle curing, it typically requires 1 to 2 weeks for ideal curing time. This allows fragrances to fully blend, enhancing scent throw and burn performance for our cherished creations.
Can I Reuse Candle Containers for New Candles?
Can we transform old candle containers into something new? Absolutely! By employing effective cleaning methods, we can enjoy reusing containers while keeping safety in mind. Let’s embrace this eco-friendly practice together and reduce waste creatively!
What Is the Shelf Life of Wax and Fragrance Oils?
When considering wax longevity and fragrance stability, we should remember that most wax lasts 6 months to 2 years if stored properly. We must guarantee cool, dry conditions to maintain their quality and effectiveness.
How Can I Fix Sinkholes in My Finished Candles?
So, you’ve started a candle-making empire and encountered those pesky sinkholes? Don’t worry; we’ve got sinkhole solutions! For candle repair, just melt the surface with a heat gun and fill those voids. Problem solved!
Are There Specific Storage Requirements for Candle Supplies?
When it comes to storage conditions for our candle supplies, we’ll guarantee they’re kept cool and dry. Proper supply organization helps us maintain quality and extends the life of our materials. Let’s keep everything tidy!