As an Amazon Associate, we earn from qualifying purchases. Some links on this site are affiliate links at no extra cost to you. Our recommendations are based on thorough research and editorial judgment.
How To Use Punch Needle For Wall Decor
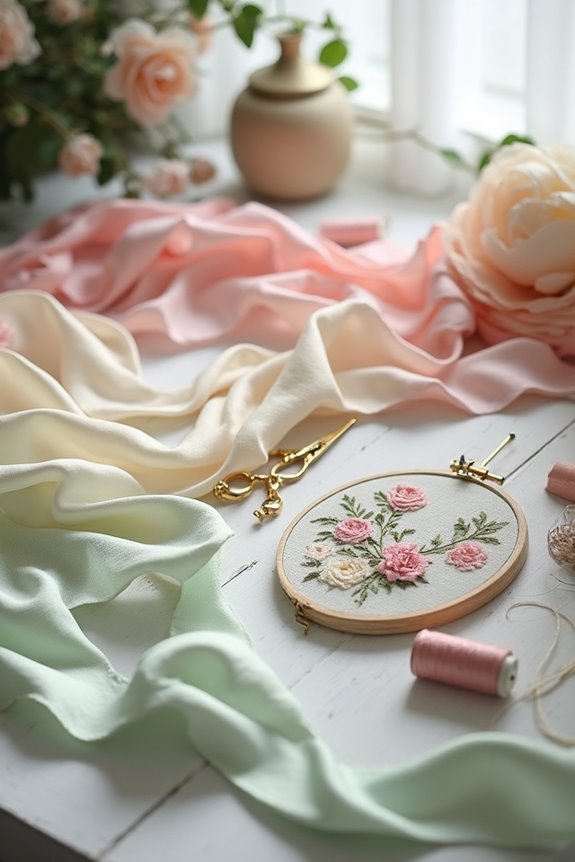
To create wall decor with punch needle, we’ll start by selecting tight-weave fabric like monk’s cloth. 🧵 Stretch it in a hoop for even tension. Use a punch needle sized between 3mm to 5mm. First, transfer your pattern onto the fabric, then outline using tightly spaced stitches, about 6 per inch. For the filler, use 4 stitches per inch for added texture. 💡 We can explore mounting options and creative tips for your designs next!
Key Takeaways
- Choose sturdy, tightly woven fabric and secure it in an embroidery hoop for stable and even punching.
- Select a suitable punch needle size (3mm to 5mm) and maintain a relaxed grip for stitch control.
- Transfer your design onto the fabric and outline it tightly with contrasting yarn colors.
- Fill the interior loosely with stitches to add texture, ensuring proper packing density for aesthetic appeal.
- Mount finished pieces in wooden frames or on foam core for an attractive wall display.
Preparation and Materials Needed
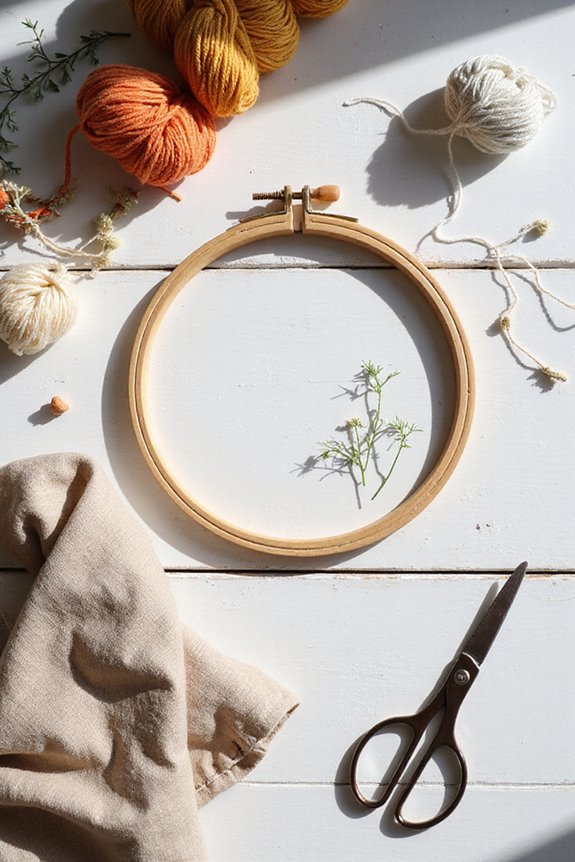
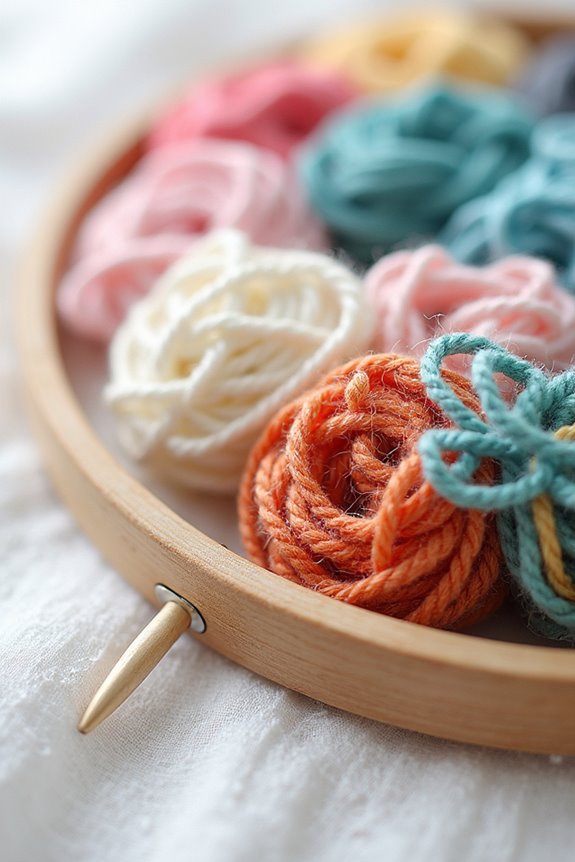
When we’re getting ready to immerse ourselves in punch needle wall decor, preparation is key. First, let’s talk about fabric selection. We should choose a sturdy, tightly woven fabric, like monk’s cloth or linen. Stretch it taut over an embroidery hoop or frame to guarantee even tension. Don’t forget to tighten those frame screws to prevent any slacking.
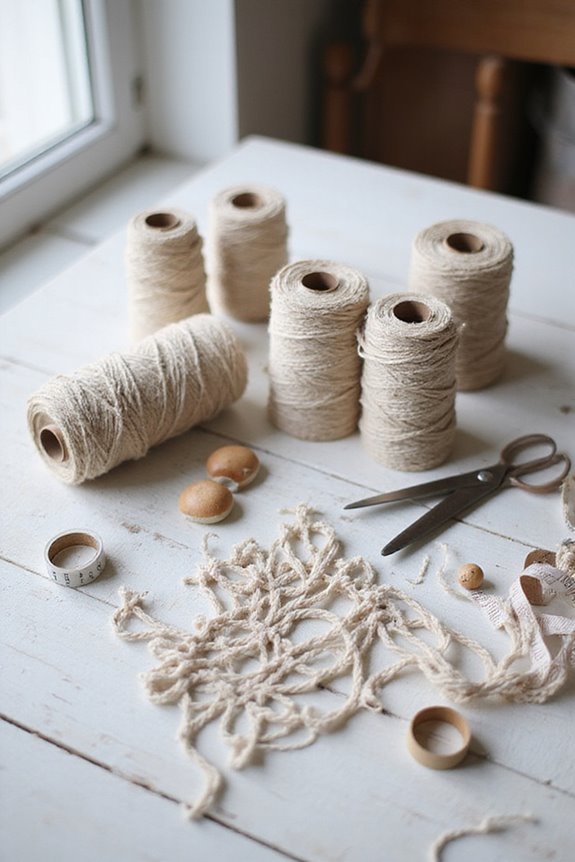
Now, onto tool essentials. Selecting the right punch needle size is vital; a 3mm to 5mm needle works for most yarn thicknesses. Keep a needle threader handy for easy yarn loading and have scissors ready for trimming. ⚙ Additionally, using adjustable punch needle tools can provide versatility for different yarn and fabric types. 🧶 Lastly, prepare a yarn skein with loose tension to avoid knots while we punch! 🧶 Happy crafting!
Understanding Punch Needle Technique Basics
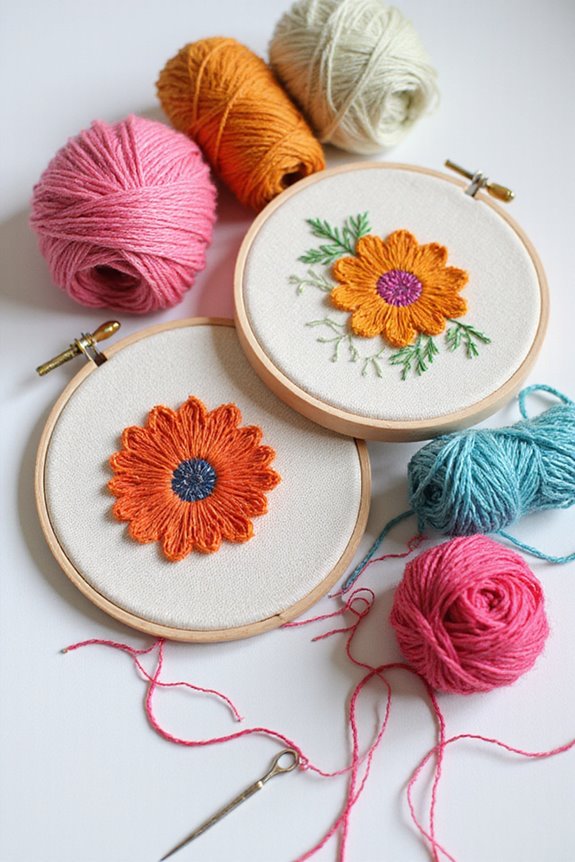
Let’s consider our yarn selection carefully, as the thickness affects our texture. A relaxed grip helps us control stitch placement, while maintaining consistent loop size creates an even texture. Don’t forget to pack outline stitches tightly at about 6 stitches per inch and use 4 stitches per inch for filler to add depth. Additionally, using high-quality materials ensures your finished product is both durable and beautiful.
When we punch, pushing the needle straight down lifts to create loops. With steady movement, we’ll prevent gaps and keep corners sharp. Let’s make our designs shine!
Steps to Create and Finish Your Design
Before diving into the process of creating and finishing our punch needle design, it’s important to get set up properly. Here’s how we can guarantee effective design execution:
- Transfer the pattern onto the fabric with a washable marker or tracing paper for clear guidelines.
- Use tight-weave fabric, like Monk’s cloth or linen, and secure it in an embroidery hoop.
- Outline with contrasting yarn colors, punching tightly spaced stitches (6 stitches per inch) for a neat border.
- Loosely fill the interior with about 4 stitches per inch to add texture. Additionally, ensure you have high-quality materials to enhance your crafting experience.
Once we finish, tuck loose yarn ends securely into the fabric back and trim any irregular loops. Finally, consider adding fringe or tassels for those finishing touches!
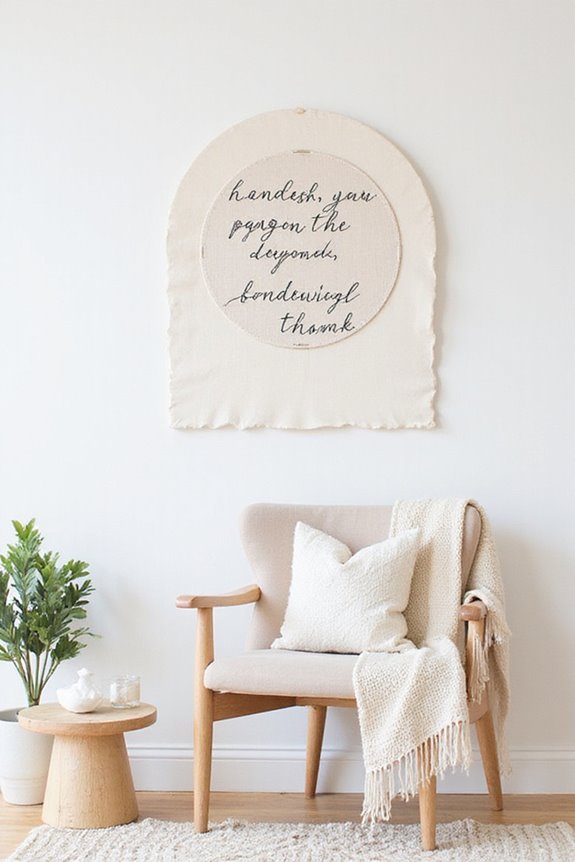
Effective Mounting and Display Options
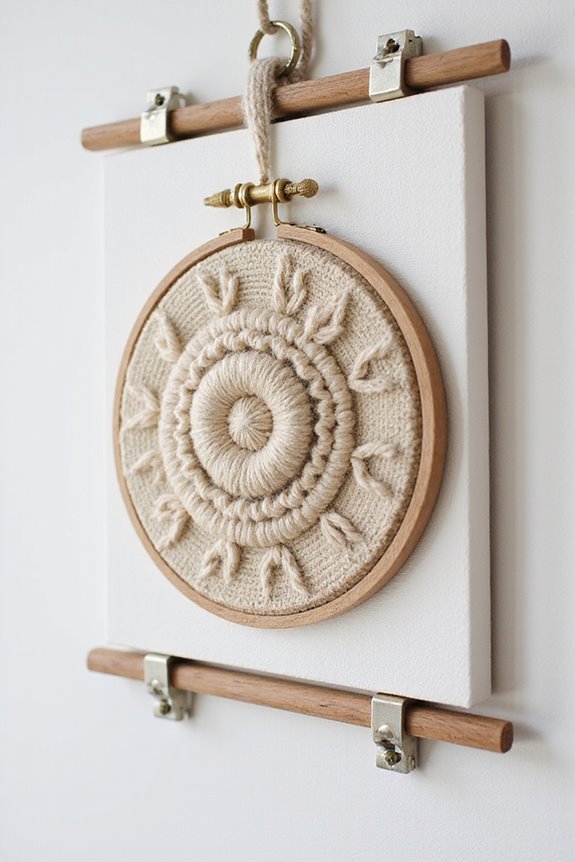
As we explore effective mounting and display options for our punch needle art, it’s essential to remember that how we present our creations can greatly impact their overall appeal. Here are some mounting techniques to contemplate:
- Wooden Frames: Center your design, wrap the fabric around the edges, and secure it with a staple gun. ✅
- Foam Core: Use hot glue to attach your fabric layers, ensuring a flat surface for display. 🖼
- Dowel Rods: Fold and glue the fabric back, attaching a dowel rod for easy hanging. 🎀
For display ideas, think about creating gallery walls or layered art displays, which can really showcase your work. Remember to reflect on lighting, as it highlights the texture of our designs beautifully. 💡 Additionally, incorporating various wood burning kits into your decor can enhance the overall artistic appeal of your space.
Design Tips and Style Variations
After finding the perfect mounting options for our punch needle art, it’s time to think creatively about the design itself. 🎨 Design tips and style variations can transform your piece into a stunning focal point that complements your overall décor.
- Start with a rough sketch to plan your colors and patterns using color theory for balance.
- Choose contrasting colors for a bold look or stick to monochromatic for a minimal vibe.
- If you’re after texture, mix yarn types like acrylic and wool for added depth.
- Use consistent stitch lengths for uniformity, aiming for six stitches per inch for outlines.
- Consider incorporating geometric shapes or seasonal palette variations to keep your design fresh and engaging.
- Remember to explore color variety to enhance your project’s creative options and inspire new ideas!
Let’s make something beautiful!
Troubleshooting Common Punch Needle Issues
While creating beautiful punch needle art can be rewarding, we might encounter a few common issues that can disrupt our flow. Let’s explore some needle slippage solutions and yarn blockage remedies.
- Needle Slippage: If our needle retracts too often, we need to tighten the needle knob securely. Regularly checking its tightness is key to consistent loops.
- Yarn Blockages: When we feel resistance, it’s time to check for knots. If we find any, pull the needle out and cut the yarn. Removing any obstructions helps maintain a smooth flow.
Care and Maintenance for Your Punch Needle Art
Creating punch needle art is just the beginning; taking care of our finished pieces is key to ensuring they remain vibrant and intact for years to come. Here are some helpful cleaning techniques and storage solutions:
- Cleaning: Gently hand wash with mild soap, avoiding machine washing to prevent damage. For light dust, use a soft brush or cloth. Lay pieces flat to dry to maintain their shape.
- Storage: Keep our art flat in a cool, dry place, avoiding direct sunlight to prevent fading. Use acid-free tissue paper between stacked pieces to avoid snagging.
Incorporating Color and Texture Into Your Design
Next, experiment with loop length to create depth. For example, combining small, tightly punched loops with longer ones adds richness and dimension. Vary the direction of your loops to enhance texture even further! Remember to adjust stitch density; a denser outline gives clarity while more open fills create visual attraction. With these techniques, we’ll craft eye-catching wall decor that stands out beautifully! ✨
Exploring Mixed Media With Punch Needle
Exploring mixed media with punch needle can open up exciting creative avenues for our wall decor projects! By integrating various mixed materials, we can achieve stunning texture contrast that truly stands out.
Here are some tips to get started:
- Base Layer: Consider using structured fabrics or leather for stability.
- Add Texture: Layer in materials like wood bits or metal. They provide depth and interest!
- Stitching: Experiment with embroidery stitches alongside punch needle loops for added detail.
- Use Upcycled Items: Incorporating pieces from old journals or leather gives a personal touch and promotes sustainability.
Inspiration for Your Next Punch Needle Project
Punch needle projects can ignite our creativity, making it easy to find inspiration for stunning wall decor. To kickstart our next piece, let’s explore:
- Nature Motifs: Think about floral designs or botanical elements to brighten our space. Scandi-inspired styles are quite trendy! 🌿
- Abstract Patterns: These give us the freedom to play with colors and stitch density, creating a unique look for our home. 🎨
- Personal Touches: We can add personalized monograms or phrases for a customized flair.
- Seasonal Themes: Adapting our projects to suit different times of the year keeps our decor fresh and inviting. 🍂
Let’s immerse ourselves in our punch needle journey and create decor that reflects our style!
Frequently Asked Questions
Can I Use Any Type of Fabric for Punch Needle Projects?
We can’t use just any fabric types for punch needle projects. Choosing the right fabric, like Monk’s Cloth or Linen, guarantees our needles glide easily and our designs come out beautifully. It’s all about compatibility!
How Do I Fix a Mistake in My Punch Needle Work?
When we’re fixing mistakes in our punch needle work, it’s essential to be gentle. Carefully remove the incorrect stitch, then apply techniques to minimize any visible flaws, ensuring our final piece looks polished and intentional.
What Type of Yarn Is Best for Beginners?
When starting out, we recommend using cotton yarn or acrylic yarn. Cotton’s smooth texture makes handling easier, while acrylic is budget-friendly. Both allow us to create beautiful projects without overwhelming ourselves, ensuring a fun learning experience!
Can I Wash My Punch Needle Art?
Yes, we can wash our punch needle art! We should follow care instructions carefully, opting for gentle washing and proper drying methods to maintain its beauty and integrity while ensuring it lasts for years to come.
How Long Does It Take to Complete a Punch Needle Project?
The project duration really depends on our skill level and the design complexity. Typically, simple projects take a few hours, while intricate designs may require several more, especially with careful stitching and finishing touches involved.