As an Amazon Associate, we earn from qualifying purchases. Some links on this site are affiliate links at no extra cost to you. Our recommendations are based on thorough research and editorial judgment.
How To Make Handmade Beaded Jewelry
To make handmade beaded jewelry, I gather materials like glass or gemstone beads, and nylon or elastic cords. I use essential tools such as pliers and wire cutters to shape and cut my wire. Start by stringing your beads onto the cord, tying knots as needed for secure spacing. Mix colors and textures for a balanced design, using larger beads as focal points. By following these steps, you’ll create unique pieces—let’s explore more techniques together! ✨
Key Takeaways
- Select appropriate beads based on your desired style, such as glass, plastic, gemstone, or wooden beads for your jewelry pieces.
- Choose the right cord for your project; options include nylon thread for durability, elastic cord for stretch, or silk thread for delicate designs.
- Use essential tools like pliers, wire cutters, and bead mats to effectively craft your jewelry while keeping everything organized.
- Experiment with stringing techniques such as stretch cord, knotting between beads, or memory wire to create unique designs and finishes.
- Incorporate design principles like color theory, balance, and proportion to create aesthetically pleasing and cohesive jewelry pieces.
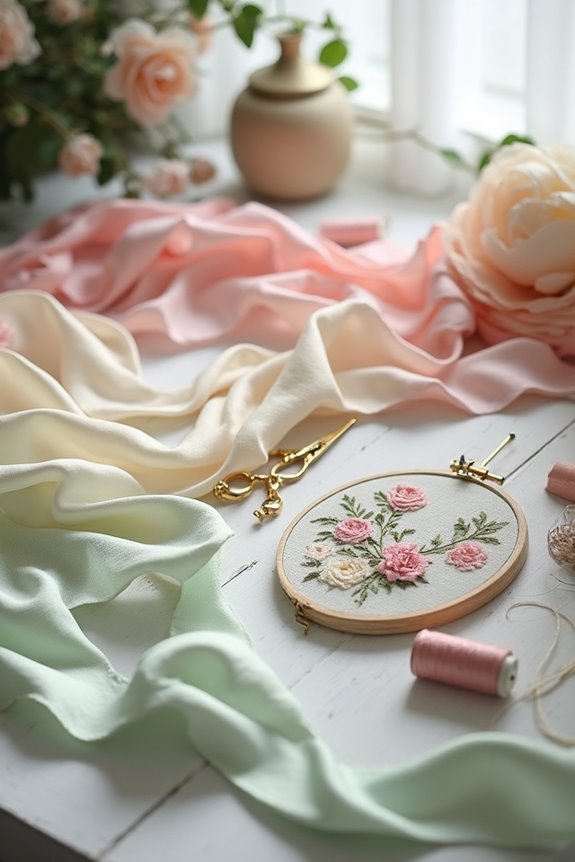
Materials Needed for Handmade Beaded Jewelry
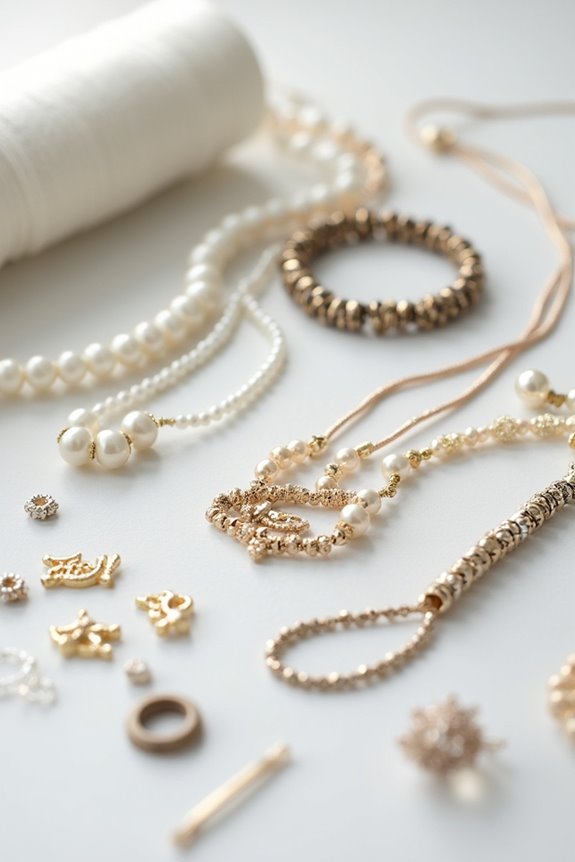
When you’re ready to plunge into making your own handmade beaded jewelry, you’ll need a few key materials to get started.
Bead Types:
- Glass beads: Great for vibrant, elegant pieces.
- Plastic beads: Lightweight and budget-friendly!
- Gemstone beads: They add a luxurious touch.
- Wooden beads: Perfect for a natural look.
Cord Options:
- Nylon thread: Flexible and durable, ideal for most projects.
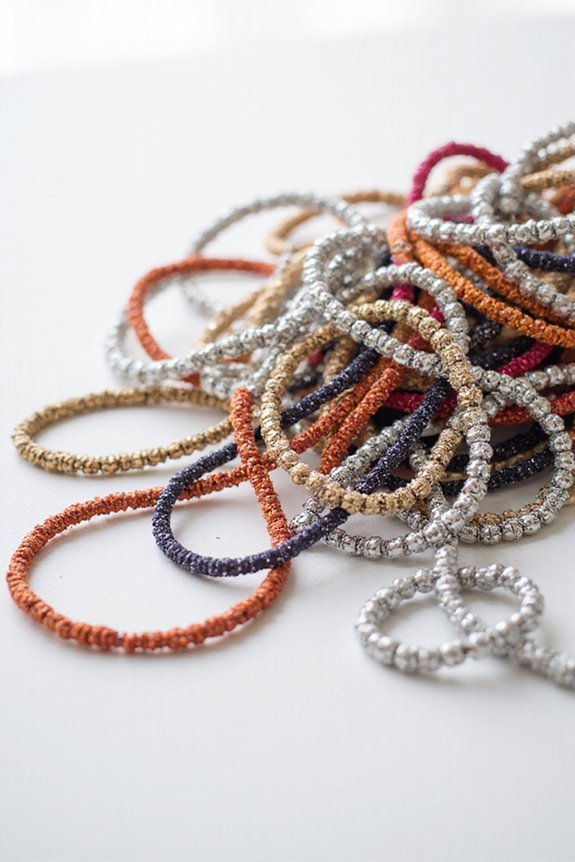
- Elastic cord: Best for making stretchable bracelets.
- Silk thread: A beautiful choice for delicate designs.
Before diving in, pick your favorite beads and cords based on your project’s style. Additionally, consider incorporating lobster clasps for a secure and stylish finish to your jewelry. 🎨 Happy crafting!
Essential Tools for Crafting Jewelry
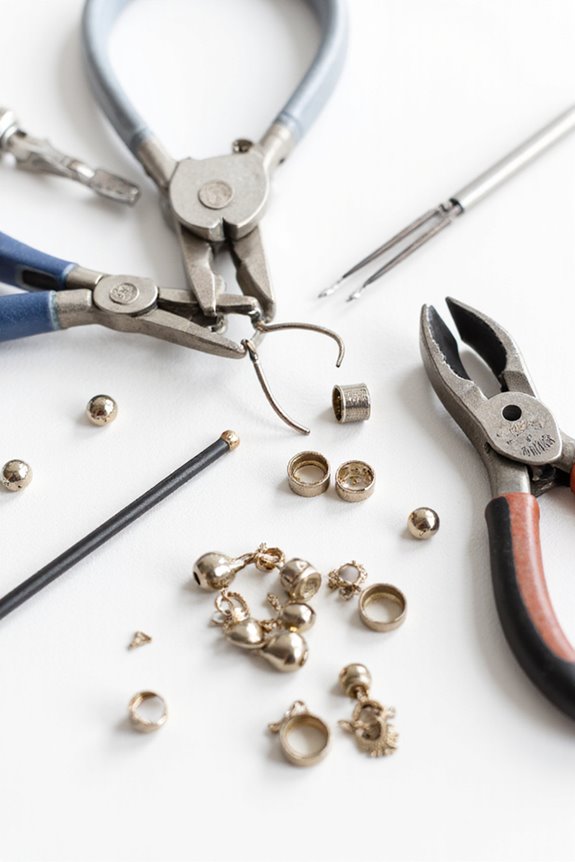
Crafting beautiful jewelry isn’t just about the beads; it also requires the right tools. Here’s what I consider essential:
- Pliers: Chain-nose, round-nose, and flat-nose pliers help with gripping and shaping wire.
- Wire cutters: Get flush cutters for precise cuts on wires and threads.
- Bead mats and boards: These guarantee your beads stay organized and avoid rolling away.
- Beading needles and thread: Pick the right size for your beads to make threading easier. Additionally, using high-quality wire ensures the durability and aesthetic appeal of your crafted jewelry pieces.
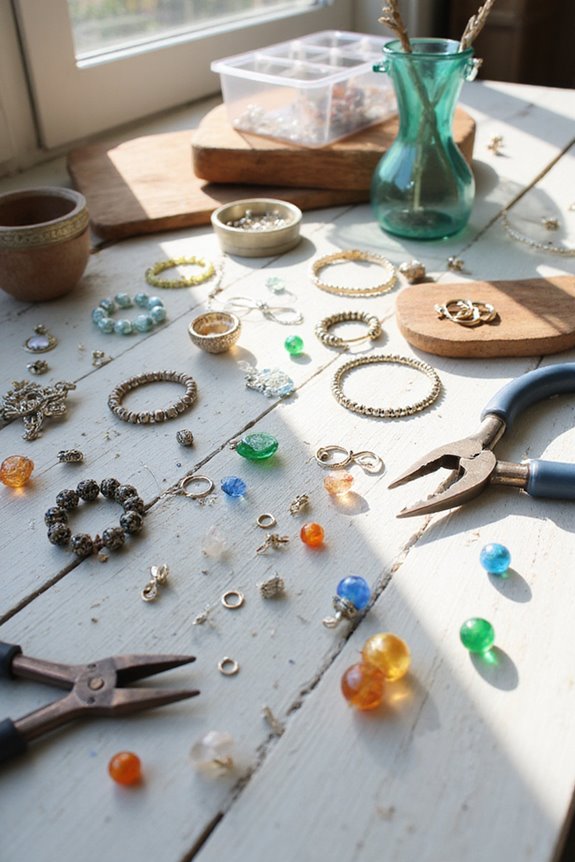
Selecting the Right Beads and Cords
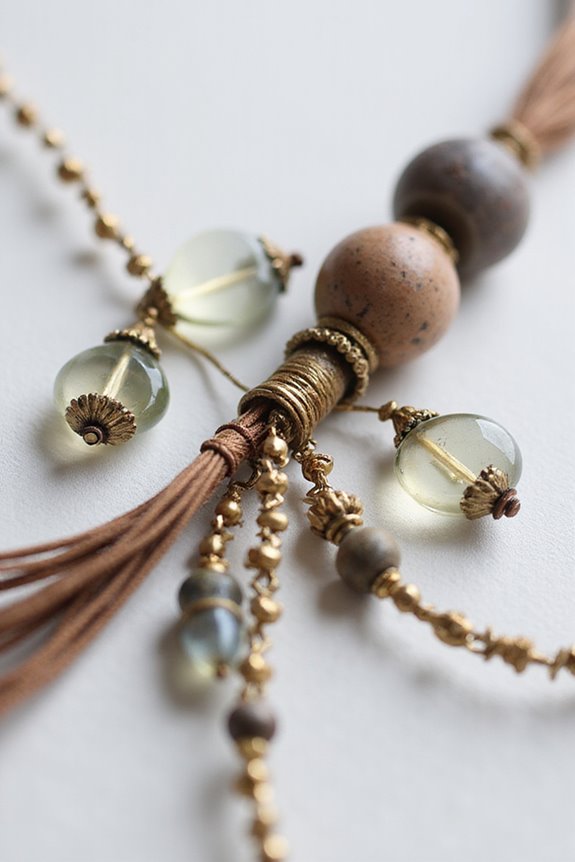
Selecting the right beads and cords is essential for creating stunning handmade jewelry. First, consider your bead color. Glass beads offer brilliant sparkle, while wooden beads provide a natural look. Choose metal beads for durability or plastic for lightweight options.
Next, think about cord texture. Leather cord suits larger beads and gives a rustic vibe. For smaller beads, waxed linen or cotton cords are ideal, as they’re thin yet strong.
When pairing beads and cords, match the cord thickness to your bead holes—thicker cords like hemp complement large-hole beads, while thinner cords work for delicate designs. Additionally, selecting the appropriate wire gauge can significantly impact the overall structure and durability of your jewelry piece. Remember, your choices create a cohesive look, so select beads and cords that enhance each other’s beauty!
Techniques for Stringing Beads
Once you’ve chosen your beads and cords, it’s time to bring them together using various stringing techniques. Here are some methods I find particularly useful:
- Stretch Cord: Perfect for beginners, it allows easy knotting. For added knot security, dab a little glue on the knot. Plus, you can create stretchy bracelets that don’t require exact sizing.
- Memory Wire: This retains its coiled shape, making durable pieces. Beads slide onto the wire easily, and it springs back to fit.
- Knotting Between Beads: This secures beads tightly and manages bead spacing. Using an awl helps keep knots close, ensuring durability. Additionally, incorporating stainless steel jump rings can enhance the overall aesthetics and durability of your jewelry pieces.
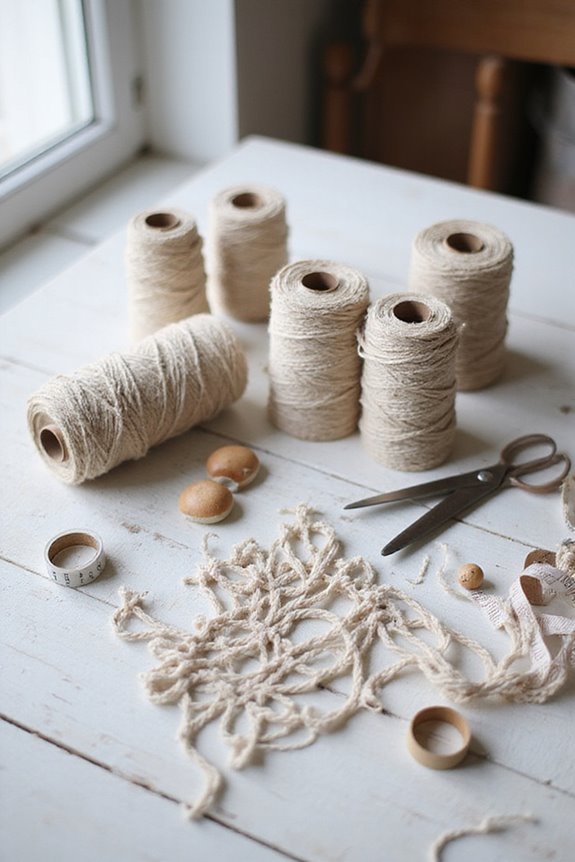
Popular Types of Beading Threads and Cords
If you’re working with larger beads, try leather or waxed cotton cords, which offer durability and nice aesthetics. Cords come in diverse cord thickness variations, so choose based on your project needs. Remember, the right thread or cord can make all the difference! ✨ Additionally, consider using ergonomic designs for improved comfort while beading, ensuring a more enjoyable crafting experience.
Design Considerations for Your Jewelry
Now that we’ve explored the different types of beading threads and cords, let’s shift our focus to how you can design your jewelry thoughtfully.
Think about color theory; blending colors can influence the mood of your piece. For example, complementary colors can create a vibrant contrast.
Also, pay attention to texture contrast; mixing different bead shapes and finishes adds interest. Consider:
- Balance: Use symmetrical or asymmetrical arrangements.
- Proportion: Make sure bead sizes relate well—larger beads can be focal points.
- Emphasis: Draw attention to key elements, like a large pendant.
Step-by-Step Guide to Making a Beaded Necklace
Creating your own beaded necklace can be a fun and rewarding experience. Here’s a simple step-by-step guide to help you get started:
- Gather Your Materials: Choose appropriate beading wire based on your bead weight and desired necklace length. Pick bead colors that inspire you!
- Stringing: Start by sliding a crimp bead onto the wire, then add the first clasp part. String your beads in a prearranged pattern, leaving some snugness for flexibility. Use a bead stopper at the end.
- Securing Ends: Once you’ve reached your desired length, add the second crimp bead and clasp. Loop the wire back through for security.
- Final Touches: Trim excess wire and check that everything’s even. Store your gorgeous creation safely! 🧵✨
Tips for Enhancing Your Jewelry Creations
🔹 Make sure to use secure crimps and properly open and close jump rings for durability.
🔹 Consider using unique closures like toggles or lobster clasps that are suitable for your design.
For added flair, try the fringe technique to create dynamic textures and movement. Don’t forget to keep your tension consistent when stringing beads; this avoids slack and enhances presentation! Remember, practice makes perfect, so don’t be afraid to experiment with different techniques and materials!
Frequently Asked Questions
How Can I Effectively Organize My Beading Materials?
I’ve found that organizing my beading materials starts with sorting by type, like materials and tools. Clear containers help me see everything at a glance, making finding the right supplies much easier.
What Is the Best Way to Clean My Beaded Jewelry?
When cleaning my beaded jewelry, I use gentle techniques like lukewarm water and mild soap. Regular maintenance keeps my pieces looking fresh, avoiding harsh chemicals that could damage them. It’s all about being careful and caring!
How Should I Store My Finished Jewelry Pieces?
Storing your finished jewelry pieces is like nurturing a garden. I use charming jewelry boxes and elegant display stands, ensuring each piece is visible and cherished, allowing my creativity to bloom every time I glance at them.
Can I Incorporate Non-Beading Materials Into My Designs?
I love incorporating non-beading materials into my designs. Metal accents add structure, while fabric elements like silk or cotton twine provide texture, creating unique, eye-catching pieces that stand out beautifully. Trust me, it’s worthwhile!
What Is the Average Time Needed to Complete a Jewelry Piece?
When I work on a jewelry piece, it usually takes between 5 minutes to a few hours. Bead types and design inspiration really influence the time I spend crafting each unique creation.