As an Amazon Associate, we earn from qualifying purchases. Some links on this site are affiliate links at no extra cost to you. Our recommendations are based on thorough research and editorial judgment.
How To Start Jewelry Making At Home
Starting jewelry making at home is exciting! First, let’s gather our essential tools: pliers, wire cutters, and a sturdy workbench. We’ll need materials like metal sheets, sterling silver wire, and beads. Next, we should practice basic techniques such as bead stringing and wire wrapping. Setting up our workspace in a well-lit area helps, too. Remember to sketch our design ideas for clarity. If we’re enthusiastic to learn more techniques and styles, we can explore further insights! ✨
Key Takeaways
- Gather essential tools and materials such as pliers, wire, beads, and safety equipment to ensure a safe and productive workspace.
- Set up your workspace in a quiet, well-lit area with an ergonomic setup to enhance comfort and efficiency during jewelry making.
- Learn and practice basic jewelry making techniques like bead stringing, wire wrapping, and crimping to build foundational skills.
- Plan your designs by sketching ideas and exploring variations to develop unique, wearable pieces that are visually appealing.
- Utilize online tutorials and engage with jewelry-making communities to access resources, gain inspiration, and share experiences for continuous learning.
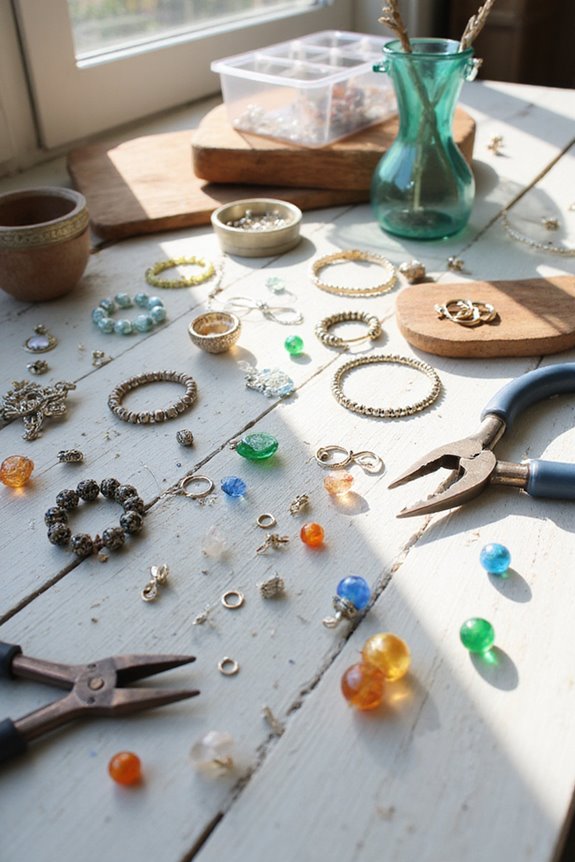
Essential Tools and Materials for Beginners
Starting our journey into jewelry making requires the right tools and materials to set us up for success. 🛠 Whether we’re crafting our first piece or honing our skills, having a solid toolkit is essential.
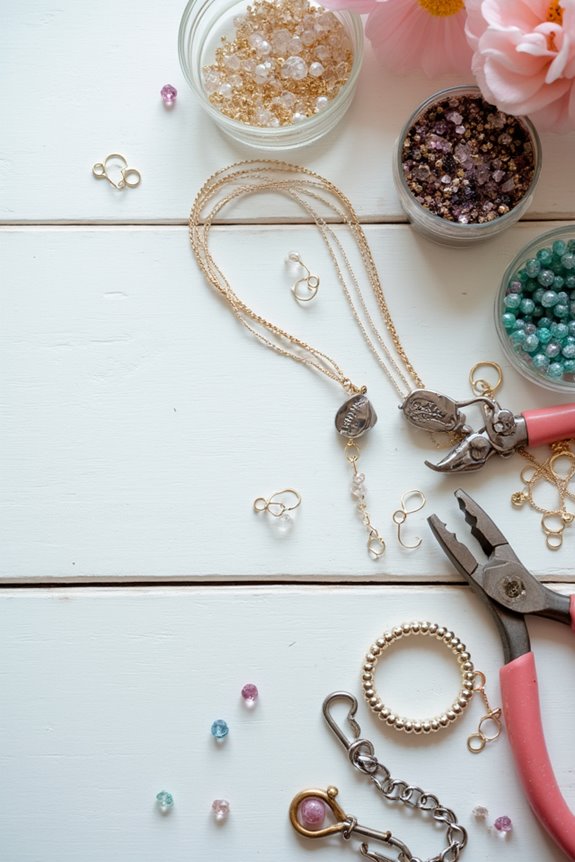
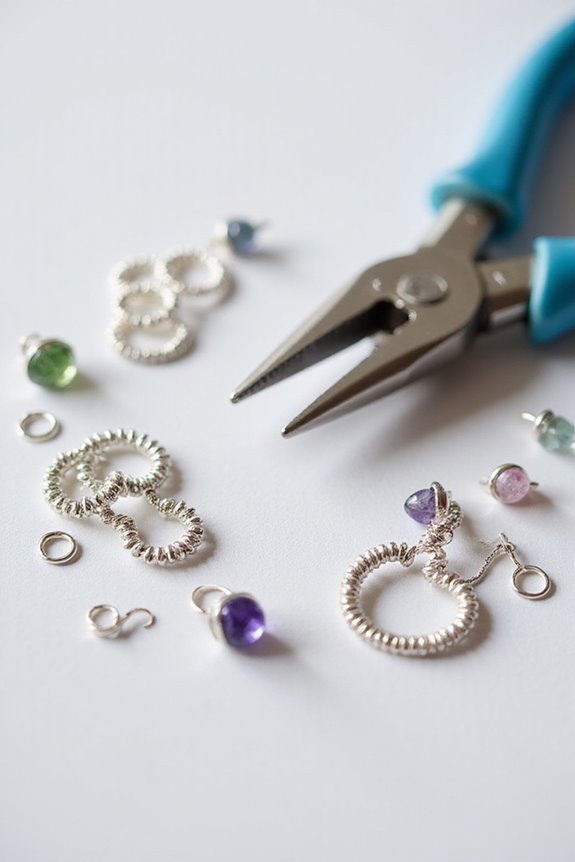
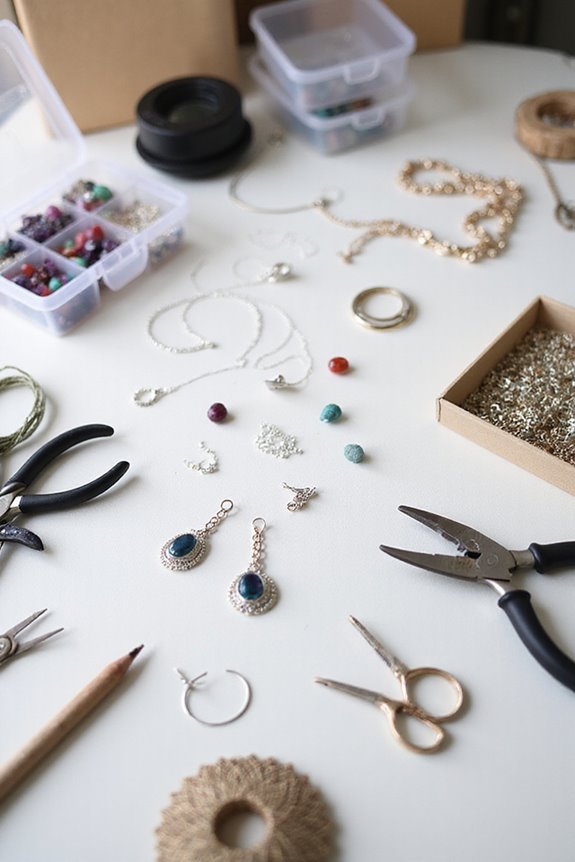
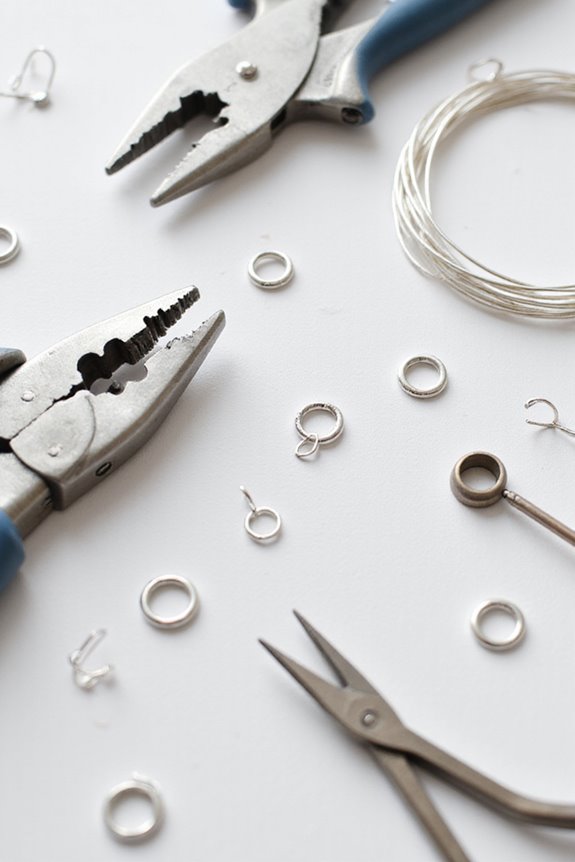
For tool selection, we must focus on essential pliers like flat nose for grasping pieces, round nose for crafting loops, and side cutters for clean cuts.
Material types play an important role too. We’ll need metal sheets and wires for our creations. Additionally, having a jeweler’s saw and a quality workbench will enhance our precision. It’s also beneficial to choose sterling silver wire for its durability and ease of manipulation, which can significantly improve our projects.
Let’s not forget soldering equipment like a handheld torch and soldering tweezers. Investing in these tools and materials will boost our budding jewelry-making adventures!
Basic Jewelry Making Techniques to Master
With the right tools and materials at our fingertips, we can now explore some basic jewelry making techniques to truly bring our creations to life. 🛠 Mastering these methods will not only enhance our skills but also expand our design possibilities.
- Bead Stringing: Use stretch cords or nylon-coated wire. Remember to measure and add 5-6 inches for knots!
- Wire Wrapping: Wrap wire around beads to attach components—practice making loops with round-nose pliers.
- Crimping Techniques: Use crimp beads for securing wire ends and clasps tightly.
- Knotting Techniques: Hand-knot to separate beads, pulling knots tightly for a neat finish.
- Tassel Embellishments: Create tassels with threads, securing their tops for lovely accents.
- Clasp Selection: Choosing the right lobster clasp size is crucial for ensuring the security and style of your jewelry pieces.
Let’s get started!
Setting Up Your Jewelry Making Workspace
Creating a well-organized jewelry making workspace can greatly enhance our creativity and productivity. 🛠 A dedicated area helps us focus on our projects and keeps our tools and materials within easy reach.
Choose a quiet spot with good workspace lighting; natural light is best, but don’t forget adjustable artificial lights for detailed work. Let’s plan an ergonomic setup with a bench height that suits us. Organize our space into zones for different tasks, like soldering and polishing, to improve workflow.
Use pegboards for hanging tools and stackable organizers for tiny findings. Maintaining ventilation is essential, especially near soldering areas. Finally, let’s establish a cleaning routine to keep our workspace tidy. A well-maintained area keeps us motivated and safe! Additionally, consider incorporating stainless steel jump rings into your designs for added durability and aesthetic appeal.
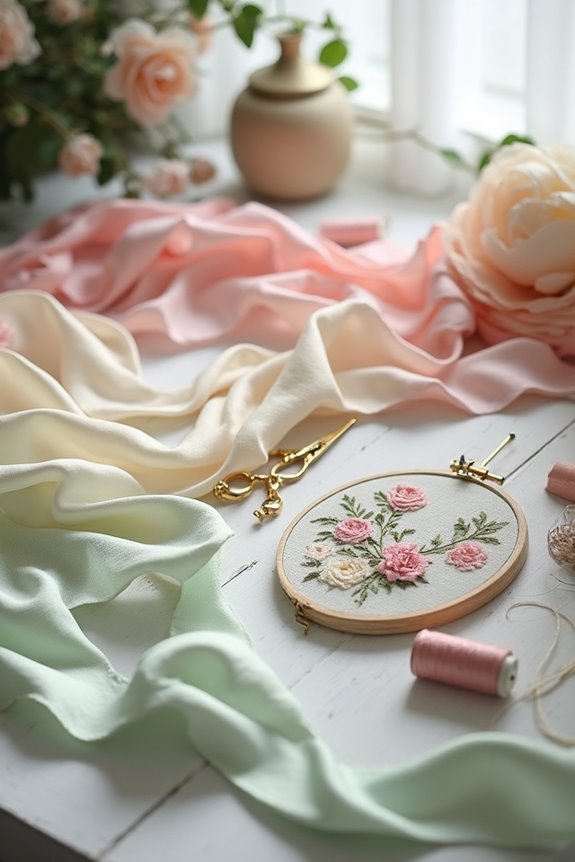
Planning and Designing Your First Pieces
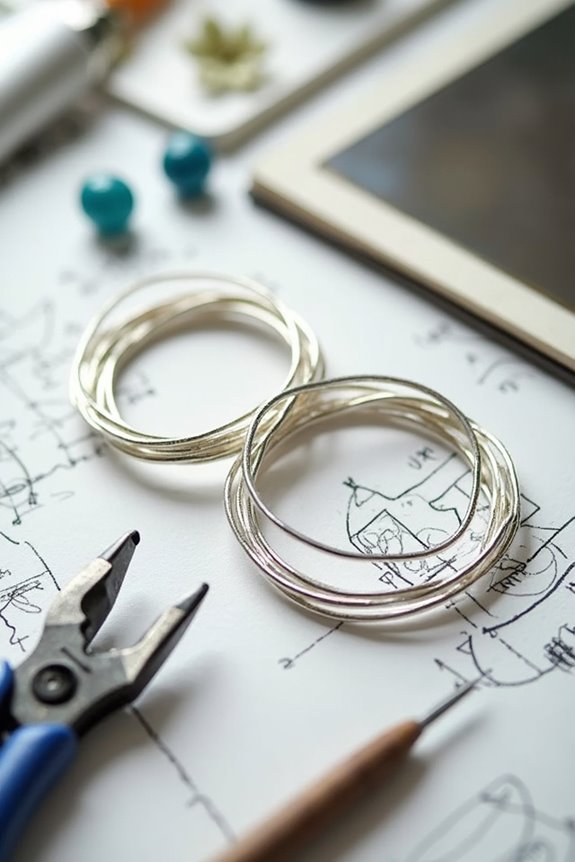
Planning our first jewelry pieces requires a blend of creativity and thoughtful consideration. 📝 Before we plunge into crafting, let’s sketch out our ideas to solidify our vision. Start with simple sketches, focusing on design inspiration, shapes, structures, and proportions.
Here are some tips to enhance our designs:
- Use pencil and paper or digital tools for flexibility in sketch techniques.
- Explore multiple variations of a concept to understand different aesthetics.
- Consider balance and proportion to guarantee elements complement each other.
- Choose materials wisely, aligning them with our design goals and available skills.
- Visualize wearability, guaranteeing comfort and security in settings.
- Incorporate various wire sizes to expand design possibilities and enhance your projects.
We’re laying the groundwork for memorable pieces with these steps!
Learning Resources for Skill Development
Now that we’ve laid the foundation for our jewelry designs, it’s time to expand our skills. 📚 There’s a wealth of learning resources that can guide us through every step of jewelry making.
- Online Tutorials: Websites like Fusion Beads and Instructables offer structured projects for beginners. We can watch step-by-step videos on YouTube to master wire wrapping and beadwork.
- Printed Guides: Books such as “Jewelry Making for Beginners” provide us with illustrated instructions and valuable tips. They often detail tools and project ideas, helping us progress our skills at our own pace. Additionally, understanding the durability and maintenance of metal stamps can significantly enhance our jewelry-making process.
Safety Practices in Jewelry Making
When diving into jewelry making, it’s important to prioritize our safety first, as this will keep our creative journey enjoyable and accident-free. 🛡 We should always wear appropriate Personal Protective Equipment (PPE) to minimize risks. Here are some key practices:
- Closed-toed shoes protect us from falling objects.
- Safety glasses or goggles are crucial when using tools to shield our eyes.
- Consider a respirator or dust mask while sanding to protect our lungs.
Regular safety audits of our workspace help identify hazards, while consistent equipment maintenance guarantees tools function properly. Let’s keep our work area clean, organized, and well-lit to reduce accidents. Finally, having a first aid kit nearby is a smart move for quick responses to minor injuries!
Organizing Your Materials and Tools
Getting organized with our jewelry-making materials and tools is essential for a smooth and enjoyable crafting experience. 🛠 By setting up a system that works for us, we can increase efficiency and reduce stress.
First, let’s focus on bead organization. We should categorize beads by color, size, and shape, using clear, stackable containers for easy visibility. For tool storage, pegboards are fantastic for hanging essential tools like pliers and scissors.
Remember to label everything, noting the contents and sizes for quick access. Keeping a digital inventory can help us track supplies, avoiding the hassle of running out. Finally, let’s maintain our organization by returning materials and tools to their spots after use, ensuring a tidy and efficient workspace.
Exploring Different Jewelry Styles
After we’ve organized our materials and tools, it’s the perfect time to explore the exciting world of different jewelry styles. From historic techniques to modern adaptations, we have so many options!
Here are a few styles to reflect on:
- Mokume Gane: An ancient method creating distinct, wood-like patterns in layered metals.
- Filigree: Intricate metalwork that produces lacy designs, once popular across many cultures.
- Enameling: Adding vibrant colors to metal surfaces for a lasting effect.
- Wire wrapping: A beginner-friendly method to create unique designs around stones.
Each style showcases different techniques, allowing us to experiment while developing our own artistic voice. Let’s plunge into and start crafting pieces that reflect our individuality! ✨
Tips for Enhancing Your Creativity
Creativity isn’t just a talent; it’s a skill we can develop together! Let’s plunge into some effective creativity exercises to spark our inspiration.
- Experiment with materials: Combine beads, wire, and metals for unique designs. 🧵
- Sketch your ideas: Mapping out designs helps us visualize our visions fully. ✏
- Layer styles: Mix statement pieces with delicate ones for intriguing contrasts.
- Upcycle old jewelry: Reusing broken elements can lead to innovative creations! ♻
- Explore external inspiration sources: Observe nature, art, and trends for fresh ideas.
Joining the Jewelry Making Community
Joining a jewelry making community can greatly enhance our creative journey. We connect with others who share our passion, which brings numerous community benefits. Here’s how we can take advantage:
- Networking opportunities: Meet others and expand our connections.
- Mentorship programs: Learn from seasoned artists who can guide us.
- Collaborative projects: Work together on fun, themed challenges.
- Feedback sessions: Share work for constructive critiques and encouragement.
- Resource sharing: Access tools and materials that we might not have.
- Trend discussions: Stay updated on popular designs and techniques.
- Support groups: Find encouragement when facing challenges.
Platforms like PriceScope, Reddit’s r/jewelry, and Ganoksin are perfect for these activities! Let’s plunge into and enrich our jewelry making experience together! 🌟
Frequently Asked Questions
What Is the Best Age to Start Jewelry Making?
We believe the best age to start jewelry making is around 8, when kids can handle jewelry materials and beginner techniques. It fosters creativity and fine motor skills, making it enjoyable for all ages!
Can I Make Jewelry Without Expensive Tools?
We can create beautiful jewelry using budget materials and DIY techniques without breaking the bank. With just a few basic tools, our creativity can shine, turning everyday items into stunning jewelry pieces.
How Long Does It Take to Learn Jewelry Making?
Much like a river carving its path, our learning pace in jewelry making flows with practice frequency. With dedication, we can master basics within weeks, progressing toward intermediate skills in just a few months of consistent effort.
Where Can I Sell My Handmade Jewelry?
We can sell our handmade jewelry through online marketplaces like Etsy and Amazon, local shops, social media platforms for wider reach, or participate in craft fairs to connect with customers directly and showcase our creations.
What Should I Do if I Get Stuck on a Project?
If we get stuck on a project, we should embrace that creative block. Exploring new project inspiration, like different materials or techniques, can reignite our passion and help us move forward in our jewelry-making journey.