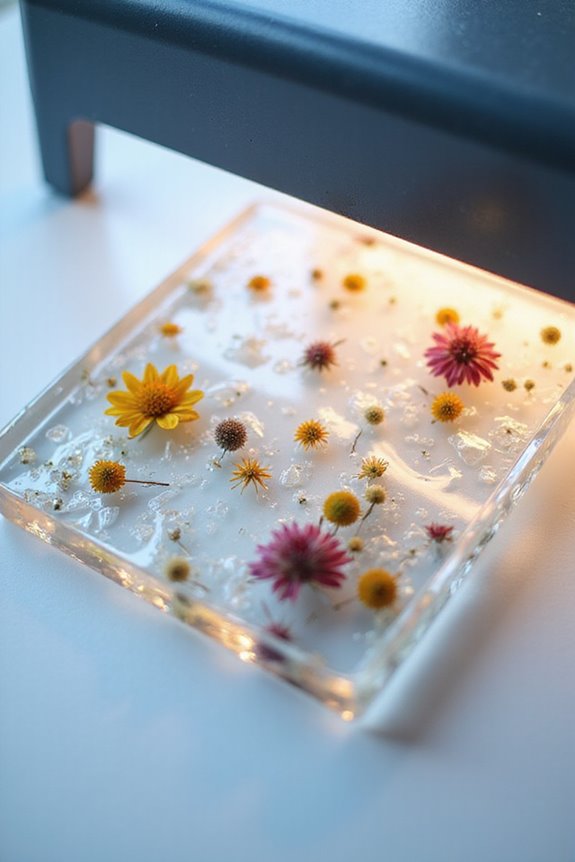
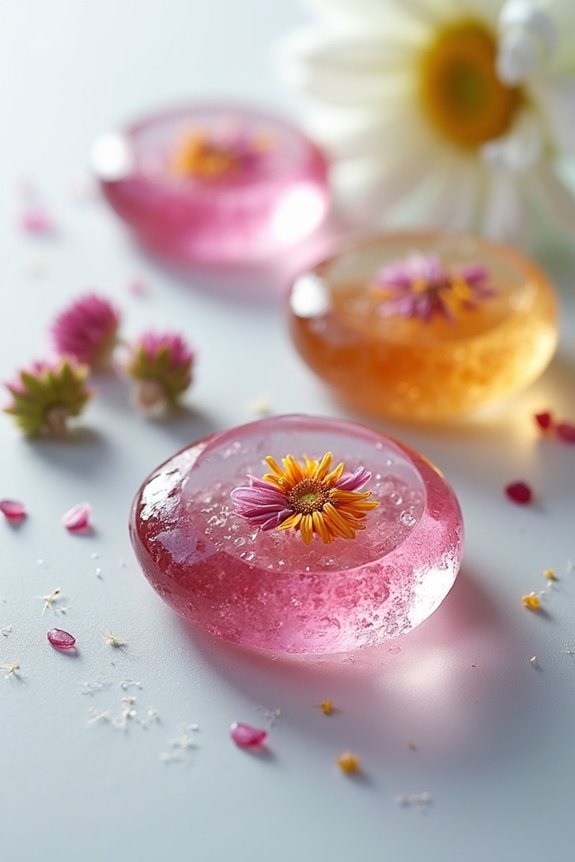
To make resin jewelry with real flowers, we’ll start by gathering our materials: two-part epoxy resin, silicone molds, and dried flowers. 🌼 Next, prepare the flowers by air drying or using silica gel for best results. Mix the resin according to the 1:1 ratio, stirring well for at least two minutes. Pour slowly into the molds, adding thin layers. After about 24 hours, remove the pieces, check for rough edges, and assemble with findings. 🛠 Keep going to discover more creative tips!
Key Takeaways
- Prepare real flowers by drying them with silica gel or pressing to preserve their shape and color before embedding in resin.
- Use a two-part epoxy resin mixed in a 1:1 ratio, ensuring thorough blending to avoid bubbles and achieve clarity.
- Pour resin in thin layers, allowing each layer to cure at stable temperatures of 70°F – 75°F, avoiding humidity and sunlight.
- After curing, carefully remove the pieces from molds and smooth out rough edges with a craft knife or fine sandpaper.
- Assemble the jewelry by securely attaching findings with pliers and resin glue, ensuring a strong hold and proper finishing touch.
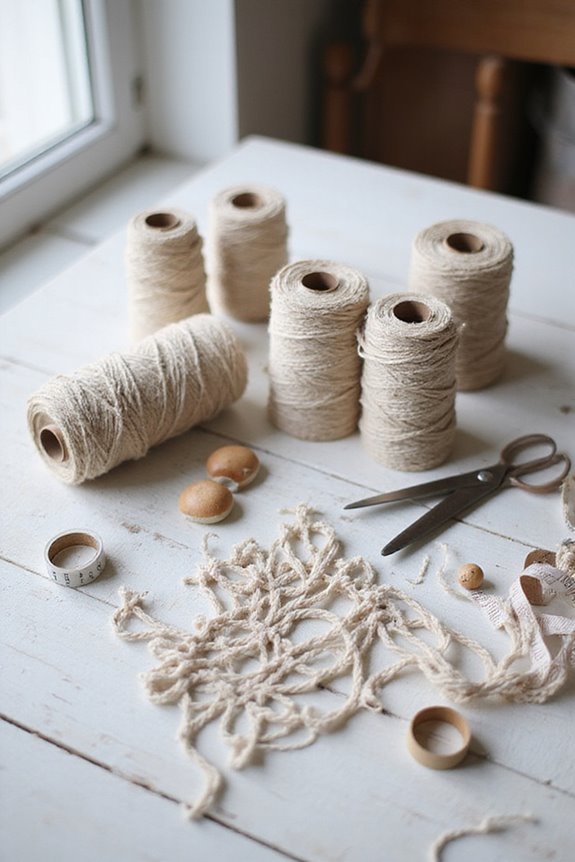
Materials Required for Resin Jewelry
When we’re diving into the exciting world of resin jewelry, gathering the right materials is key to a successful project. 🌟 We’ll need a few essential items to get started, ensuring we have everything necessary for crafting beautiful pieces.
- Resin Types: We’ll typically choose two-part epoxy resin for its strength and clarity. UV resin works great for quick, small projects.
- Safety Equipment: Let’s not forget our safety gear! Nitrile gloves protect our hands, and respirator masks shield our lungs from fumes.
- Molds and Bezels: Silicone molds are best for easy release, while jewelry bezels give our creations shape. Additionally, using high-quality, non-toxic resin ensures safety and durability in our finished products.
With these materials, we’re ready to begin our resin jewelry journey!
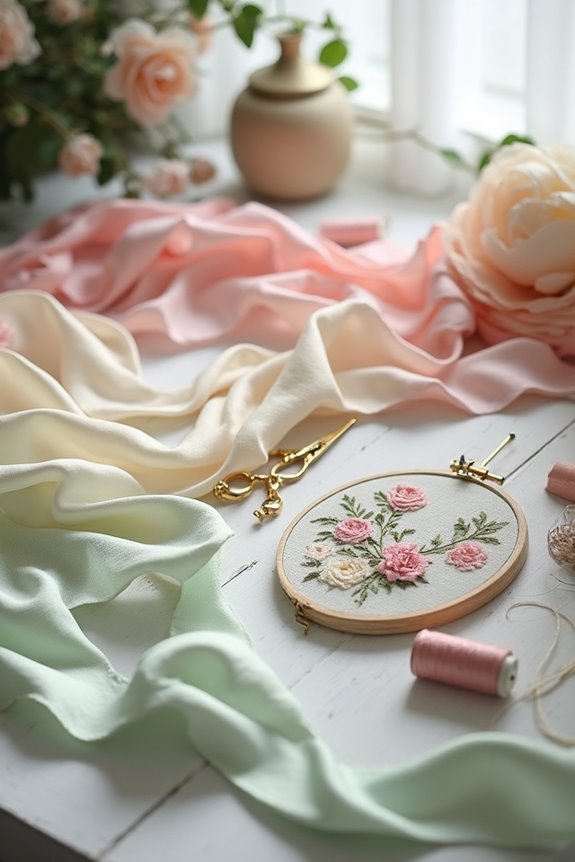
Preparing Flowers for Embedding
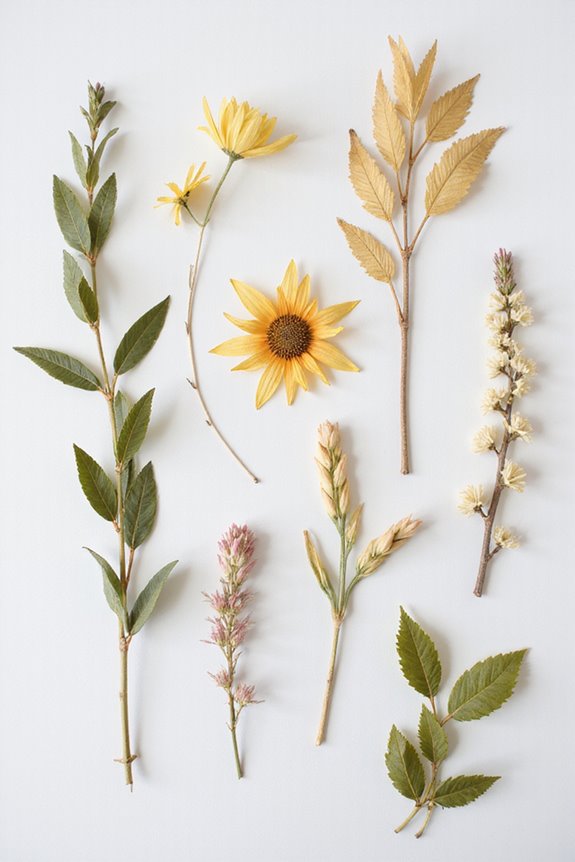
As we prepare our flowers for embedding in resin, understanding the right techniques makes all the difference. 🌸 Selecting the best flower drying method is essential to preserving their vibrant colors and shapes, which enhances the finished jewelry. Here are some popular techniques:
- Silica Gel Drying: Perfect for big blooms, it retains shape and color.
- Pressing: Ideal for thin flowers, using heavy books for a flat finish.
- Microwave Pressing: Quick but requires careful timing.
- Air Drying: Perfect for larger flowers, hang them in a dark, ventilated space.
After drying, we must clean our flowers gently, removing any residue. Flower sealing with hairspray or a clear acrylic spray helps prevent fading. Additionally, using high-quality materials ensures the durability of your final product. Allow everything to dry completely for the best results!
Mixing and Pouring Resin
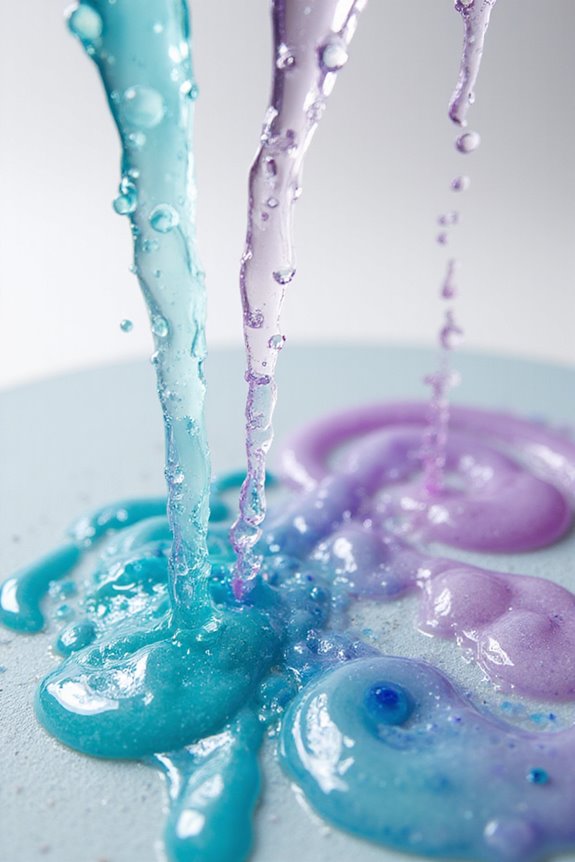
Now that we have our flowers beautifully prepared for embedding, it’s time to focus on mixing and pouring the resin for our jewelry.

First, we need to stick to the proper mixing ratios—typically, it’s a 1:1 ratio of resin to hardener. We’ll measure using clear cups to avoid confusion.
Here’s a quick guide:
- Mix in stages: Combine resin and hardener in one cup and stir for at least 2 minutes until fully blended.
- Transfer to a second cup: Mix again to guarantee thoroughness.
- Pour carefully: Make sure the workspace is level, and pour slowly to minimize air bubbles.
If bubbles appear, a heat source can gently pop them. It’s essential to ensure proper mixing ratios to achieve optimal curing and clarity. Let’s make certain our pieces shine!
Curing the Resin Pieces
Curing resin pieces is a crucial step in our jewelry-making process, guaranteeing our creations turn out beautifully and last long. To achieve this, we need proper curing techniques and heat management.
- Curing Time: Let’s wait about 24 hours for our resin to fully set, avoiding humidity and direct sunlight.
- Layering: Pour in thin layers, letting each reach gel stage (2-3 hours) before the next. This helps with flower placement.
- Heat Control: Overheating can damage delicate flowers, so keep layers thin and avoid curing large volumes at once.
We can also use a pressure pot to manage heat better. Remember, a stable temperature between 70°F – 75°F (21°C – 24°C) guarantees the best results! Additionally, following the curing times and conditions can significantly impact the quality of your final pieces!
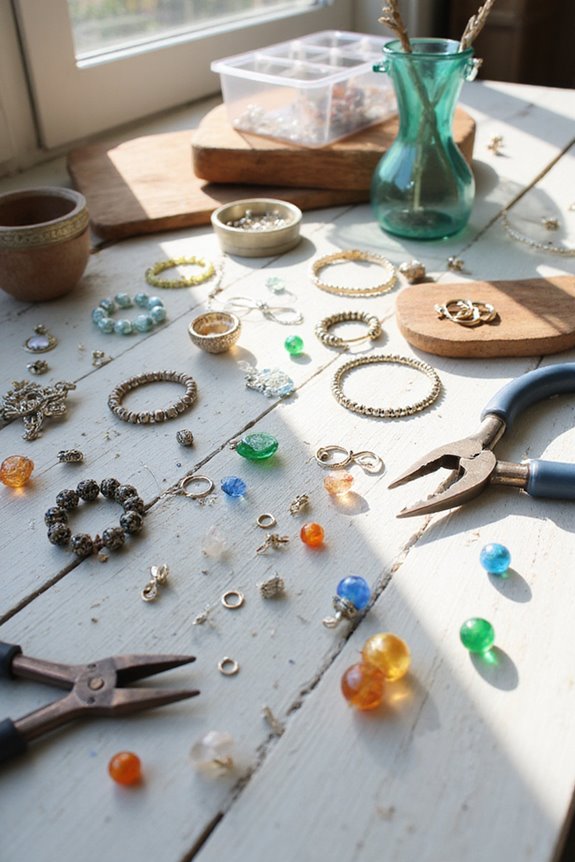
Finishing Touches and Assembly
Once we’ve confirmed our resin pieces are completely cured, we can move on to the exciting part—finishing touches and assembly! 🎉 This stage is where our beautiful creations truly come together, so let’s take our time to get it right.
- Carefully remove our pieces from molds, pressing from the bottom.
- Inspect for rough edges; use an exacto knife or fine sandpaper to smooth them.
- Remember to wear protective gloves to keep fingerprints off our work!
- We can now attach findings using jewelry pliers.
For lasting strength, use adhesive or resin glue if needed. Finally, let’s add chains or hooks, checking they’re secure with gentle tugs. Proper storage of leftover resin supplies ensures we have everything we need for future projects. With our finishing techniques, we’re on our way to stunning jewelry!
Creative Design Ideas and Variations
Layering techniques can add depth to our pieces. We might start with a base layer of clear resin, place our flowers artfully, and then seal them with another layer of resin. This can create a 3D effect that captivates.
For added flair, consider incorporating gold flakes or tiny beads. Mixing and matching different flowers and elements help us craft unique designs that reflect our personal style. Remember, the possibilities are endless—experiment and see what resonates with you! 💖
Frequently Asked Questions
Can I Use Fresh Flowers Instead of Dried Ones?
Studies show that 80% of artists prefer dried flowers for resin projects to avoid discoloration. While fresh flower preservation is tempting, we’ve found it often leads to issues during resin curing techniques. Let’s stick with dried!
How Long Does the Resin Jewelry Typically Last?
Resin jewelry typically lasts several months to over a decade, depending on factors like UV exposure and storage. Using proper flower preservation techniques enhances longevity, ensuring that our creations retain their beauty for years to come.
Is It Safe to Wear Resin Jewelry Daily?
As we admire the shimmering allure of resin jewelry, we must consider resin allergies. While daily wear can be safe, we should always check our skin for irritation and respond promptly to any discomfort.
What Should I Do if My Resin Is Cloudy?
If we encounter cloudy resin, we should first check our mixing method and verify all materials are dry. Sanding and applying a glossy topcoat can often restore resin clarity, improving the overall appearance of our project.
Can I Use Molds for Multiple Resin Casts?
Did you know high-quality silicone molds can endure dozens, even hundreds, of resin casts? By selecting the right mold types and mastering the curing process, we can maximize durability and create beautiful resin pieces together.