As an Amazon Associate, we earn from qualifying purchases. Some links on this site are affiliate links at no extra cost to you. Our recommendations are based on thorough research and editorial judgment.
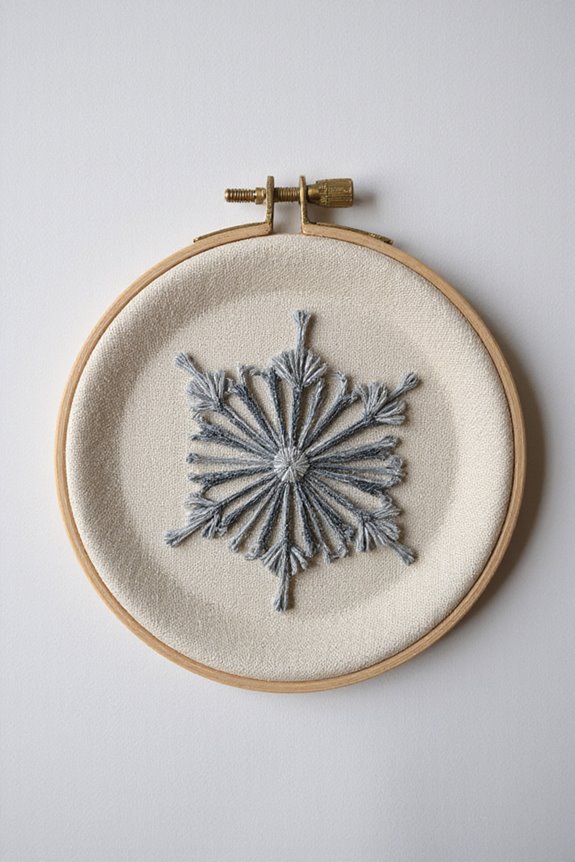
How To Use Punch Needle For Creating Wall Art
To create beautiful punch needle wall art, we’ll need a few tools like an ergonomic punch needle, suitable fabric, and yarn. First, we prepare our fabric, ensuring it’s clean and cut to size. Next, we thread the needle, leaving a short tail, and adjust the depth for loop size. Then, we punch outlines and fill in with yarn. Finally, we secure and mount our artwork. Stick around, and we’ll uncover more tips and creative ideas!
Key Takeaways
- Select tightly woven fabric like monk’s cloth and pre-wash it to ensure smoothness for your punch needle project.
- Use a punch needle tool with adjustable sizes and thread your yarn correctly using a threader for easier handling.
- Start with outlining your design, maintaining consistent stitch density for defined edges and varying textures in the interior.
- Secure yarn ends with fabric adhesive on the back to prevent unraveling and fold edges over for a clean finish.
- Mount your finished artwork on wooden frames or foam core boards, adding hanging hardware for easy display.
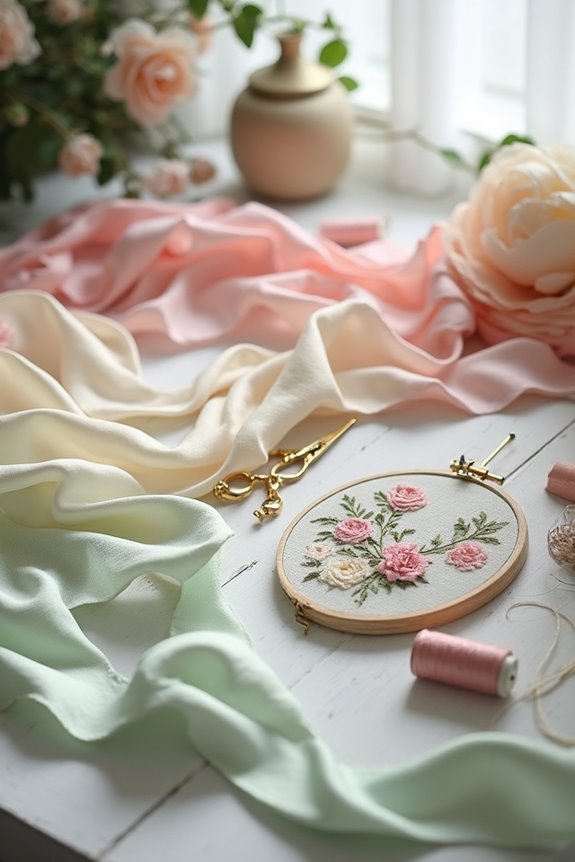
Materials and Tools Needed for Punch Needle Wall Art
When we plunge into punch needle wall art, having the right materials is crucial for a successful project. 🧵 To get started, we need to gather a range of tools and supplies that will make our creative journey smooth and enjoyable.
Here’s what we’ll need:
- Punch needle tool: Look for an ergonomic option, like the Amy Oxford Punch Needle, for comfort.
- Needle sizes: Adjustable needles allow us to work with various yarn types.
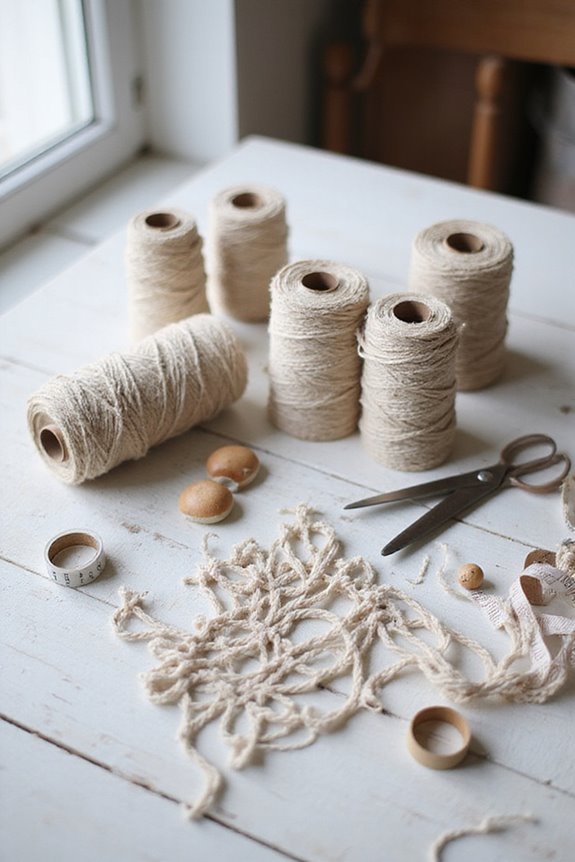
- Fabric: Monk’s cloth is great for a tight weave, but we can also use burlap or canvas.
- Yarn types: Bulky yarns give bold texture, while medium yarns suit finer details.
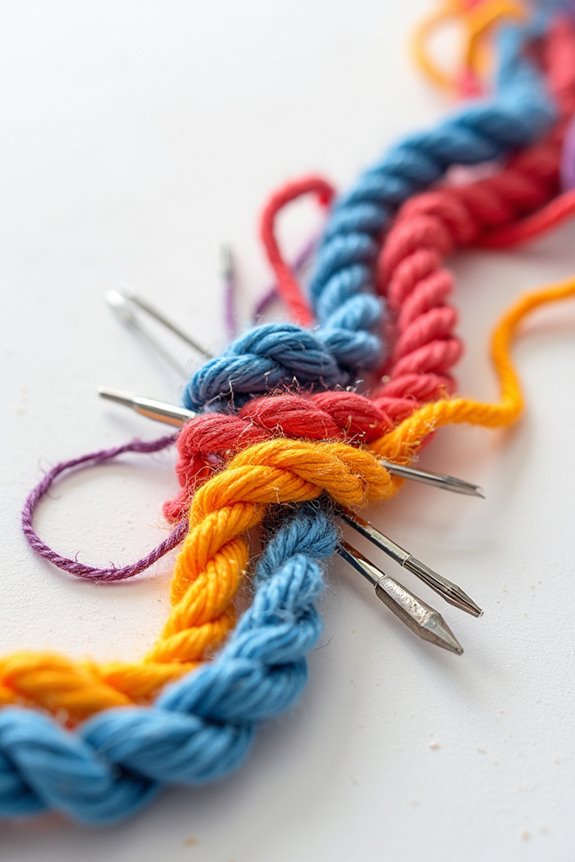
Let’s make sure we have a yarn threader tool handy to simplify our threading process! Additionally, it’s essential to choose high-quality materials to ensure a satisfying crafting experience. Happy crafting!
Preparing the Fabric and Transferring the Pattern
Preparing our fabric and transferring the pattern is essential for creating beautiful punch needle wall art.
First, let’s talk about fabric selection. We should choose monk’s cloth or tightly woven linen, guaranteeing it has a fine weave for secure loops. Pre-wash to remove any sizing, and cut our fabric at least 3 inches larger than the hoop all around.
Next, we’ll center our pattern on the fabric. Use water-soluble pens for pattern transfer, and mark lightly to avoid permanent stains. If using a printed pattern, secure it with clips outside the punching area.
Lastly, check the fabric’s condition for dirt and verify it’s smooth on the hoop before we start punching. Incorporating adjustable needle sizes from your punch needle tools will allow you to experiment with different textures in your design. Happy crafting!
Threading and Adjusting the Punch Needle
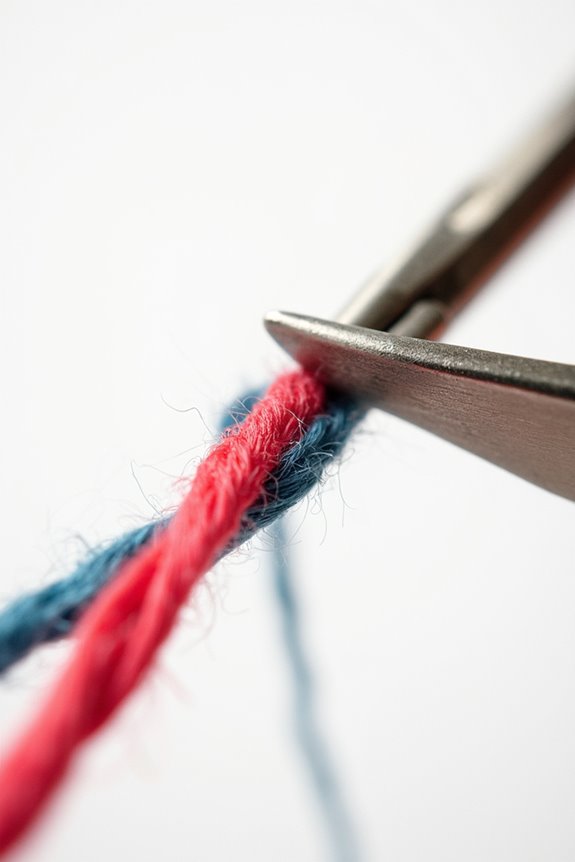
Getting the punch needle ready is an essential step for our wall art projects. First, we need to choose the right yarn types that match our needle sizes. If we’re using a punch needle with an open slot, we simply push the yarn through and then thread it through the eye. For those without a slot, we’ll use a threader wire to pull the yarn through.
🔹 Remember to leave a short tail (about 1/2 inch) sticking out. This’ll help secure our thread.
🔹 Adjust the needle depth for loop size—deeper settings create fluffier loops, while shallower ones give tighter textures. Additionally, using high-quality material quality ensures that our crafted items will have longevity and resist wear over time.
Punching Techniques for Textured Wall Art
Mastering punching techniques is key to creating textured wall art that really stands out. Let’s focus on two important aspects: loop variation and directional alignment.
- Start with Outlines: Punch outline shapes first. It helps define edges.
- Stitch Placement: Maintain about 6 stitches per inch for outlines and 4 for interiors.
- Loop Variation: Use adjustable caps on your needle to create different loop lengths for diverse textures. Longer loops add plush areas while shorter define details.
- Uniform Direction: Always maintain consistent punching direction. Rotate the needle carefully if you need to change design elements.
These techniques together will enhance your art’s texture and dynamic appeal. Additionally, consider incorporating high-quality bamboo crochet hooks into your crafting toolkit to elevate your overall experience and comfort while working on intricate designs.
Finishing and Mounting Punch Needle Artwork
Once we’ve completed our punch needle artwork, it’s important to finish and mount it properly to uphold its longevity and aesthetic appeal. Here are some effective finishing methods we can use:
- Secure yarn ends on the back to prevent unraveling.
- Apply fabric adhesive for added stability.
- Fold over edges at least 1 cm for a clean border.
When it comes to mounting techniques, we can choose between wooden frames and foam core boards:
- For frames, center your design and staple edges securely.
- If using foam core, pin or stitch the fabric to stabilize before gluing to a larger board.
Adding hanging hardware guarantees our artwork is ready to display beautifully! 🎨 Additionally, using quality tools ensures that our crafting experience is both enjoyable and effective, just like with beginner-friendly leather crafting kits.
Common Tips and Troubleshooting
When it comes to punch needle art, having a few common tips and troubleshooting techniques can really boost our success. 😊 First, let’s talk about needle handling and stitch technique. Here are some pointers:
- Use a straight, hollow needle with a slanted tip for best results.
- Maintain about 6 stitches per inch for outlines and 4 stitches for fill.
- Align stitches in a brick pattern to avoid gaps.
- Regularly check for any common mistakes, like loose stitches. For stitch corrections, gently adjust the fabric and pull up the yarn.
If you notice holes, gently press the fabric edges. By keeping an eye on our tension and stitch consistency, we can create stunning punch needle art that lasts!
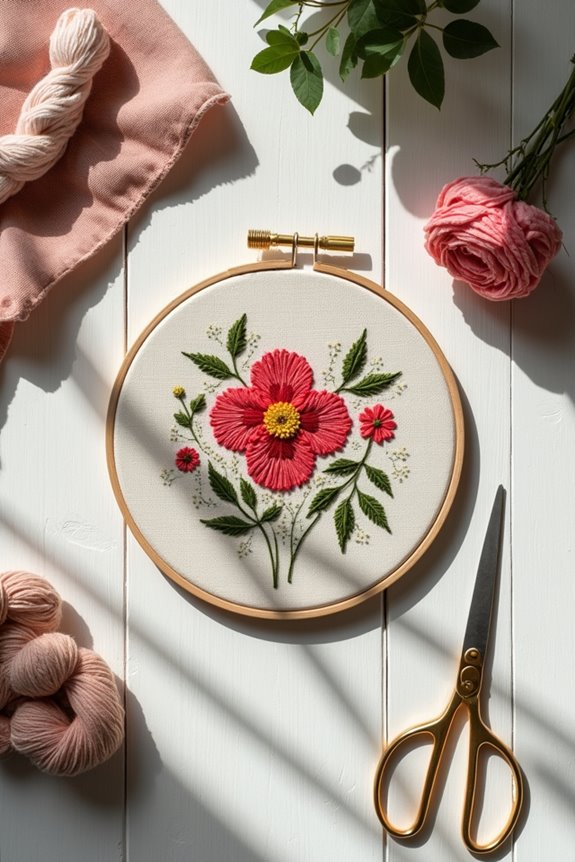
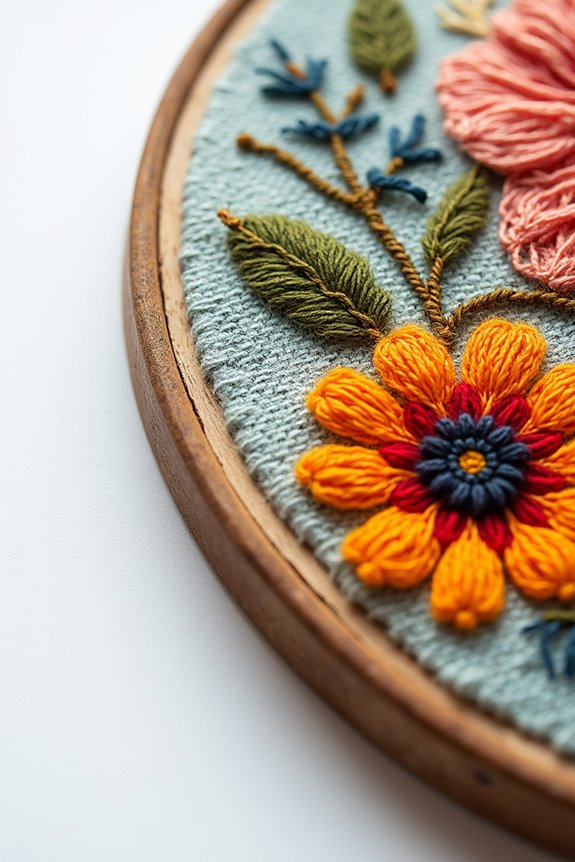
Inspiring Ideas for Your Punch Needle Projects
Creating unique punch needle projects opens up a world of creative possibilities for our wall art. 🌟 With a range of patterns and themes available, it’s easy for us to find inspiration that resonates. Here are a few ideas to spark our creativity:
- Whimsical themes: Consider playful designs like donuts and bees, adding fun character to our spaces.
- Geometric designs: Abstract shapes can create stunning focal points.
- Celestial motifs: Incorporate moons and stars for a dreamy atmosphere.
- Botanical inspirations: Potted plants and succulents bring nature indoors.
- Texture exploration: Mixing yarn types adds depth, while color gradients create visual interest.
Let’s mix these elements to craft something beautiful and uniquely ours! 🧵✨
Frequently Asked Questions
Can I Use Any Type of Yarn for Punch Needle Projects?
Sure, we could use any yarn types, but why not invite chaos? Wool blends are our trusty companions, steering us toward success. Let’s skip the snag-fests and stick with what works for our punch needle dreams!
How Long Does It Typically Take to Complete a Punch Needle Piece?
When we tackle punch needle techniques, project timeframes vary considerably. Simple pieces might take just a few hours, while detailed designs could stretch over days. Ultimately, our experience and the project’s complexity influence completion time.
Is Punch Needle Wall Art Suitable for Outdoor Display?
When it comes to punch needle wall art, we’ve gotta consider outdoor materials first. If we choose weather-resistant options, our artwork can thrive outside, but neglecting this could lead to fading and damage over time.
Can I Wash My Punch Needle Artwork?
Sure, we can wash our punch needle artwork! Using gentle washing techniques and mindful fabric care helps preserve its beauty. Hand washing’s best, but if we machine wash, delicate cycles work well too.
What Should I Do if My Loops Are Uneven?
If we find our loops uneven, let’s focus on loop adjustments and refine our needle techniques. Keeping the needle firmly pressed and maintaining consistent tension will greatly improve the overall appearance of our project.