As an Amazon Associate, we earn from qualifying purchases. Some links on this site are affiliate links at no extra cost to you. Our recommendations are based on thorough research and editorial judgment.
How To Use Heat Transfer Paper For T Shirts
To use heat transfer paper for t-shirts, we start by selecting the right type—like inkjet or laser paper—depending on our printer. Next, we prepare our design using software, ensuring it’s mirrored for light transfer paper. Pre-wash and iron the fabric flat. For application, set our heat press to 365°F and press evenly. After cooling, peel off the paper carefully. 🧺 For long-lasting results, follow specific care instructions. Let’s explore more tips for perfecting our custom creations!
Key Takeaways
- Choose the appropriate type of heat transfer paper based on your printer and fabric type for optimal results.
- Prepare your design using professional software, ensuring high resolution and proper mirroring according to the paper type.
- Pre-wash and iron your fabric for better transfer adhesion, ensuring a smooth, clean surface for application.
- Follow recommended heat settings and even pressure distribution during the transfer process for successful adhesion.
- Allow the garment to rest for 24-48 hours before washing; use gentle cycles and low drying settings to keep prints intact.
Types of Heat Transfer Paper
When it comes to creating custom t-shirts, knowing about the different types of heat transfer paper can make a big difference. Let’s explore the options!
- Inkjet Paper works best with inkjet printers and is perfect for cotton fabrics. It requires heat pressing at 350°F to 375°F for vibrant results. 🌈
- Laser Paper is tailored for laser printers and produces crisp imagery on various fabric colors.
- Sublimation Paper needs dye-sublimation printers and works great with polyester, offering stunning, photorealistic prints.
- Vinyl Sheets come as pre-cut designs, ideal for graphics and text, and feel slightly raised on fabric. ✂
- DTF Transfers allow versatile printing on all fabric types, producing detailed images with fantastic washability.
Choosing the right paper can elevate our projects! Additionally, selecting the right heat press is vital for achieving perfect prints and ensuring the best results.
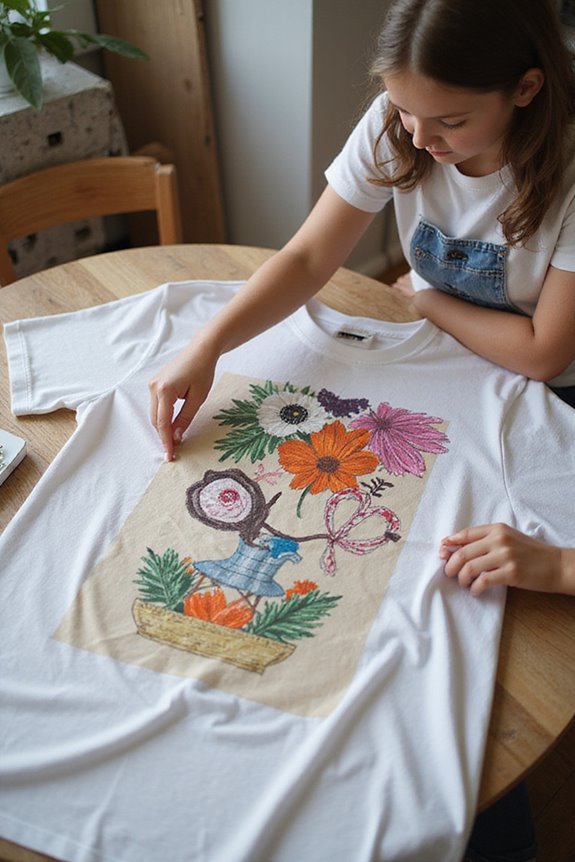
Preparing the Design and Print
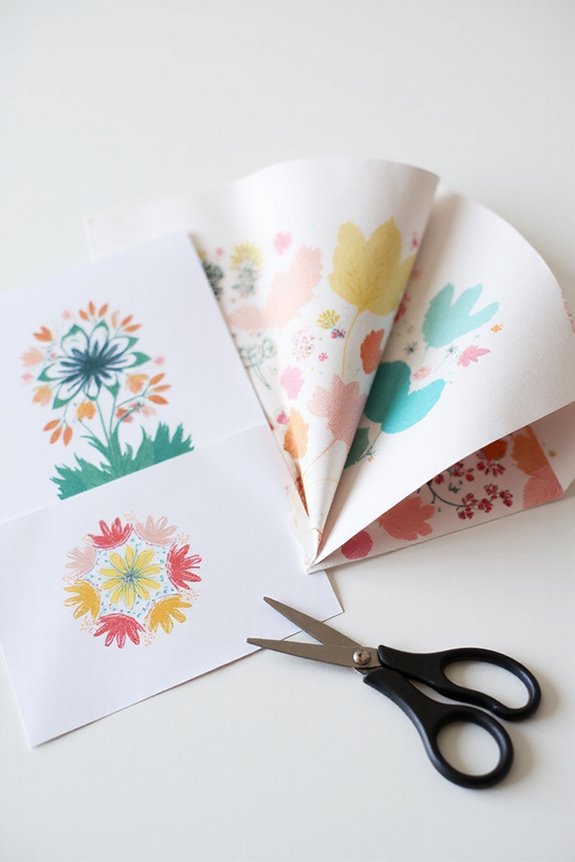
Let’s plunge into preparing the design for our custom t-shirts! First, we’ll use professional design software like Adobe Photoshop or Adobe Illustrator. This helps us create crisp, clean designs. We need to guarantee our resolution settings are high to avoid any pixelation when we print.
If we’re working with original artwork, let’s scan or photograph it to get a digital version. When ready to print, remember to mirror the image for light transfer paper, but don’t flip it for dark transfer paper.
Before printing, always check color management and paper type settings on our printer. Conduct a test print on regular paper to make sure everything looks perfect. Once we feel good about our print, we’re all set to move forward! Additionally, ensuring that the adhesive used in our projects is acid-free certification will help maintain the integrity of our designs over time.
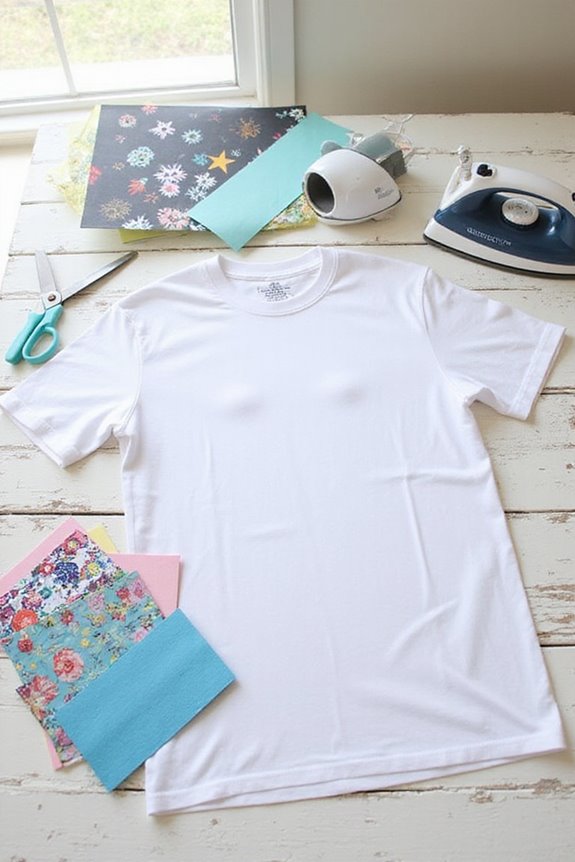
Preparing the Fabric and Workspace
Here’s what we need to remember: preparing the fabric and workspace is essential for a successful heat transfer.
- Fabric Types: Choose 100% cotton or a cotton-polyester blend for the best adhesion. Avoid vinyl or leather!
- Pre-Wash: Always wash the fabric to remove sizing, oils, and dirt; this helps the transfer stick properly.
- Iron First: Iron the fabric to eliminate wrinkles and guarantee a smooth surface.
For our workspace organization:
- Use a hard, flat, heat-resistant surface like a table—ironing boards are too soft!
- Cover the area with a pillowcase or cotton cloth to protect it.
- Keep the workspace dust-free and well-lit to accurately position the design.
Additionally, consider using non-toxic, water-based formulas for any fabric paints to ensure safe application on your projects.
Following these steps makes a significant difference!
Heat Application and Transfer Process
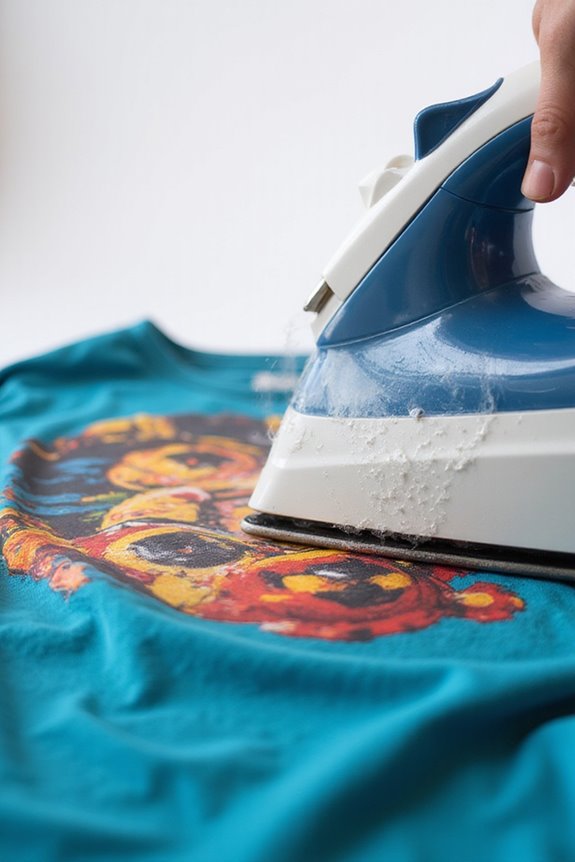
To achieve a perfect heat transfer onto our T-shirts, understanding the heat application and transfer process is essential. We need to follow the manufacturer’s recommended heat settings for the best results. For light fabrics, set your heat press to 185°C (365°F) for 15 seconds, while for dark fabrics, use 165°C (329°F) for 25 seconds.
It’s vital to evenly distribute pressure during application; close the heat press completely to avoid any defects. If we’re using an iron, turn it to the high cotton setting with no steam. Remember to create a stable surface and position the transfer paper correctly for smooth application. Using parchment paper as a barrier will also help protect our design. Additionally, maintaining a user-friendly design ensures that the heat transfer process goes smoothly and yields the best results. 🧵✨
Let’s get pressing!
Post-Transfer Cooling and Peeling
Once we’ve finished pressing our design onto the T-shirt, the cooling and peeling process becomes essential for ensuring the best possible outcome. Let’s focus on effective cooling techniques first. We should allow our shirts to cool at room temperature, avoiding forced cooling methods like fans, which could ruin our adhesion.
For peeling methods, remember that the approach depends on the type of transfer paper. Hot peel types come off immediately while still warm. In contrast, cool peel types need complete cooling—peeling too early can cause cracks.
When peeling, we gently remove the backing paper at a 180-degree angle, using steady motions to avoid disruption. If any design lifts, we can simply reapply heat briefly to fix it. 👍 Additionally, using 100% polyester fabrics can significantly enhance the vibrancy and durability of your prints.
Finishing Techniques for Enhanced Durability
While we might be excited to show off our new T-shirt designs, applying effective finishing techniques is key to maximizing their durability. Here are some great steps to follow:
- Apply Protective Coatings: Use a clear, heat-activated protective coating to enhance abrasion resistance. This coating acts like a shield for your design.
- Use Fabric Sealants: These finishing products add a durable layer, protecting against water and wear.
- Consider Specialized Sprays: Look for sprays that improve water repellency and prevent ink degradation.
- Iron-On Stabilizer Sheet: Gently reinforce delicate designs with a stabilizer sheet to support fabric fibers.
Implementing these finishing touches will help guarantee our T-shirt designs remain vibrant and intact through wear and washing. Happy designing!
Care Instructions for Longevity
Caring for our heat transfer paper T-shirts properly can greatly extend their lifespan, ensuring they stay looking great for a long time. 🕒 First and foremost, we should delay washing for 24-48 hours after applying the heat transfer paper.
Here are some essential care techniques:
- Wash in cold or lukewarm water to protect the adhesive.
- Turn garments inside out before washing for extra protection.
- Use gentle wash cycles with low spin speeds.
For drying, lay garments flat to maintain shape. If using a dryer, select a cool setting.
When ironing, always do it inside out and avoid direct heat on the print.
Following these maintenance tips will help preserve our T-shirts and keep them vibrant! 🧺✨
Common Mistakes to Avoid
To create the best results with heat transfer paper, we need to avoid some common pitfalls that can lead to disappointing outcomes.
🔹 Temperature Settings: Always check recommended temperatures for fabric types. For polyester, use around 120°C (248°F) but adjust if necessary.
🔹 Pressure Checks: Confirm we apply full pressure. If we can move the garment or paper while pressing, the pressure’s insufficient.
🔹 Pre Pressing Importance: Don’t skip pre-pressing! Just 4 seconds can remove moisture and wrinkles.
🔹 Application Techniques: Make sure the transfer lies flat. Uneven surfaces lead to bubbles!
🔹 Peeling Instructions: Follow the cooling methods specified. Rushing can ruin the transfer, so let it cool properly first.
Creative Ideas for Custom T-Shirts
Creating custom t-shirts with heat transfer paper opens up a world of creative possibilities! 🎨 Whether we’re making unique gifts or fun apparel for events, this technique lets us add our personal touch.
Here are some creative ideas to inspire us:
- Design Themes: Let’s create shirts for holidays, birthdays, or family reunions! Personalize them with names or cool graphics.
- Color Combinations: Use contrasting colors to make designs pop. Try layering transparent inks for added depth on dark fabrics.
- Collage Effects: Combine several small transfers for a patchwork look—mix logos, quotes, or images we love.
- Mixed Media: Enhance our designs with fabric paint or embroidery alongside transfers.
With these ideas, our t-shirts will surely stand out! 👕✨
Frequently Asked Questions
Can I Use Heat Transfer Paper on Other Materials Besides Fabric?
Absolutely, we can explore heat transfer applications beyond fabric. There’re paper alternatives that work on wood, ceramics, and even certain plastics. Let’s experiment to find the best fit for our creative projects!
How Do I Choose the Right Printer for My Transfer Paper?
When choosing the right printer for our transfer paper, let’s consider inkjet printers for vibrant images and laser printers with white toner for dark fabrics. Both have unique advantages that suit different needs and projects.
What Types of Inks Are Compatible With Heat Transfer Paper?
The canvas of our creations thrives on the right ink types; dye-based inks offer vibrant hues, while pigment-based ones guarantee durability. By choosing wisely, we enhance color vibrancy, transforming our designs into lasting masterpieces.
Is It Possible to Reuse Heat Transfer Paper for Multiple Designs?
While we might be tempted to reuse heat transfer paper, it generally compromises transfer quality. Instead, let’s explore effective reuse techniques for crafting with leftovers, but for printing, fresh sheets are always best for ideal results.
Can I Apply Multiple Transfers on One Shirt?
Absolutely, we can apply multiple transfers on one shirt! By carefully layering transfers and ensuring precise design placement, we can create stunning multi-layered designs that really stand out without compromising quality.