As an Amazon Associate, we earn from qualifying purchases. Some links on this site are affiliate links at no extra cost to you. Our recommendations are based on thorough research and editorial judgment.
How To Make Personalized Clay Jewelry
To make personalized clay jewelry, we start by gathering supplies like polymer clay, tools, and an oven. First, we condition the clay by kneading or using a pasta machine until soft. Next, we shape and design unique pieces, adding textures or colors as we go. After assembling our creations, we bake them at 275°F for 15-30 minutes. Finally, we finish with sanding for smoothness and polish for shine. Stick around, and we’ll explore design inspirations next!✨
Key Takeaways
- Choose a variety of colored polymer clays to create vibrant, personalized designs that reflect individual style.
- Use shaping tools and techniques like cutting, rolling, and texturing to customize each jewelry piece uniquely.
- Pre-bake and trim clay shapes, then add personal embellishments such as initials or decorative elements before curing.
- Bake pieces at the correct temperature and time to ensure durability and quality of the final product.
- Finish your jewelry by sanding and polishing for a professional look, enhancing its appeal and longevity.
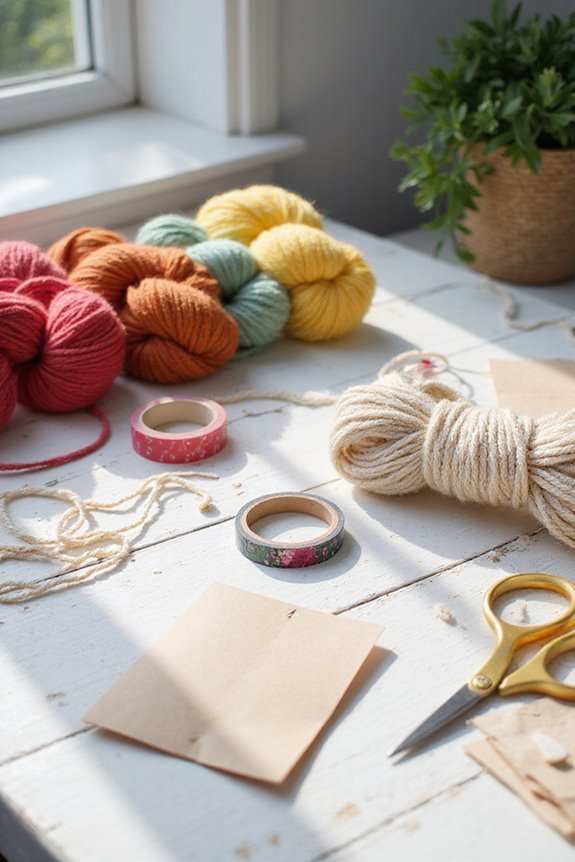
Materials and Tools for Your Clay Jewelry Project
When we plunge into making personalized clay jewelry, having the right materials and tools is vital for our success. 🛠 First up, let’s talk about polymer clay, the star material in our project. We can choose from brands like Sculpey III, Premo, or Super Sculpey, each offering different firmness levels and color combinations. Starter kits usually include 24 colors for creativity! For shaping, we’ll need an acrylic roller, clay cutters, and possibly a pasta machine for consistent thickness. It’s important to keep our tools clean, so practicing routine tool maintenance guarantees the best results. Additionally, don’t overlook liquid polymer clay for added embellishments. With these key ingredients, we’re ready to create some stunning jewelry pieces! 🌈 Moreover, selecting non-toxic materials ensures safety while crafting, especially for younger users.
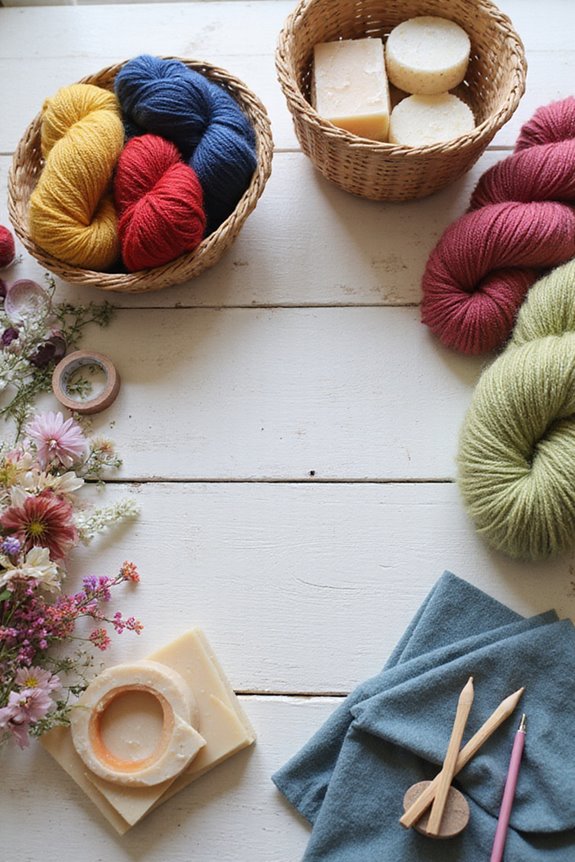
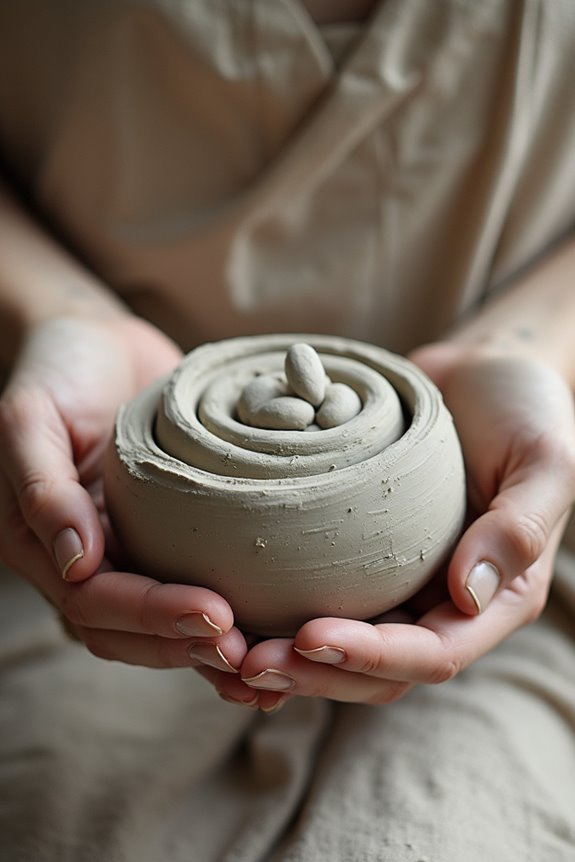
Conditioning and Shaping Polymer Clay
Now that we have our materials and tools ready, it’s time to get hands-on with conditioning and shaping our polymer clay. First, we’ll need to soften the clay—this helps with manipulation. We can knead it by hand or use a clay pasta machine for better consistency.
– Tip: Always start with light colors to avoid contamination during color mixing! 🎨
Once conditioned, we’ll slice manageable pieces and roll them into shapes, ensuring we smooth out air bubbles for even texture creation.
Moderate warmth from our hands can help too! Remember to check for stiffness and add a softener when needed. With properly conditioned and shaped clay, we’re setting ourselves up for strong and beautiful jewelry! 🌟 Additionally, using beginner-friendly instructions can guide us through the creative process and enhance our crafting experience.
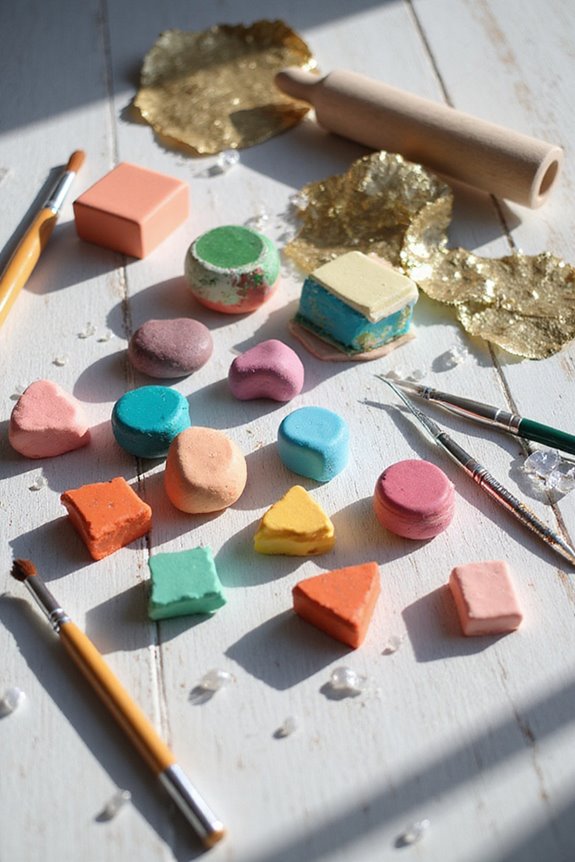
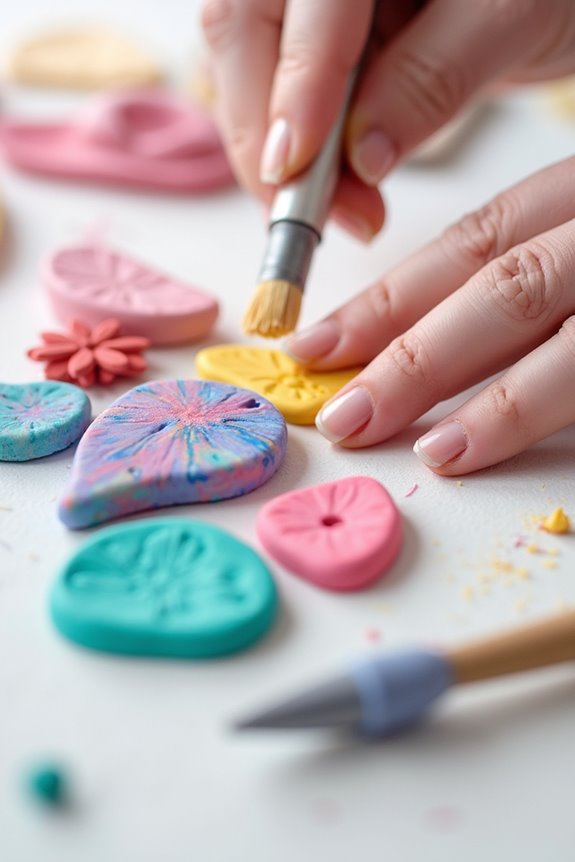
Techniques for Designing Unique Jewelry Pieces
Let’s plunge into the exciting world of designing unique jewelry pieces with polymer clay! 🎨 By exploring various techniques, we can transform our conditioned clay into truly one-of-a-kind creations.
To start, let’s experiment with color blending. By mixing different colored clays, we can achieve beautiful gradients or marbled effects.
For texture layering, we can use tools like wooden modeling tools to create unique indentations or small stamps for patterns.
Don’t forget to add elements like gold leaf for a touch of elegance! We can incorporate these elements before baking, ensuring that our pieces shine.
Lastly, pre-poking holes allows for easy assembly. Additionally, using polymer clay cutter sets can enhance our designs by providing a variety of shapes to choose from.
With these methods, our creativity knows no bounds!
Baking and Curing Your Clay Creations

After creating our unique jewelry pieces, the next important step is baking and curing our clay creations. We’ll want to maintain our oven temperature at 275°F (130°C) for proper curing. Here are some helpful baking techniques:
- Use an oven thermometer to guarantee accurate temperatures.
- Bake for 15-30 minutes per 1/4 inch thickness; thicker pieces may need more time.
- Cure slowly! Leaving the clay in the turned-off oven can help prevent cracks. Additionally, ensure that the clay you are using is non-toxic and compliant with ASTM D-4236 standards for safe crafting.
Assembly: Attaching Hardware and Components
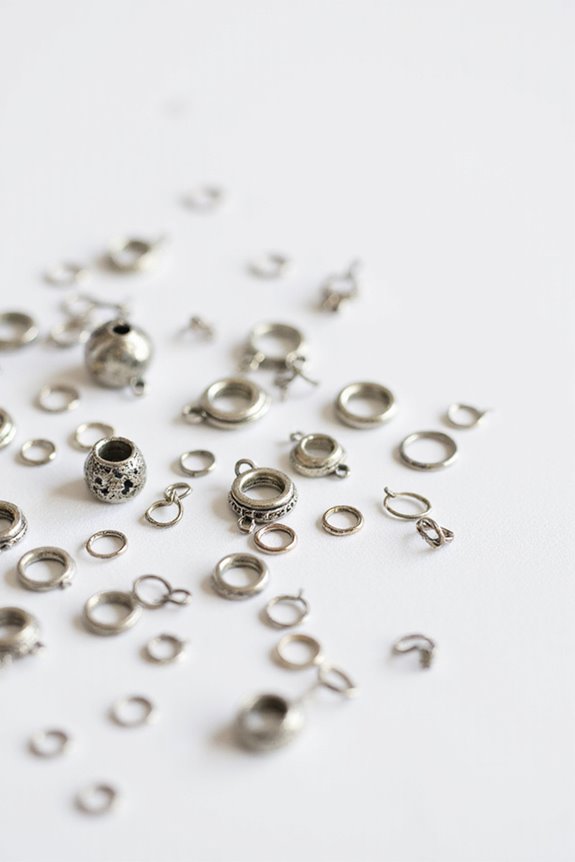
Here are some effective attachment techniques:
- Earring Posts: We can use glue, but embedding posts is stronger. Make a hole, then use clay adhesive like “Bacon Bond” during rebaking for a solid hold.
- Jump Rings: Make sure to properly open and close them by twisting, not pulling apart, ensuring they keep their shape.
- Bezels and Charms: When embedding, keep the clay thin for smoother cuts.
For hardware selection, always consider the size—4 mm jump rings allow delightful movement. Additionally, ensure that your findings are made from hypoallergenic materials to prevent skin irritation and enhance comfort.
Finishing Touches for a Professional Look
To achieve a professional look with our clay jewelry, focusing on the finishing touches is essential. First, let’s refine our pieces using sanding techniques. We can start with 400 grit sandpaper to remove imperfections, then move to 800-1500 grit for a smoother texture.
For that perfect satin finish, try high grit sandpapers (2000+). Once we’ve sanded, we can enhance shine with polishing methods. A soft, lint-free cloth works great for hand polishing, or we can use muslin buffing wheels for a faster, glass-like shine. Remember to check under bright light for any missed spots and conduct touch-ups as needed. 🛠 Finally, storing our jewelry in soft cloth prevents scratches. Happy crafting!
Design Inspirations and Creative Styles
- Nature Inspirations: Think about shapes from leaves or petals. These organic forms can guide us in sculpting our pieces. We can even mimic natural textures using tools or layering techniques.
- Geometric Patterns: We can create minimalist designs by rolling clay into colorful cylinders, then cutting them into squares or rectangles. Aim for consistent thickness (1/16” to 1/8”) for easy shaping.✨
Combining these styles allows for endless creativity! And when we mix nature themes with geometric accuracy, we craft jewelry that stands out. Remember, each piece we create tells a unique story reflecting our artistic vision!
Cost-Effectiveness and Accessibility of Clay Jewelry Making
When we think about creating clay jewelry, we find it’s incredibly affordable! Using polymer clay, which costs around $2 to $5 per block, allows us to craft multiple pieces without breaking the bank. Here are some budget-friendly techniques:
- Buy in Bulk: Purchasing larger quantities can lower our costs further.
- Hands-On Skills: As we gain experience, we’ll save time and money on labor for each piece.
With beginner-friendly materials, anyone can immerse themselves in clay art. Minimal equipment—just a home oven—is all we need to start. Plus, online tutorials make learning easy and accessible. So, let’s embrace this cost-effective craft together, making beautiful jewelry without busting our budgets! 🎨✨
Frequently Asked Questions
Can I Mix Polymer Clay Brands for My Projects?
Absolutely, we can mix polymer clay brands! Thanks to their brand compatibility, we can experiment with different colors and textures. Using effective mixing techniques, we’ll create unique projects while enjoying the process together!
How Do I Prevent Clay From Drying Out While Working?
To prevent clay from drying out, we must guarantee proper moisture retention by covering it with a damp cloth and creating a controlled workspace environment that minimizes airflow and sunlight exposure while we work on our projects.
What Are the Best Storage Methods for Unused Clay?
To maintain our clay’s freshness, we should use airtight containers and explore various clay preservation techniques. Keeping our materials organized and protected guarantees the quality and usability of our clay for future projects.
Can I Paint Over Baked Polymer Clay?
Like a canvas waiting for our brush, we can absolutely paint over baked polymer clay using various paint types. With proper sealing techniques, our creations will shine and endure the test of time.
Is Polymer Clay Safe for Children to Use?
When considering polymer clay safety for kids, we should prioritize child-friendly supplies. It’s essential to supervise children while using it, check labels for safety certifications, and guarantee proper ventilation during crafting to minimize risks.