As an Amazon Associate, we earn from qualifying purchases. Some links on this site are affiliate links at no extra cost to you. Our recommendations are based on thorough research and editorial judgment.
How To Make Personalized Christmas Ornaments
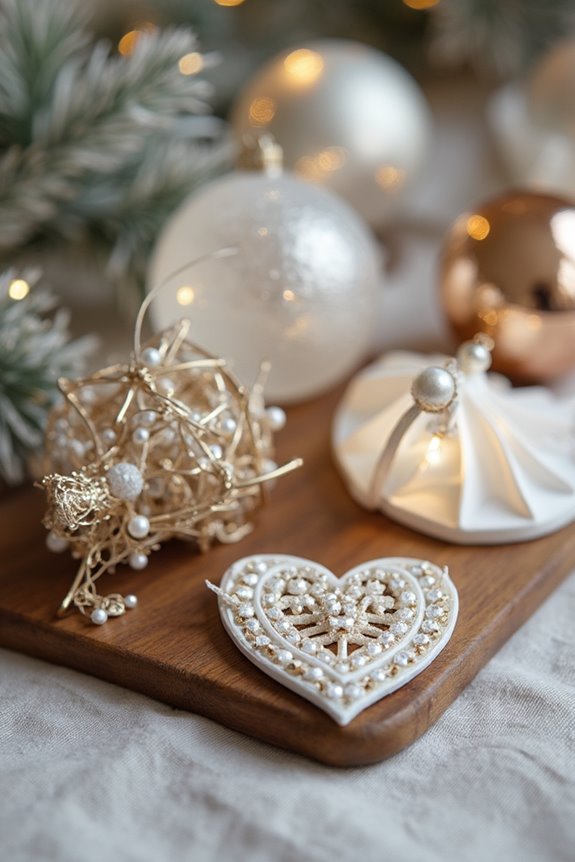
Making personalized Christmas ornaments is a fun project! 🎄 Start with basic supplies like clear plastic balls or wooden shapes. Use Mod Podge to adhere decorative fabrics or sprinkle glitter for sparkle. For personalization, add names or dates with fine-tipped markers or vinyl cutouts. Choose techniques like painting or wrapping with yarn for texture. Finally, secure heavier items with a hot glue gun and finish with a protective clear seal. Stick around for creative ideas to inspire your ornaments!
Key Takeaways
- Choose a suitable ornament base, like clear plastic balls or wooden shapes, to start your decoration project.
- Use personalized elements such as family photos, names, or special messages with fine-tipped permanent markers or vinyl cutouts.
- Incorporate various decorative materials like glitter, patterned fabrics, or ribbons to enhance the visual appeal of your ornaments.
- Secure heavier embellishments with hot glue and use double-sided tape for lightweight decorations for a polished finish.
- Seal your completed designs with a clear glue or acrylic sealer to ensure durability and protect them over time.
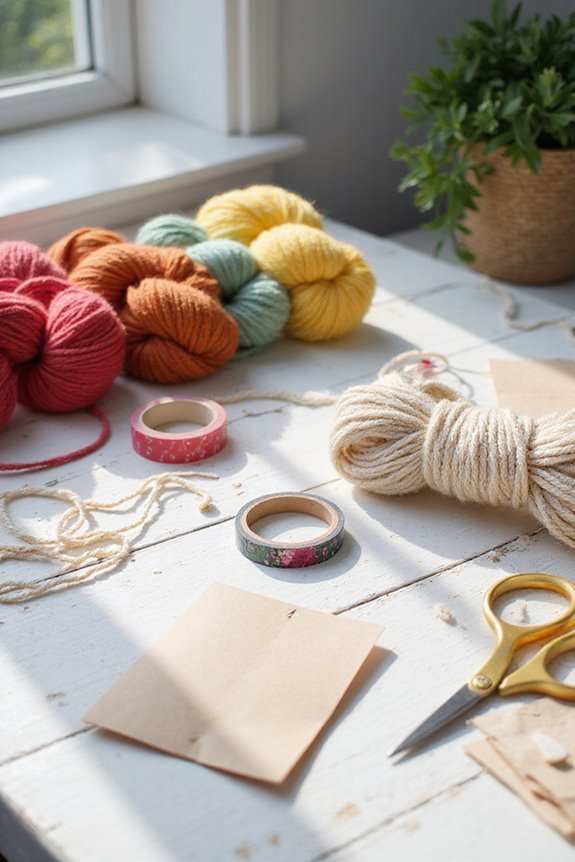
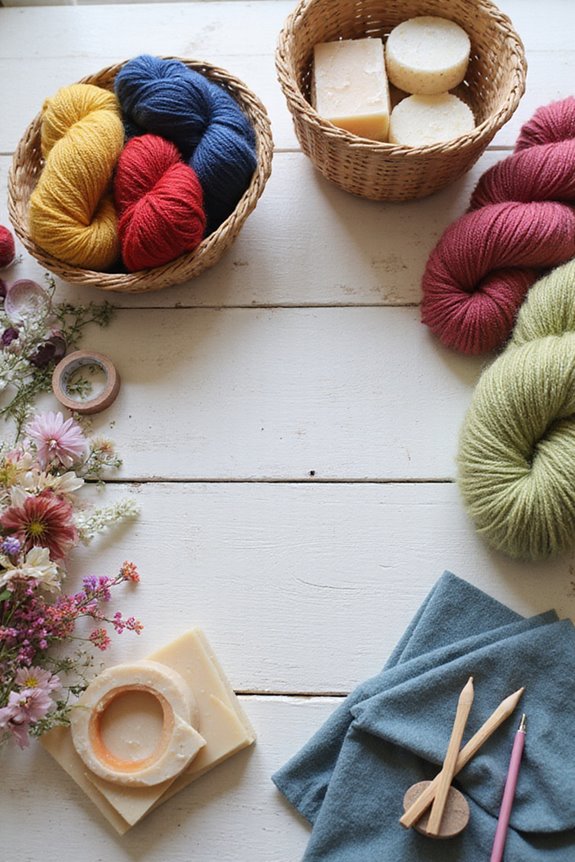
Materials and Basic Supplies Needed
When we start creating personalized Christmas ornaments, choosing the right materials and supplies is essential. First, we’ll need an ornament base, like clear plastic balls for filling or wooden shapes for painting. For decorative materials, consider patterned fabrics, glitter, or even pine cones for a rustic touch.
Next, let’s talk adhesive options. Mod Podge is perfect for decoupage, while hot glue works well for heavier items, like beads. You’ll want scissors for cutting and foam brushes for applying glue evenly. Additionally, high glycerin content in some craft supplies can enhance the durability of your ornaments by providing moisture resistance.
🥳 Quick Tips:
- Use glitter inside transparent ornaments.
- Craft-specific glues help with unique materials like Styrofoam.
Organizing these supplies will set us up for a fun crafting session!
Techniques for Personalizing Ornaments
Personalizing ornaments opens up a world of creativity and fun for our holiday decorations. We can start by employing hand lettering techniques to add our own touch. First, sketch designs on scrap paper to get the proportions right. Using washi tape, we can create straight guidelines on the ornament. By applying fine-tipped permanent markers, we’ll achieve clean lettering. If we want to make our text pop, just thicken downstrokes with a second marker pass.
For vinyl cutouts, using a cutting machine like a Cricut is handy! We can design our templates digitally and carefully weed out excess vinyl afterward. Let’s transfer the vinyl smoothly to avoid bubbles, creating crisp, personalized ornaments everyone will love! 🎨✨ Additionally, incorporating high-quality yarn into our designs can add texture and warmth to our ornaments, enhancing their overall appeal.
Step-by-Step Approaches for Different Bases

Exploring different ornament bases adds unique charm to our festive decorations. Let’s delve into some step-by-step approaches for various types!
- Ceramic: After cleaning, we can apply ceramic painting techniques or mosaics with non-sanded grout. For lightweight pieces, use wire loops for easy hanging.
- Glass: Start by cleaning our glass ornaments to remove any oils. Then, consider glass embellishments like confetti or fake snow for a fun shaker effect. Remember, thicker glass needs sturdier hooks! Additionally, ensure the storage of soy wax is in airtight containers to maintain quality during crafting.
- Foam: We can easily wrap foam bases with yarn for a cozy touch. Just pierce to add a loop, and use hot glue to secure the yarn in place.
- Plastic: With cheap plastic balls, coat them with Mod Podge and sprinkle glitter. Add embellishments for a festive flair!
Personalization Options and Design Elements
As we immerse ourselves in the world of personalization, we can enrich our Christmas ornaments with meaningful designs that reflect our unique stories and memories. Here are some key options:
- Photo Customization: Upload cherished family moments or pet photos; they turn keepsakes into treasures. 📸
- Text Design: Add names, dates, or special messages. Experiment with different fonts—script for elegance, sans-serif for modern looks. 🖊
- Shapes and Materials: Choose from wood, metal, or acrylic. Wooden designs can feature carved names, while metal offers sleekness.
- Decorative Elements: Enhance with glitter, ribbons, or even holiday graphics! 🎀
Incorporating durable materials ensures that your personalized ornaments will withstand the test of time.
With these options, we create ornaments that celebrate our lives and memories, making them beautifully personal.
Tools and Equipment for Precision and Ease
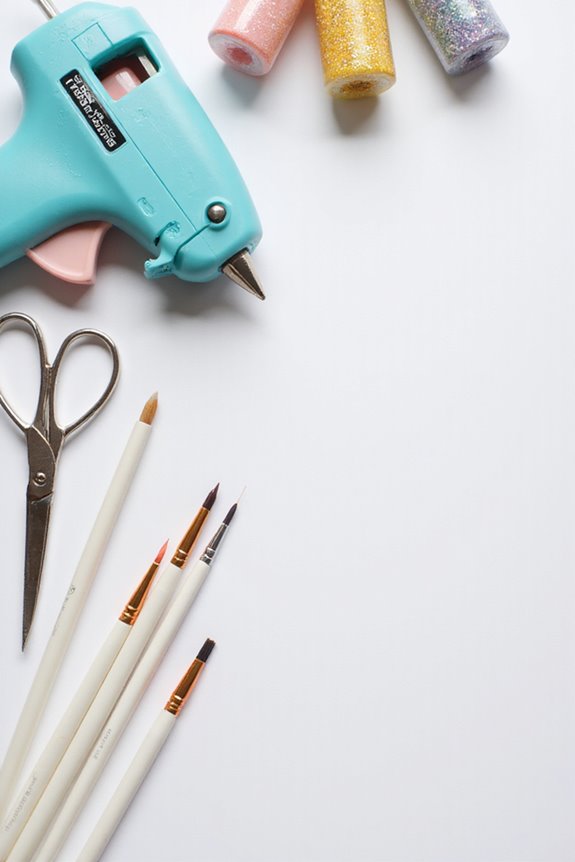
When creating personalized Christmas ornaments, having the right tools is essential for achieving stunning results. 🛠 We can streamline our crafting process and guarantee precision with the proper equipment.
Using a laser cutter allows for intricate designs and precise cuts on materials like wood and acrylic. For our designs, software like Lightburn and Xtool is invaluable, enabling us to create and personalize with ease. Additionally, incorporating tools like a wire wrapping ring mandrel can enhance our ability to create unique ornament shapes and designs.
Consider investing in multi-functional craft machines, which combine laser cutting and blade cutting capabilities. This versatility is especially helpful for beginners. Additionally, having basic hand tools like precision craft knives, sandpaper, and CA glue will aid in detailing and assembly.
With the right tools and equipment, our ornament-making will be efficient and enjoyable!
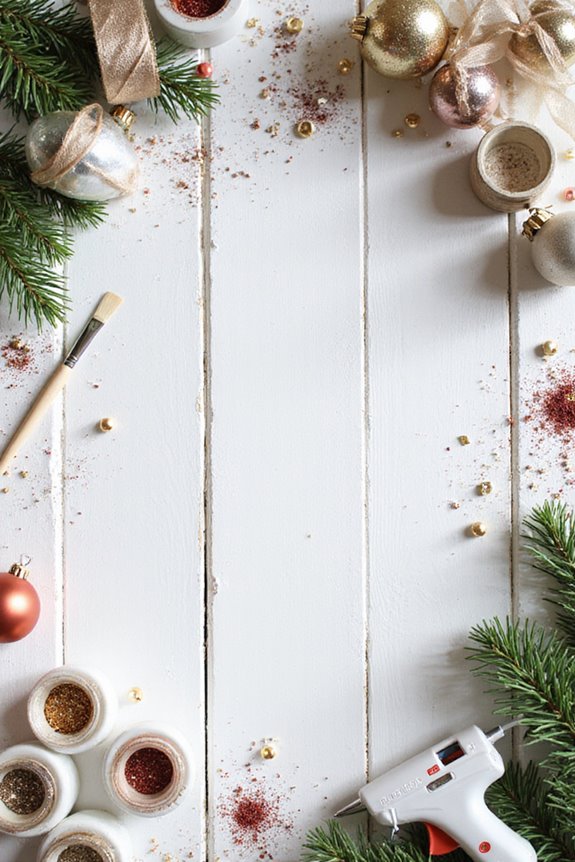
Tips for Assembly and Finishing
To create beautiful and durable personalized ornaments, we need to pay close attention to assembly and finishing techniques. 🎨 Each step not only contributes to the overall look but also guarantees our ornaments stand the test of time.
- Start by securely gluing heavier embellishments with a hot glue gun.
- For lighter decorations, double-sided tape works great!
- Don’t forget to create sturdy hanging loops using thin craft wire and decorative beads.
When applying finishing touches, make certain to replace ornament caps snugly and tie tight loops of ribbon for a polished presentation. 🎀 Finally, consider sealing our designs with clear glue or acrylic sealer to protect them.
Following these assembly techniques guarantees each ornament is perfectly crafted and ready for holiday cheer!
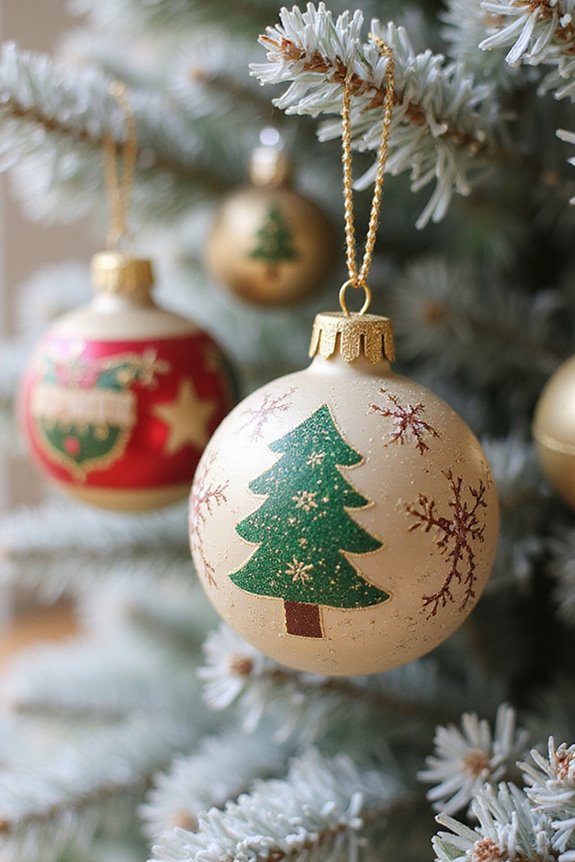
Creative Ideas for Unique Ornaments
After crafting our ornaments with care, it’s time to let our creativity shine through unique designs. 🎉 Personalization can turn an ordinary ornament into a cherished memory that truly reflects our style and experiences. Here are some creative themes to contemplate:
- Initials & Monograms: Adding these gives a stylish personal touch.
- Photos: Incorporate pictures from significant moments for memorable keepsakes.
- Natural Elements: Use pinecones or dried flowers for a rustic look.
- Colors & Symbols: Match birthstones or zodiac signs to enhance individuality.
We can mix playful designs with traditional ones, creating pieces that tell our stories. Don’t forget to use different materials like clay or glass for even more customization. Let’s make the tree truly ours! 🌲✨
Frequently Asked Questions
How Long Does It Take to Make Each Ornament?
When it comes to making each ornament, time management is key. With the right crafting supplies, we can create simple designs in about 30 minutes, while more intricate ones might take up to an hour or more.
What Is the Best Way to Store Ornaments After Crafting?
When it comes to ornament storage, we can’t just toss them in a box! Using protective materials like bubble wrap or egg cartons keeps our precious creations safe and sound, ready for their next festive debut.
Are There Kid-Friendly Techniques for Ornament Personalization?
When it comes to kid-friendly ornament personalization, we can explore fun paint techniques using safe crafting materials. Painting with bright colors and patterns not only sparks creativity but also creates memorable keepsakes we’ll cherish together.
Can I Recycle Old Ornaments for New Designs?
Sure, we can’t just toss our old ornaments, right? Upcycling ornaments into creative designs is what we do! Let’s transform them into fresh decor, showcasing our craftsmanship and adding personality to our holiday celebrations.
What Types of Paint Are Best for Outdoor Ornaments?
When considering types of paint for outdoor ornaments, we recommend acrylic paint for its vibrant colors and outdoor durability. It adheres well and endures weather, ensuring our creations shine brightly through the seasons.