As an Amazon Associate, we earn from qualifying purchases. Some links on this site are affiliate links at no extra cost to you. Our recommendations are based on thorough research and editorial judgment.
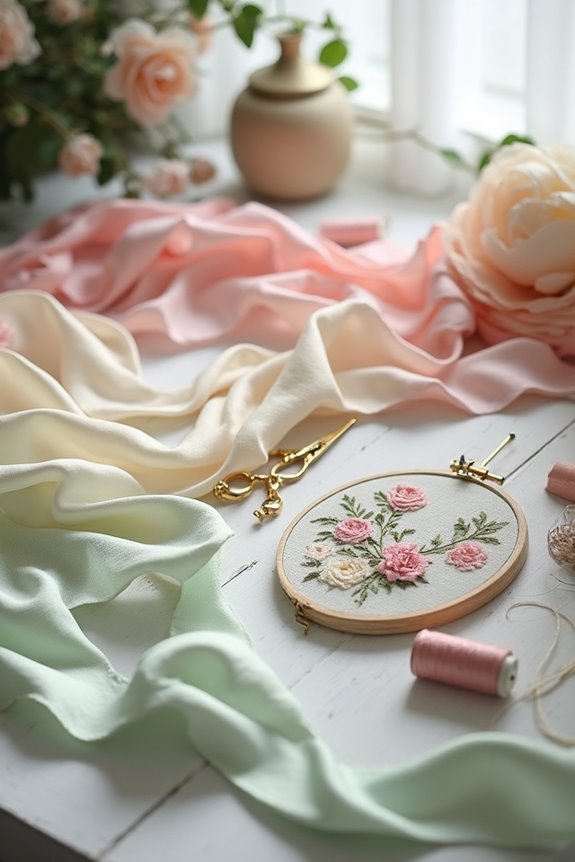
How To Use Silk Ribbon In Embroidery
To use silk ribbon in embroidery, start by preparing your materials. Unpack ribbons gently to avoid creasing and store them on spools or tubes. Use contrasting colors for visual appeal. Begin with basic stitches like straight and ribbon stitches to create petals and leaves. Keep ribbon lengths short, under 12 inches, to prevent twisting. For finishing touches, tie secure knots and store your work properly to protect it. There’s so much more to explore, so let’s get started! 🎨✨
Key Takeaways
- Unpack and store silk ribbons on empty spools or cardboard tubes wrapped in acid-free tissue paper to prevent damage.
- Use basic stitches like straight, ribbon, and French knots to create various shapes and textures in your embroidery.
- Maintain fabric tension with a spring tension hoop and keep ribbon lengths short to avoid fraying and twisting during stitching.
- Choose smooth fabrics like silk dupioni or velvet, and use a chenille needle to ensure the ribbon glides smoothly without crushing.
- Secure finishing knots and tack down any tails to prevent puckering, while storing completed pieces in a cool, dry place away from sunlight.
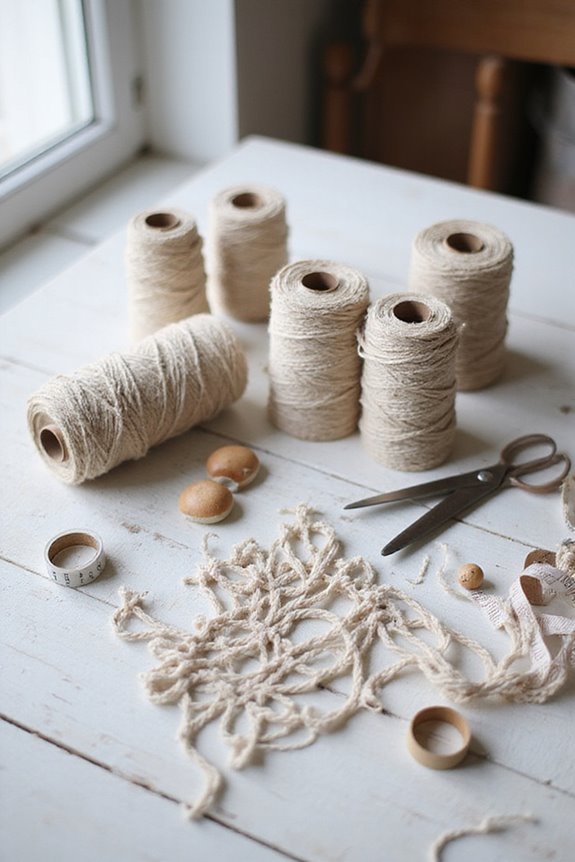
Preparation and Materials for Silk Ribbon Embroidery
When I first started with silk ribbon embroidery, I quickly realized that preparation is key to a successful project. To begin, carefully unpack your ribbons to prevent creasing. For efficient ribbon storage, I recommend rolling them onto empty spools or cardboard tubes wrapped in acid-free tissue paper. This keeps them organized and protected from discoloration.
Next, think about color selection! Choose ribbons that’ll contrast nicely against your fabric; lighter ribbons shine on darker backgrounds. The lengths you work with should be under 8 inches to minimize fraying while stitching. 🔍 Additionally, consider using non-toxic materials to ensure safety during your crafting process.
💡 *Tip:* Gently burn the ribbon edges to prevent fraying. Remember, the right prep can enhance your overall silk ribbon embroidery experience!
Recommended Products

The perfect thread for sewing and quilting! The silk finished cotton has a luxuriously soft effect whilst maintaining a supple feel

50 spools of 100% Pure Silk Ribbons of 7mm

★★★ ALL 60 ASSORTED COLORS PACK - 60 HUGE SPOOLS 5000M (≠500m) Polyester Embroidery Machine Thread into one pack = 300000 Meters in Total. The PERFECT stock and BEST choice for your small embroidery business.
Basic Stitches for Silk Ribbon Embroidery

- Straight Stitch: This is the most basic stitch, forming simple lines or petal shapes. Just bring your needle up through the fabric, pull the ribbon gently, and insert it down at the endpoint.
- Ribbon Stitch: Use this stitch for creating leaf or petal shapes. It involves bringing the needle up and re-inserting nearby to form loops.
- Stem Stitch: Perfect for stems or vines, it uses a figure-eight technique to create a textured line.
- French Knots: These tiny knots add detail. Wrap the ribbon around the needle before inserting it back close to the exit point.
- Looped Stitch: This stitch creates a soft loop, great for curved petals. Incorporating high-quality materials can enhance the overall appearance of your embroidery project.
Recommended Products

★ Best Choice for Your Embroidery Business: One pack of 150 Huge Spools 4000M (≠400m) Polyester Embroidery Machine Thread can satisfy all the needs from variety of colors. The PERFECT stock and BEST choice for your embroidery business.
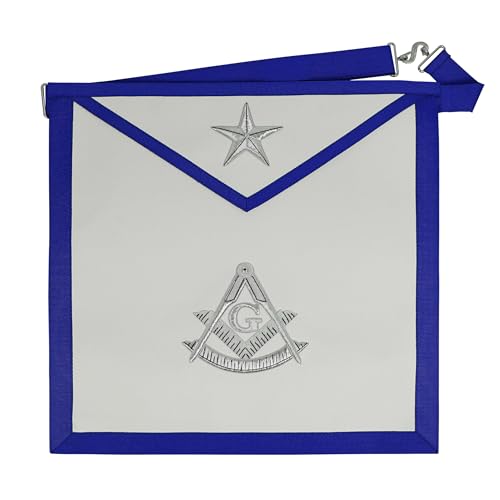
Made from authentic white lambskin leather with a luxurious silk fabric backing.

The Past Thrice Illustrious Master Royal & Select Masters Apron is an exclusive regalia item for members of the Masonic Order, representing one's affiliation with distinction. The apron is made on glossy white material and defined by its striking purple velvet borders, which are further accentuated by the golden braid and rayon fringe. These elements make it a visually appealing item and a symbol of the highest standards of quality.
Techniques to Control Ribbon Appearance

To achieve the best results with silk ribbon embroidery, it is crucial to control how the ribbon appears as you stitch. Here are some helpful techniques:
- Use taut fabric tension with a spring tension hoop to keep stitches flat.
- Handle the ribbon gently with a blunt tapestry needle or tweezers to avoid crushing it.
- Pull the ribbon directionally as you stitch for better flatness and maintain that sheen.
- Keep ribbon lengths short (12-14 inches) to minimize twists and tangles.
- Avoid tight stitches; slightly looser stitches preserve the ribbon’s width and texture.
- Monitor stitch density control to keep the embroidery balanced and visually appealing.
- Incorporating decorative edge designs can add unique texture and dimension to your silk ribbon embroidery projects.
Recommended Products
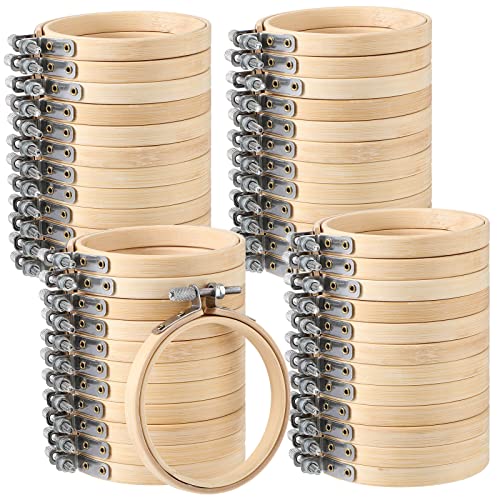
Practical to Use: the embroidery hoop is designed with an adjustable brass screw that you can tighten it when using, therefor you can make the fabric taut, which can help you complete your embroidery works smoothly, simple and practical for you


This embroidery Hoop gives you the capability to embroider, quilt or sew in a much larger area! Expand your imagination and creativity with larger designs using the embroidery field of this Hoop. Not only designed to keep your fabric taut without slippage but also to handle specialty heavy fabrics. Great for beginners and experts.
Advanced Stitches and Variations

As you master the techniques to control ribbon appearance, exploring advanced stitches and variations can really elevate your silk ribbon embroidery. These advanced stitch applications offer depth and texture to your projects. For instance, try the Overcast Running Stitch, wrapping the ribbon over running stitches for a twisted rope effect—great for borders and stems!
- Ribbon Stitch Variations let you adapt shapes for petals or leaves.
- Incorporating twisted ribbon and loop techniques adds fullness to floral elements.
- Don’t forget about using French knots which create lovely detail.
Additionally, implementing pre-printed patterns can simplify the design process, allowing you to focus more on mastering the advanced techniques. Each of these methods enriches your design with ribbon texture variations, enhancing both the visual and tactile quality of your work. 🌺 Happy stitching!
Fabric and Ribbon Compatibility

When you’re diving into silk ribbon embroidery, understanding fabric and ribbon compatibility is crucial. Choosing the right fabric types greatly impacts your results. Smooth fabrics like silk dupioni, Irish linen, and velvet work best. Here’s what to take into account:
- Needle Selection: Use a chenille or tapestry needle. These have wider barrels to prevent ribbon crushing.
- Fabric Density: Avoid very dense fabrics; they can resist needle penetration.
- Trial Run: Always test your fabric and needle combo before starting on your main piece. This helps avoid damage and guarantees smooth stitching. Additionally, employing high-quality yarn can enhance the overall texture and appearance of your embroidery project.
Recommended Products


Adorable in appeal, this 100% handmade gold & ivory 26x26 inch (65x65 cm) euro sham cover is carefully crafted from art silk by professional craftsmen.

540 spools of 100% Pure Silk Ribbons of 4mm
Finishing Techniques and Care for Silk Ribbon Embroidery
Finishing off your silk ribbon embroidery is just as important as the initial stitching. To create secure finishing knots, I pierce the ribbon about ¼” in, sew a running stitch, and pull the ribbon through. This forms a loose knot that holds well. Make certain to tack down leftover tails with thread to prevent any puckering.
For ribbon storage, keep finished pieces in a cool, dry place, away from sunlight. Protect them under glass or acid-free materials to avoid damage. When cleaning, I gently spot clean with mild detergent, always testing first on a small area. Afterward, let it air dry flat. Following these steps guarantees your silk ribbon embroidery stays beautiful for years! 😊
Recommended Products
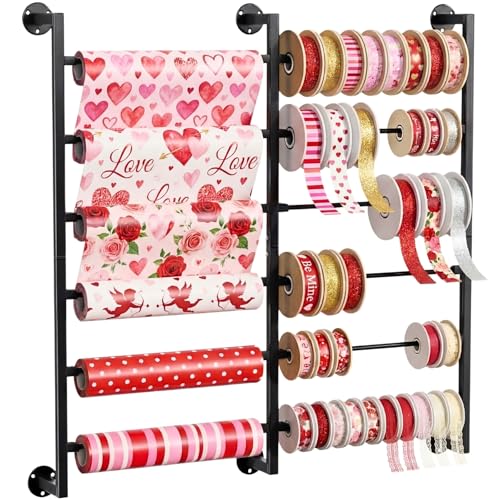
【Double Row, Large Capacity】Unlike typical single-column ribbon organizers, our double-row ribbon holder, 6-tier design provides 12 sturdy slots for organizing ribbon, yarn, and gift bags by color, size, or material. It maximizes wall space while keeping your craft room or studio neat, accessible, and inspiring. It makes an ideal gift for craft enthusiasts, ribbon lovers, or professional crafters.

【Large Capacity & Adjustable Design】Keep all your ribbons in one spot. This 5-tier, 9-slot ribbon organizer holds a big collection without feeling crowded. Adjustable spacing makes pulling ribbons smooth and keeps everything easy to see and grab.

★ Two Clear Stackable Storage Boxes Hold 2x30 Tall Thread Spools: Come with 2 Premium super clear plastic thread storage boxes which hold up to 60 thread spools(Each box has 30 sticks to hold up 30 thread spools). It organizes your thread spools assorted all in one place & keep them away from dust. The compact design allows you to take the storage box with thread for sewing class and small business outside, making it a preferred choice for embroidery and quilting enthusiasts.
Frequently Asked Questions
Can I Use Silk Ribbon on Denim Fabric?
Absolutely, I often use silk ribbon on denim fabric! The denim compatibility is great for adding texture and dimension. Just remember to choose the right needle and test your stitch to guarantee smooth results.
How Do I Choose the Right Ribbon Width?
When choosing the right ribbon width, I consider ribbon texture and color contrast. Narrow ribbons enhance delicate details, while wider ones create bold statements, ensuring my design complements both the fabric and overall aesthetic.
Can I Mix Different Types of Ribbons?
Mixing ribbons is like blending colors on a canvas. I love experimenting with texture contrasts and discovering unexpected color combinations. When done thoughtfully, it adds depth and dimension to my embroidery projects, enhancing their beauty.
What Tools Are Essential for Silk Ribbon Embroidery?
When I think about essential tools for silk ribbon embroidery, I know having sharp needles and embroidery hoops is crucial. They really help me master silk ribbon techniques and perfect my embroidery stitches for stunning results.
How Do I Create My Own Ribbon Design?
Getting the ball rolling on my ribbon design is thrilling! I often draw inspiration from nature and art, combining design techniques like sketching and layering to create unique pieces that truly reflect my vision.