To create fabric wall hangings, we’ll need lightweight materials, like cotton or linen, and vibrant colors. First, let’s measure the wall space accurately and cut our fabric using pinned templates. We should add seam allowances and finish edges with a zigzag stitch for durability. Next, we can explore hanging options, like rods or adhesive. Remember to hang at eye level for the best effect. Stick around, and we’ll uncover more design tips and techniques! 🎨✨
Key Takeaways
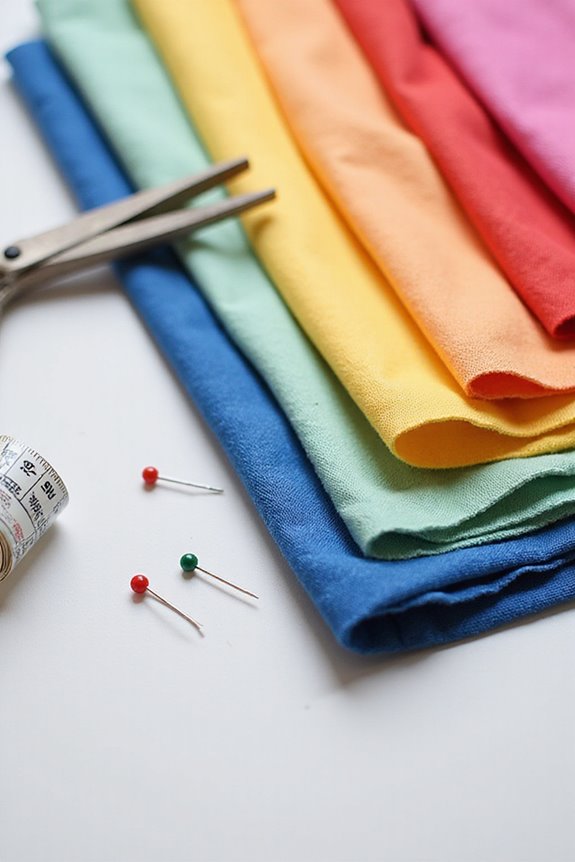
- Choose lightweight fabrics like cotton or linen, and consider vibrant colors and textures for visual appeal in your wall hanging.
- Accurately measure your wall space, create a template, and cut fabric with seam allowances for a clean finish.
- Decide on a mounting method, such as a rod casing or Velcro, to hang your fabric securely and easily.
- Incorporate design elements that fit your room’s decor, using themes or color palettes to enhance the overall aesthetic.
- Hang your wall hanging at eye level, ensuring it aligns with surrounding decor and adjust for balance and symmetry.
Materials Needed for Fabric Wall Hangings
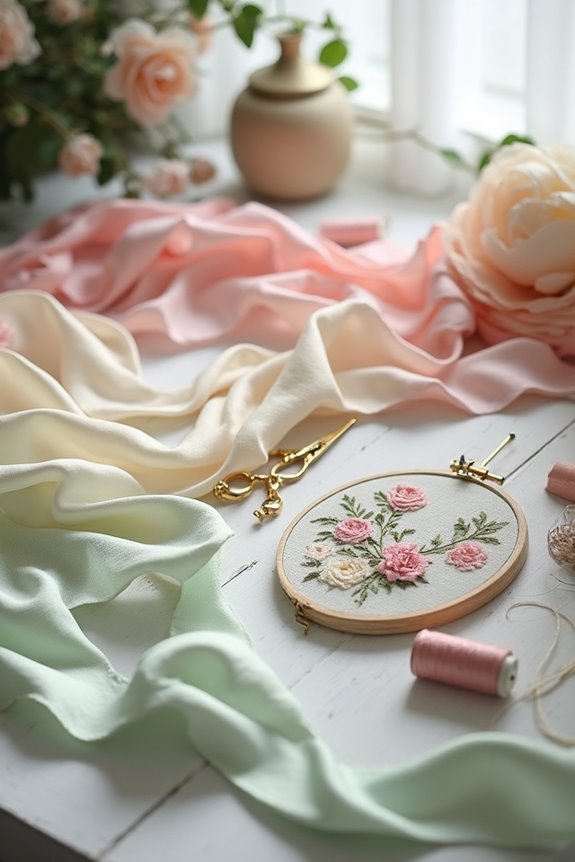
Creating beautiful fabric wall hangings starts with selecting the right materials. 🎨 We want to choose fabrics that are not only visually appealing but also easy to work with. Lightweight options like cotton and linen are great for their breathability and ease of handling. Tapestry materials and open-knit fabrics can add interesting textures as well.
For color selection, vibrant hues and patterns enhance the visual appeal of our hangings. Think about using natural fibers like wool for softness, or synthetic options like polyester for durability outdoors. Don’t forget, repurposed textiles or crochet curtains can serve as unique bases. By mixing fabric types, we can truly create something special that reflects our personal style! Additionally, applying a suitable fabric paint sealant can protect and prolong the vibrancy of your designs.
Preparation and Cutting Techniques
Before we plunge into cutting our fabric, it’s important to have a solid plan in place. 📝 We’ll start by accurately measuring the wall space where our wall hanging will go, which helps us decide on the dimensions of our fabric pieces. Here are some key steps for preparation:
- Create a paper template to guarantee cutting accuracy.
- Pin it securely to prevent shifting while cutting.
- Use fabric chalk or tailor’s pencils for clear markings.
For fabric stability, weigh down layers, and cut slowly along marked lines to avoid jagged edges. Sharp scissors work best, but rotary cutters can help for bigger projects. Remember to add seam allowances of 1-2 cm before cutting to guarantee a clean finish! Additionally, consider using high-quality nylon bristles for painting details on your fabric to enhance the overall aesthetic of your wall hanging.
Finishing Edges for Durability
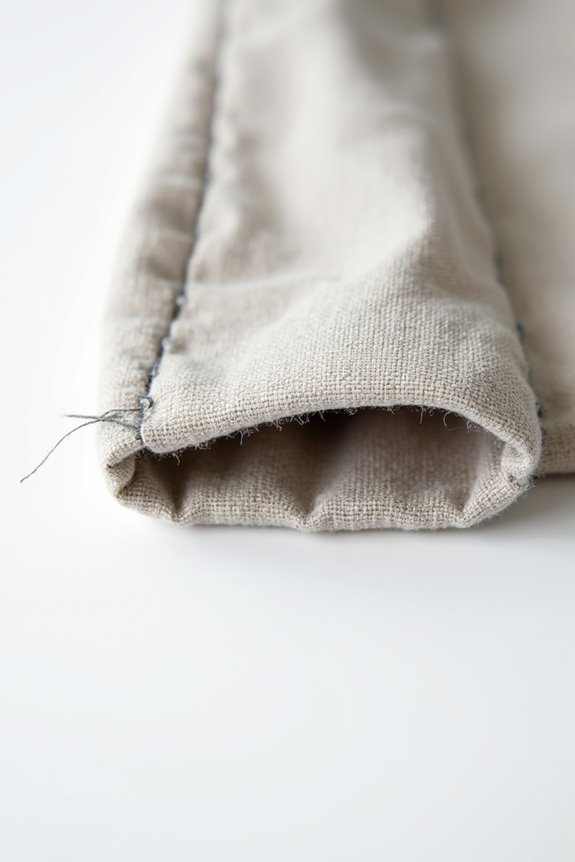
Having prepared and cut our fabric, we’re ready to guarantee our wall hangings are durable and visually appealing. To accomplish this, we can use the facing technique instead of traditional binding for edge stabilization.
🔹 Cut four squares of fabric for the facing pieces.
🔹 Attach them around the edges of the quilt to create a smooth, borderless finish.
For added durability, employ secure stitching methods like blanket or zigzag stitching around any raw edges. Adjust the stitch length and tension to avoid puckering. Additionally, using durable materials like beech wood can enhance the overall sturdiness of the wall hanging.
Carefully press the edges from the center out, ensuring a neat look. This not only enhances appearance but also strengthens the edges—essential for any fabric wall hanging we want to last!
Designing the Mounting and Hanging Method
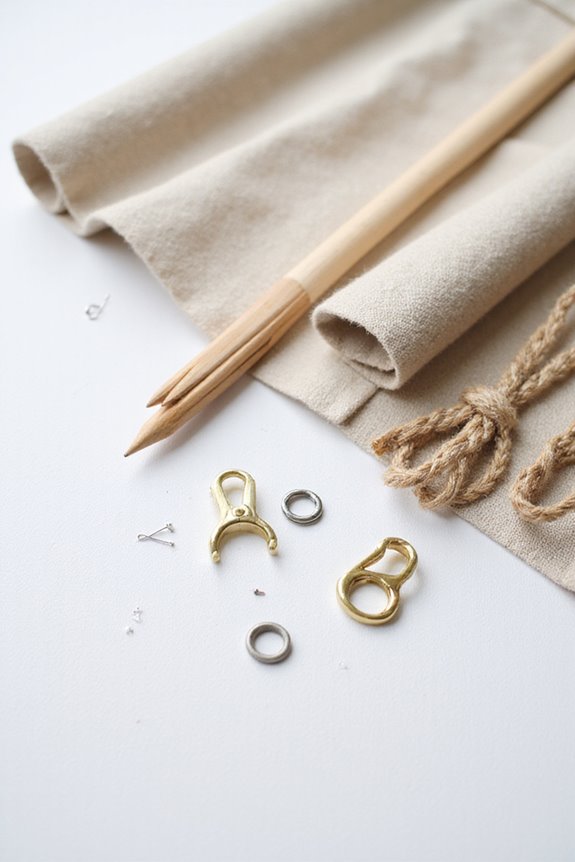
When we’re ready to hang our fabric wall hangings, choosing the right mounting method is key to showcasing our work beautifully. There are various mounting techniques we can explore to enhance our design, such as:
- Direct Mounting: Use fabric adhesive or double-sided tape for a clean, minimalist look. Just apply the adhesive evenly, focusing on edges.
- Velcro: This is great for easy removal. Attach it to the wall or a board for extra support.
- Rod or Dowel: Slide a rod through a sewn casing at the top edge for a classic style.
- Tension Systems: These keep the fabric tight and wrinkle-free; ideal for frequently changing displays.
Additionally, using a self-healing craft mat can help you achieve precise cuts for your fabric pieces, ensuring a professional finish. Each hanging style has its perks—pick what suits your space best!
Exploring Framing Options
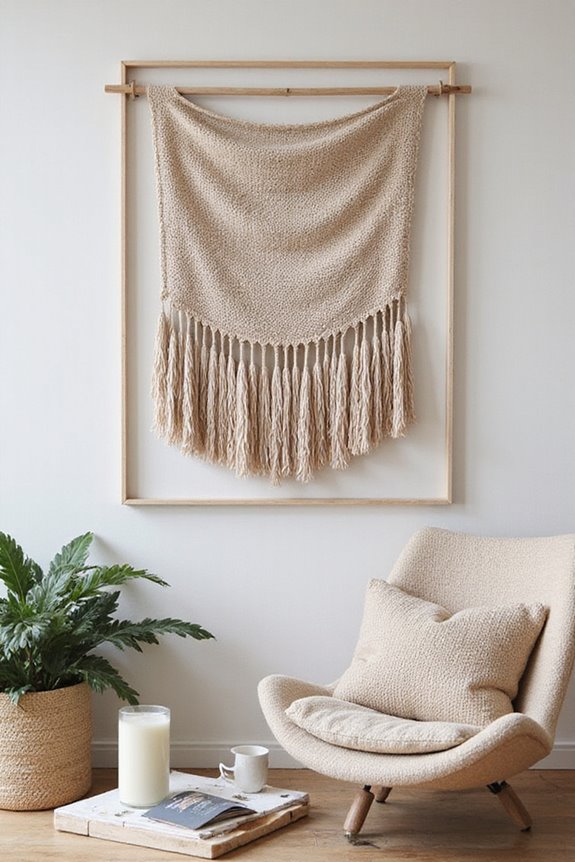
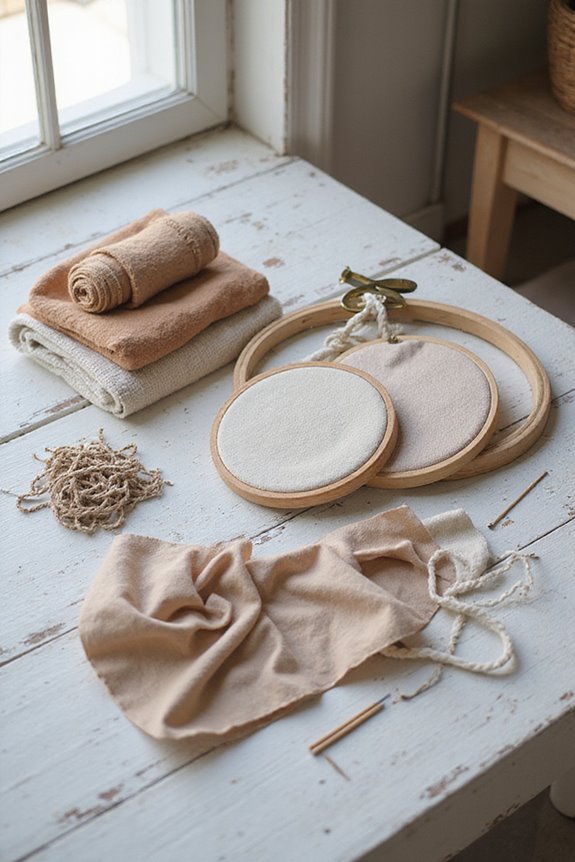
Framing our fabric wall hangings can add a polished touch that enhances their visual appeal. We have several frame types to evaluate, like wooden stretcher bars, which stretch your fabric tightly, or pre-made artist canvases for a quick option.
Using gallery or standard picture frames is also effective—just mount the fabric on a backing board to fit.
👉 Here are some tips:
- Iron fabric flat to eliminate creases.
- For a smooth finish, stretch the fabric evenly using staples or glue.
- Make sure to secure corners neatly to avoid uneven edges.
Choosing high-quality materials like bamboo or beech wood for your hoops can enhance the durability and aesthetic of your wall hangings.
With these framing options, we can showcase our fabric textures beautifully and add flair to any space!
Advanced Techniques for Unique Designs
Creating unique fabric wall hangings can truly elevate our artistic expression and add character to any space. One of our best tools is fabric layering, which introduces depth and interest. By combining different weights like velvet and sheer fabrics, we can achieve stunning textures.
To create dynamic 3D effects, let’s fold or pleat strips of fabric before sewing; this technique enhances light play. We can also employ texture manipulation through techniques like quilting or smocking, adding both complexity and stability.
Painting or dyeing sections before assembly allows for unique color gradients, resulting in an enthralling design. By integrating these advanced methods into our projects, we enhance not only the aesthetic appeal but also our creative skills. 🎨✨
Using Decorative Elements Effectively
How can we effectively incorporate decorative elements into our fabric wall hangings? Start by selecting textile choices that add texture, like velvet or burlap. This tactile richness enhances visual depth.
For color coordination, choose a scheme that complements your room’s decor. Mix bold tones with neutral shades to achieve balance.
Consider using framed textile art or tapestries to soften bare walls while adding artistic flair. Place fabric pieces around eye level, keeping 3 to 6 inches between them for a clean look.
Integrate materials like wood or metal to create a modern eclectic style. Finally, grouping similar pieces can enhance engagement, transforming your wall into a fascinating focal point. 🖼✨
Customizing Wall Hangings for Your Space
What’s the best way to customize wall hangings to truly reflect our personal style? Start with fabric selection that complements the room’s decor. For lighter spaces, lightweight fabrics like cotton will soften the feel, while canvas creates structure.
Next, apply color theory—matching or contrasting colors can enhance harmony or make bold statements. Think neutral tones for subtleness, and vibrant hues to draw attention.
Patterns matter too! Florals work for traditional styles, while geometric designs suit modern themes.
Consider unique techniques like tie-dye to infuse personal touches. Remember to avoid overly busy patterns in equipped spaces to keep visual clutter down. ✂🖌 With these strategies, our wall hangings will burst with style and personality!
Tips for Proper Installation and Display
Before we plunge into installation, it’s essential to prepare our wall properly to guarantee a successful display of our fabric wall hangings. Here are some installation tips to keep in mind:
- Measure Twice 📏: Use a measuring tape to mark the top and bottom edges lightly with a pencil or painter’s tape.
- Level Up ⚖: Check alignment with a level to make sure everything stays straight.
- Secure with Care: Impaling clips should be at least six inches from edges to protect the fabric.
- Maintain Consistency: For gallery displays, use spacers to create even gaps between panels.
- Eye Level 👀: Hang fabric at eye level for maximum visual appeal.
These alignment techniques will help us create a polished display we can all enjoy!
Frequently Asked Questions
Can I Use Recycled Fabrics for Wall Hangings?
Absolutely, we can use recycled fabrics for wall hangings! They’re eco-friendly options that minimize waste and inspire creativity. Let’s embrace these recycled materials together, crafting unique pieces while supporting sustainability in our projects.
How Do I Clean Fabric Hangings Without Washing Them?
To clean fabric hangings without washing, we can use dry cleaning methods and gentle techniques. Regular vacuuming, spot cleaning, and careful maintenance are essential for preserving fabric integrity and ensuring long-lasting beauty in our decor.
What Are the Best Adhesives for Fabric on Walls?
We’d think fabric glue and fabric tape would easily bond everything, right? Yet, the best adhesives depend on our wall surface. With options like Velcro and heavy-duty double-sided tape, we won’t disappoint our projects!
How Do I Prevent Fabric From Fading in Sunlight?
To prevent our fabric from fading due to sunlight exposure, we should use UV-resistant materials, position items in shaded areas, and rotate them regularly. These fabric care techniques help maintain vibrancy and longevity beautifully.
Can I Create a Wall Hanging Without a Frame?
Absolutely, we can craft stunning wall hangings without frames! Imagine vibrant fabric choices suspended with innovative hanging techniques, bringing warmth and personality to our space, all while embracing a minimalist, modern aesthetic that defies traditional norms.