Creating handmade ornaments for the holidays is a great way to share memories and express creativity! 🎄 First, collect essential materials like beeswax pastilles, air-dry clay, and acrylic paints. For salt dough, mix 1 cup of flour, ½ cup of salt, and ½ cup of water. Use metal cutters to shape circles, and don’t forget to poke holes for hanging! 🎨 Once decorated, let’s explore eco-friendly designs and various ornament styles to personalize our creations further!
Key Takeaways
- Mix 1 cup flour, 1/2 cup salt, and 1/2 cup water to create salt dough for ornament crafting.
- Use metal circle cutters for shaping and ensure to poke holes for hanging before baking.
- Decorate your ornaments with vibrant acrylic paints, and consider adding glitter or metallic finishes for extra flair.
- Personalize each ornament with messages or embellishments like ribbons, buttons, or beads for added uniqueness.
- Involve family and friends in the making process to foster connections and traditions around holiday celebrations.
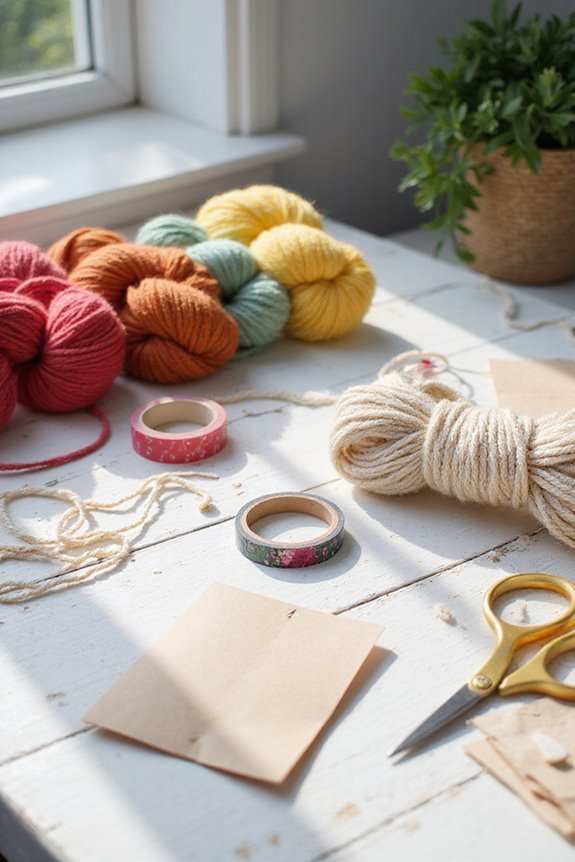
Essential Materials and Tools
When we kick off our ornament-making adventure, having the right materials and tools is crucial for achieving great results. 🛠 Whether we’re using beeswax, clay, or other natural materials, each item plays an important role in our creative process.
For wax casting, we recommend yellow beeswax pastilles and silicone molds in various shapes. A double boiler or hot plate guarantees we melt the wax safely. Don’t forget the stirring utensil for adding scents!
When it comes to clay molding, ceramic or air-dry clay is perfect for custom designs. Use metal circle cutters for uniform shapes, and Surform tools to smooth edges before joining pieces. With these materials, we’re ready to create beautiful ornaments! 🎨 Additionally, using non-toxic air-dry clay ensures a safe crafting experience for all ages.
Making Salt Dough Ornaments
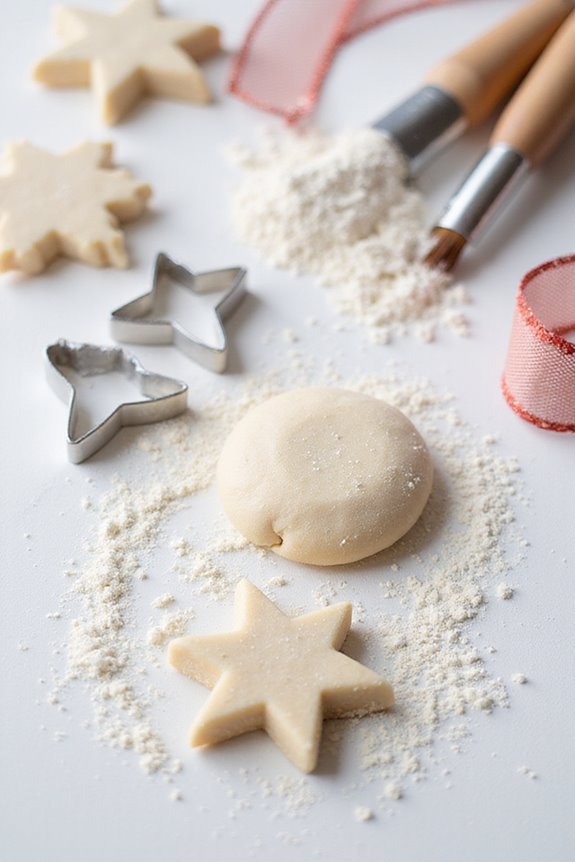
Creating salt dough ornaments is a fun and rewarding project that adds a personal touch to our holiday decorations. To start, we mix salt dough using 1 cup flour, 1/2 cup salt, and 1/2 cup water. For vibrant festive colors, we can add acrylic chalk paint into the water.
Baking Tips:
- Bake at 250°F (121°C) for 1.5 to 2 hours.
- Place ornaments on parchment paper to prevent sticking.
Drying Techniques:
- Allow them to cool completely after baking.
- For added texture variations, we can stamp the dough with natural materials before baking.
A strong adhesive bond is essential for securing scrapbook materials in place, ensuring our ornaments remain intact over time. Lastly, for hanging, don’t forget to poke holes before baking. These steps will guarantee our ornaments shine against any holiday theme!
Shaping and Cutting Techniques

After we’ve made our salt dough ornaments, it’s time to focus on shaping and cutting techniques that can elevate our holiday creations. Using circle shaping, we can create enchanting designs by cutting 7 cm circles with metal cutters or paper templates. To form curves, we can press these circles over objects like tennis balls.
For wood cutting, we’ll need thin blades for intricate shapes, adjusting our rectangular blocks to fit our designs. When paper layering, we cut identical shapes, gluing them layer by layer for added dimension. In felt crafting, we trace cookie cutter shapes, cutting two identical pieces for front and back. Additionally, using high-quality materials like bamboo hoops can enhance the durability and aesthetic appeal of your creations.
Decorating Your Ornaments


To make our handmade ornaments truly stand out, we can explore a variety of decorating techniques. 🎨 Using paints is an excellent way to start, as acrylic paint offers vibrant colors that dry quickly, perfect for adding an eye-catching touch.
Next, let’s consider color combinations and texture mixing! Metallic and glitter paints can add festive sparkle, while distressed paint techniques create a rustic charm. We can enhance our designs by using embellishments like ribbons, buttons, and beads for dimension.
Don’t forget to wrap our ornaments with yarn or twine for cozy textures. Finally, we might personalize them with messages or printed graphics, making each piece uniquely ours. Additionally, using fabric paint spray bottles can provide an effortless way to apply colors evenly and create beautiful effects. Let’s get creative and enjoy the decorating process together!
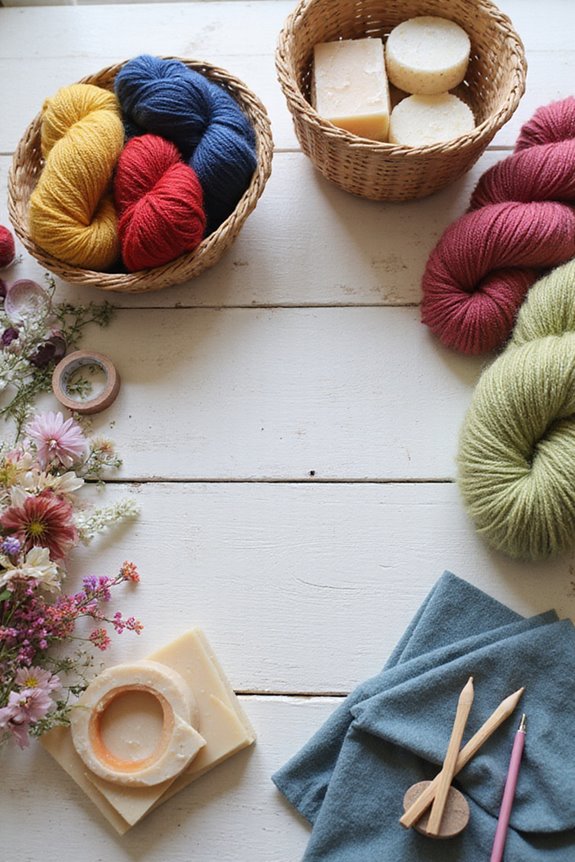
Using Natural Elements for Eco-Friendly Designs

Holiday spirit can shine through handmade ornaments crafted from natural elements, adding a touch of eco-friendliness to our decorations. By using twigs and foraged berries, we can create beautiful rustic charm in our homes. Here’s how:
- Gather materials: Look for twigs, pinecones, and dried seedheads in local parks or gardens.
- Create shapes: Cut twigs into equal lengths to form stars or snowflakes, then glue them together.
- Enhance with berries: Tie foraged berries with twine around your ornaments for color and texture.
- Make hanging decor: Combine moss and flower heads into chandeliers for a stunning centerpiece.
This process not only beautifies our homes but also helps reduce waste—let’s celebrate with a green twist! 🌿✨ Additionally, incorporating natural elements into your decor aligns beautifully with eco-friendly practices.
Exploring Different Ornament Styles
When it comes to crafting unique decorations, exploring different ornament styles can be a delightful journey. Each type has its own ornament symbolism and cultural significance. For instance:
- Quilled Paper Ornaments: Beautiful designs like birds or snowflakes are lightweight and customizable.
- Crocheted Ornaments: These add a soft texture with designs ranging from bunnies to holiday figures.
- Traditional Glass Ornaments: Their reflective surfaces sparkle and can be personalized, adding vintage charm.
- Felt and Fabric Ornaments: Warm, tactile shapes like stars and hearts can incorporate recycled fabrics.
- Rustic and Folk Art Styles: Handmade textures with earthy colors elevate your décor.
Tips for Curing and Storing Ornaments
Creating unique ornaments is only half the fun; caring for them properly is just as important. Here are tips for effective curing techniques and storage solutions:
- Curing Techniques: Let clay ornaments air dry on baking paper for at least three days. Flip them periodically to prevent warping. If you need faster results, bake at 200°F for 1 to 1.5 hours.
- Storage Solutions: Once dry, wrap ornaments in acid-free tissue paper to avoid discoloration. Use sturdy containers, ensuring they’re lined with soft padding like bubble wrap. Store them in a cool, dark place to keep them safe from moisture and fading.
The Importance of Handmade Ornaments in Holiday Traditions
Handmade ornaments play an essential role in our holiday traditions, connecting us to our past and each other. These ornaments carry profound cultural significance, representing our family stories and milestones, like a baby’s first Christmas. When we create and hang these keepsakes, we strengthen emotional connections with our loved ones.
- Each ornament becomes a tangible reminder of shared experiences, fostering joy and nostalgia.
- Decorating together during the holidays creates cherished memories.

Research shows that 52% of us recreate these traditions to maintain comfort and continuity. By using handmade ornaments, we celebrate our unique identities while cherishing our heritage. So, let’s get crafting! It’s time to embed ourselves in the magic of our holiday celebrations with meaningful, handcrafted treasures. 🎄✨
Frequently Asked Questions
Can I Use Gluten-Free Flour for Salt Dough Ornaments?
Yes, we can definitely use gluten-free flour for salt dough recipes. By exploring gluten-free alternatives like brown rice flour or cornstarch, we create safe, enjoyable dough for all, ensuring everyone can join in the fun!
How Can I Remove Glitter Fallout From My Work Area?
When tackling glitter cleanup, we should gather our crafting tools like sticky tape and lint rollers. A quick vacuum can help too, ensuring we keep our workspace tidy and glitter-free for future creative projects.
What Are Some Alternatives to Baking Salt Dough?
Did you know that over 70% of crafters prefer alternative materials? Air dry clay and baking soda dough can be excellent substitutes for traditional salt dough, allowing us to create durable and safe crafts together.
How Should I Store My Completed Ornaments for the Next Year?
When it comes to ornament storage, we should wrap each piece carefully and choose sturdy containers for seasonal organization. A cool, dry space will keep our treasured ornaments safe until we decorate again next year.
Are There Any Safety Tips for Crafting With Children?
Before we plunge into our crafting adventure, let’s not forget child safety. We should supervise carefully, choose appropriate crafting supplies, and establish clear rules to guarantee a fun and safe environment for everyone involved.