As an Amazon Associate, we earn from qualifying purchases. Some links on this site are affiliate links at no extra cost to you. Our recommendations are based on thorough research and editorial judgment.


How To Create Natural Beeswax Candles

Creating natural beeswax candles is easy and fun! First, we’ll gather materials: beeswax, cotton wicks, and amber glass jars. Then, we’ll melt the beeswax in a double boiler at 145°F to 160°F. Once melted, we can pour it into our jars. Before that, let’s dip the wick base in wax for adhesion. If you want scent, add essential oils at 170°F. After pouring, let them cure for 24-48 hours for the best burn. There’s so much more to explore!
Key Takeaways
- Source high-quality beeswax from local beekeepers or trusted online suppliers, available in blocks, beads, or sheets.
- Use a double boiler to melt beeswax gently at 145°F to 160°F, filtering through a fine mesh strainer for purity.
- Center the wick in the container by dipping the base in melted wax and using wick holders for stability during pouring.
- Add compatible essential oils like lavender just before pouring at 170-180°F to achieve a pleasant scent throughout the candle.
- Pour melted wax at 155°F to 160°F, allowing candles to cure for 24 to 48 hours for optimal burn quality and stabilization.
Materials and Equipment Needed
Creating beautiful beeswax candles starts with understanding the materials and equipment we need. 🐝 First up, we’ll focus on the main ingredients: beeswax. We recommend sourcing beeswax from local beekeepers or reputable online suppliers for quality and purity. It typically comes in blocks, beads, or sheets, depending on our preferred candle style.
Now, let’s talk about choosing wicks. Cotton or wooden wicks work best for beeswax, ensuring a clean burn. Remember to trim the wick to about 1-2 inches longer than the container height before pouring. Proper wick positioning is essential for an even burn, so using wick holders can help keep it centered. Additionally, using amber glass jars can enhance the aesthetic appeal and preserve the quality of your candles.
Recommended Products
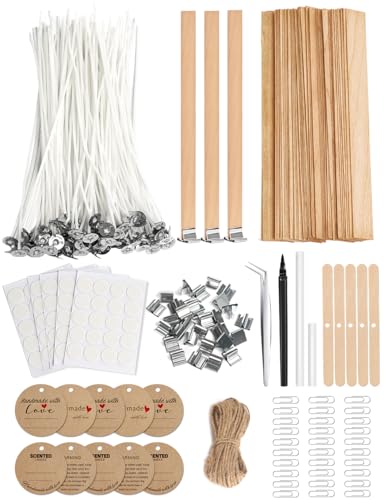
Ultimate Candle Making Kit - Includes 100 pre-waxed cotton wicks (6"), 30 wooden wicks (5"), 5 wick holders, 30 metal bases, 30 paper clips, 100 wick stickers, 2 wick placing tube, 10 candle tags, 1 pen, 6.6ft string & 1 tweezers. This complete kit provides everything required to begin crafting beautiful candles—perfect for both beginners and experienced makers. Includes high-quality materials and essential tools for a seamless candle-making experience.

PERFECT SIZE FOR CANDLE MAKING: Candle wick holder measures L4.48 x W 0.39 Inch, or L11.4 x 1cm, works with most size glassware. Pack includes 50 pcs candle wick holder, perfect for making large batch of candles at one time.
Ultimate Candle Making Kit - Includes 100 pre-waxed cotton wicks (4"), 30 wooden wicks (5"), 5 wick holders, 30 metal bases, 30 paper clips, 100 wick stickers, 2 wick placing tube, 10 candle tags, 1 pen, 6.6ft string & 1 tweezers. This complete kit provides everything required to begin crafting beautiful candles—perfect for both beginners and experienced makers. Includes high-quality materials and essential tools for a seamless candle-making experience.
Melting and Filtering Beeswax
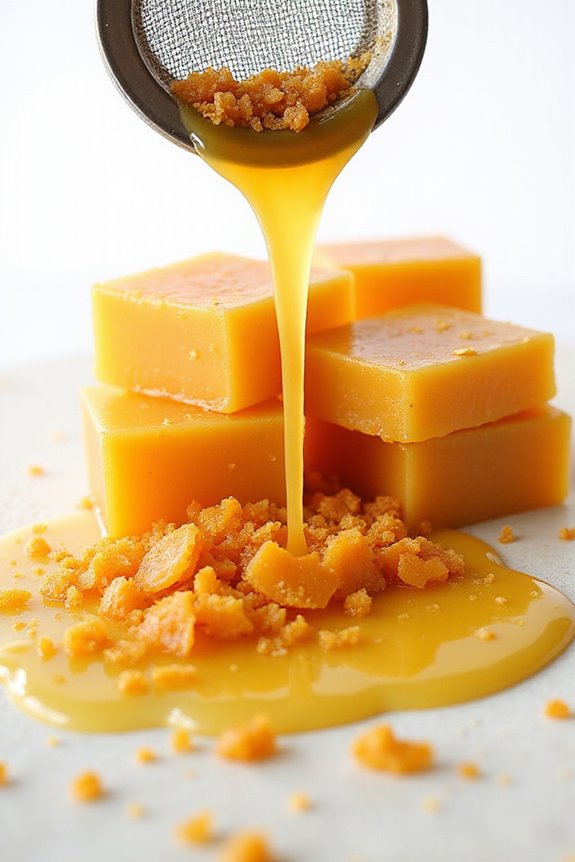
When we’re ready to melt and filter our beeswax, it’s important to use the right methods to guarantee the best results. 🌟 We can start with a double boiler to maintain gentle heat and keep our wax temperatures between 145°F and 160°F. This prevents overheating, which can burn the wax and ruin its scent.
Once melted, we should pour the wax through a fine mesh strainer or cheesecloth to filter out impurities like debris or dirt. 🐝 It’s best to do this while the wax is still warm for easy flow. Remember, if we want even more purity, we can melt and filter our wax multiple times. Additionally, ensuring that our wax is acid-free is essential for maintaining the quality of our candles. Let’s keep our candle-making process smooth and enjoyable!
Recommended Products
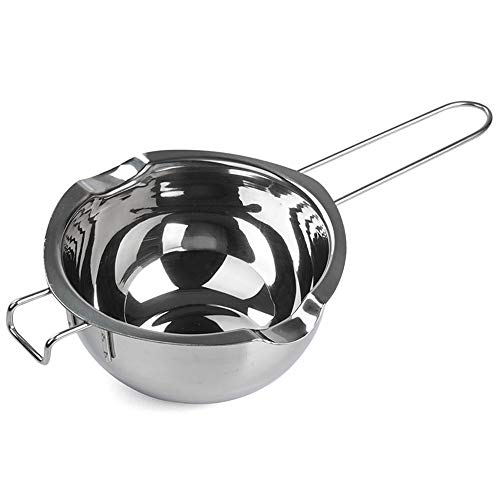
【Superior Material 】- Made of 18/8 Stainless steel, Rust Resistant, Sturdy,and proper temperature to melt things but not to destroy the nutrition, and prevent burnt.

Professional Double Boiler Design: This 3-piece set includes a large outer pot for water and a inner melting pot, Capacity is 1000ML+400ML ,providing gentle, indirect heat to melt wax evenly without scorching or burning. Ensures a safer process compared to direct-heat methods.

◎IDEAL CAPACITY: This candle making pouring pot size is: 5.2inch*4inch*4.2inch. It can hold 32oz/900ml of molten wax, almost twice that of other pouring pots, can better meet your needs for candles making.
Wick Placement and Centering Techniques
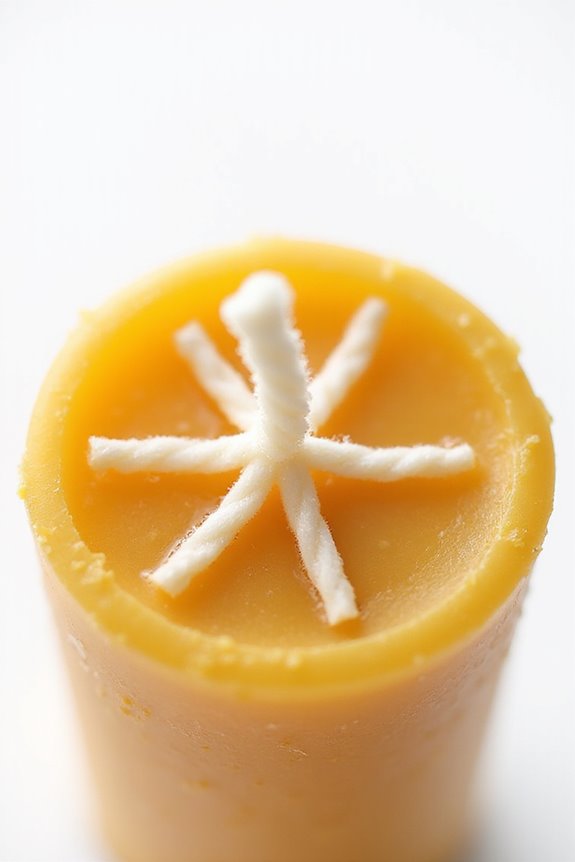
Wick placement is essential for crafting beautiful beeswax candles that burn evenly and safely. To begin, dip the wick’s base in melted beeswax, helping it stick to the bottom of your mold or container. Next, position the wick right at the center to guarantee symmetrical burning. We should also visually check that it’s not too close to the edges, as this can cause uneven melting 🌊.
For wick stability, consider using wick holders or small sticks across the container’s top to keep it upright while the wax hardens. Remember, cut the wick height so it just reaches the top of the container, assuring a perfect candle finish. This preparation reduces the risk of losing wick placement during pouring 😊. Additionally, using a candle wick centering device can significantly enhance your ability to maintain the wick’s position during the cooling process.
Recommended Products

INCLUDING 20 pack candle wick centering device, which is constructed in metal that is 3.9 inches in length, Pack of 20 value pack,a gift to all candle making lovers
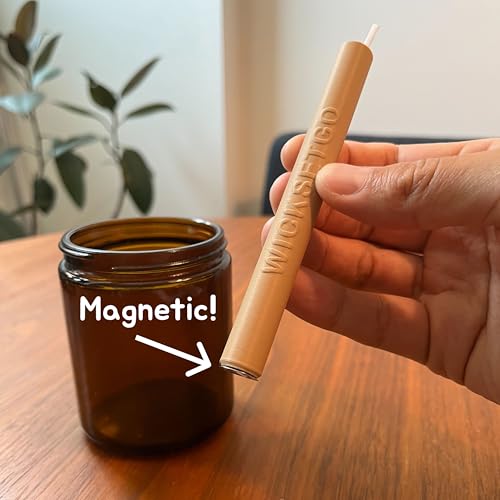
Includes: 1x Magnetic Candle Wick Tube

Size Reference : The wick holder has a diameter of 7.5cm/2.95 inches, a hole diameter of 2.3cm/0.9 inches and a thickness of approximately 5mm/0.2 inches, suitable for most candle sizes.
Adding Fragrances for Scent
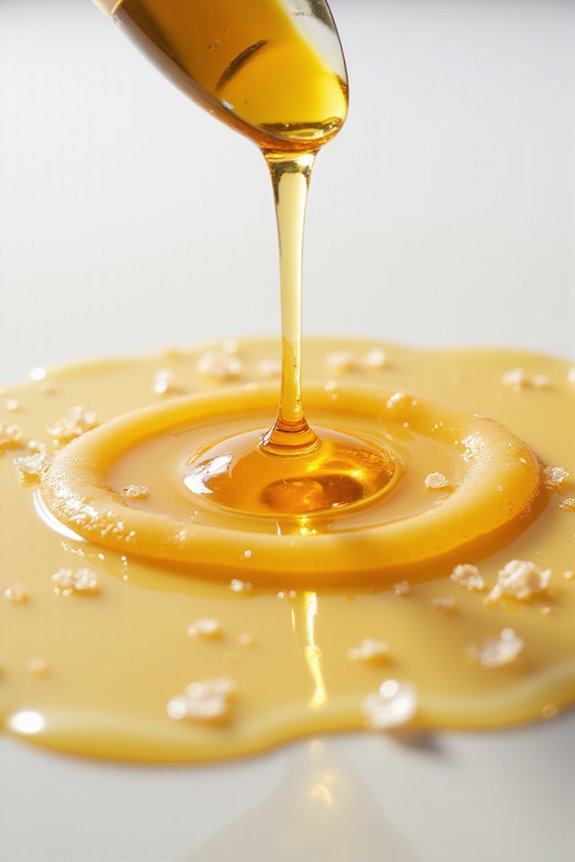
Now that we’ve got the wick all set and centered, it’s time to bring some delightful scents to our beeswax candles. 🎉 When selecting fragrances, we’ll consider scent compatibility with beeswax’s natural honey aroma. We can use essential oils like lavender or chamomile, which not only smell great but also offer therapeutic benefits.
Here’s what to keep in mind:
- Add fragrance oils just before pouring, maintaining a temperature of 170-180°F (77-82°C) for ideal absorption. 🌡
- Stir them thoroughly to distribute the scent evenly.
- Remember, stronger scents can enhance the overall aroma without overpowering the beeswax. Additionally, consider using highly concentrated oils to ensure a lasting scent throw in your candles.
Recommended Products

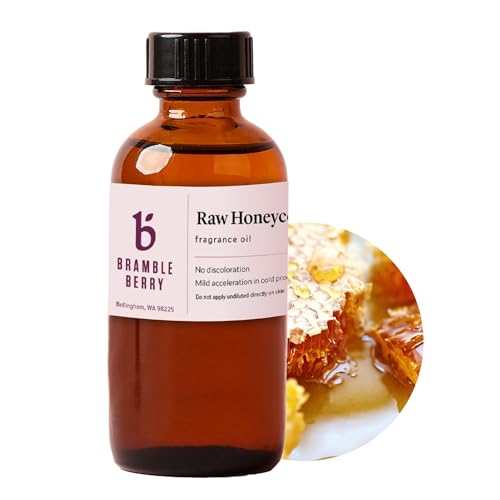
Oil Uses: Designed for but not limited to candle scents for candle making (especially works well with soy wax candle making), diffuser oil scents, freshie scents, oils for laundry, soap making supplies, slime scents, oils for skin, perfume oil, bath and body formulations, bath bombs, and many more essential DIYs.

✅ HONEY VANILLA - Has all of the characteristics of vanilla you love most -nutty, velvety, buttery, smooth but accented with the deep richness of golden honeycomb.
Pouring, Setting, and Curing Your Candles
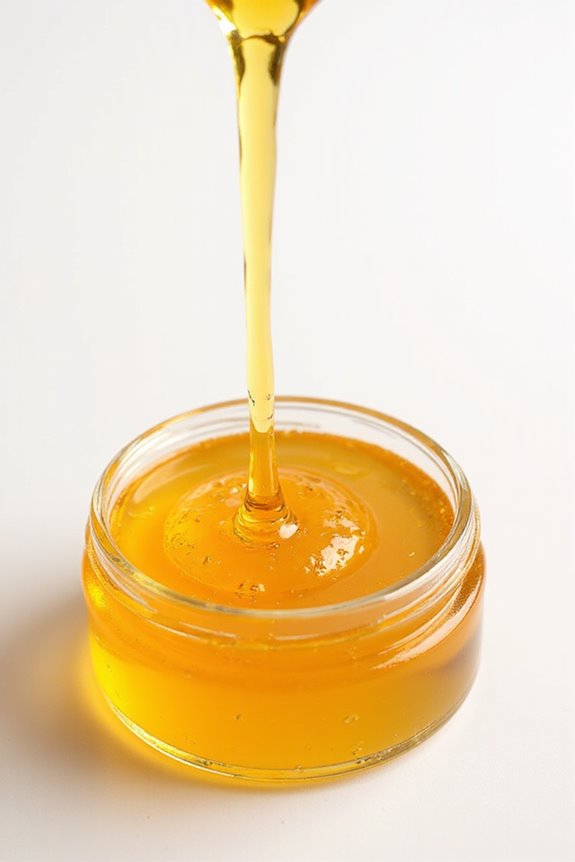
Pouring, setting, and curing our beeswax candles is an essential part of the candle-making process. 🕯 To achieve beautiful results, we need to pay attention to a few key techniques.
- Pouring Techniques: Pour wax slowly and consistently down the center of the mold at 155°F to 160°F. Overfill slightly to allow topping off. Avoid adding wax if gaps form.
- Cooling Process: Let candles cool completely in a warm environment, like a turned-off oven at 170°F. This prevents cracks.
- Curing: Allow candles to cure for 24 to 48 hours before lighting. This helps with wick stabilization and burn quality, ensuring a better overall candle burn quality.
Recommended Products

【Dual Power Candle Wax Melter Pot + Thermometer for Perfect Temperature Control】Choose 300W low heat for gentle melting of fragrance-sensitive or delicate waxes, or switch to 600W high heat to quickly liquefy hard waxes like soy and beeswax. The included TA-288 thermometer (0–300°C range) helps you keep wax at the ideal temperature—no more burning or breaking down. The clear LED indicator lets you see the status at a glance. Beginner-friendly and pro-approved.

[Compact & Efficient Electric Wax Melter]: Find the optimal balance of capacity and convenience with our 1.5-quart electric wax melter pot. Designed for small to medium candle-making projects, it provides ample space to melt wax for candle warmers and wax melt warmers, all while maintaining a compact countertop presence.
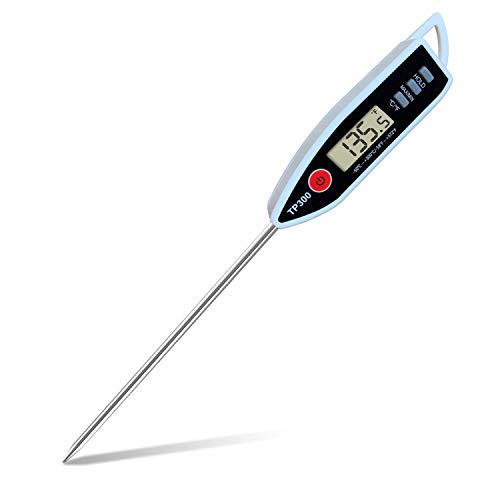
HOLD button keeps the teperature reading until it is pressed again; ℃/℉ button makes Celsius/Fahrenheit switchable; Power button function also with power-off feature after 10 minutes when there is no other operations
How Long Do Beeswax Candles Typically Last When Burned?
We’ve wondered about burn time ourselves! Typically, beeswax candles last longer due to their wax quality. Depending on size and shape, they can last anywhere from several hours to over a hundred—each burn revealing their magic!
Can I Reuse Old Candle Containers for New Beeswax Candles?
Absolutely, we can reuse various candle container types for new beeswax candles! By using effective cleaning methods, we guarantee our containers are ready and safe, allowing for creative, eco-friendly projects while reducing waste.
Is It Safe to Leave Beeswax Candles Burning Overnight?
Leaving beeswax candles burning overnight isn’t safe. We should always prioritize candle safety; unattended flames can lead to accidents. It’s best to extinguish them before sleeping to guarantee we all stay safe and sound.
What Should I Do if My Candle Wick Burns Too Quickly?
We’ve all watched a candle flame race like a runaway train. If your wick’s burning too quickly, let’s trim it down and check the wick materials. A little adjustment goes a long way in achieving perfection.
Can I Mix Different Types of Waxes for Candle Making?
Yes, we can mix different waxes! Using effective wax blending techniques helps minimize wax compatibility issues, allowing us to enjoy improved texture, scent throw, and burn time. Experimenting can lead to unique candle creations we love!