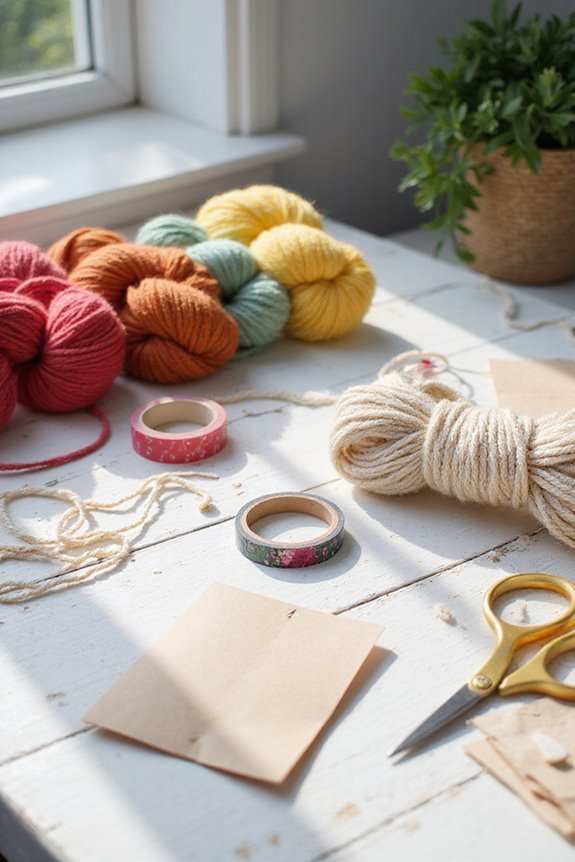
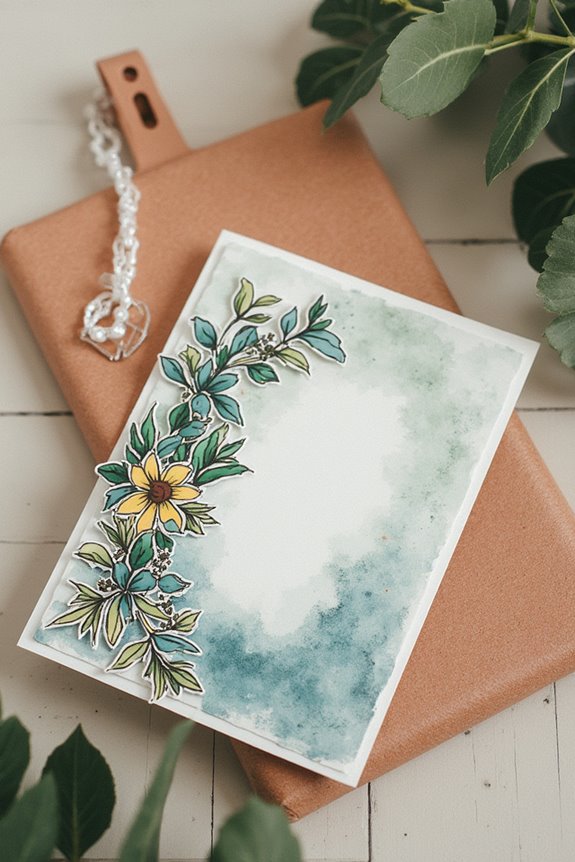
To make personalized handmade cards, we’ll need sturdy cardstock and vibrant patterned paper. Start with a paper trimmer for precise cuts, and use stamps with dye or pigment inks for unique designs. Employ foam tape for added dimension, and explore techniques like heat embossing for texture. Don’t forget to organize supplies using bins or labels for easy access. With a bit of creativity, we can craft meaningful cards. There’s so much more to explore for fantastic designs! 🎨✂
Key Takeaways
- Select high-quality cardstock and patterned paper to create a sturdy and visually appealing base for your personalized cards.
- Use custom stamps and a variety of inks to add unique designs and messages tailored to the recipient.
- Incorporate advanced techniques like heat embossing or layering with stencils to enhance the card’s visual interest.
- Utilize tools like a paper trimmer and scoring board for precise cuts and neat folds in your card design.
- Organize your crafting supplies effectively to streamline the process and easily access materials for multiple personalized cards.
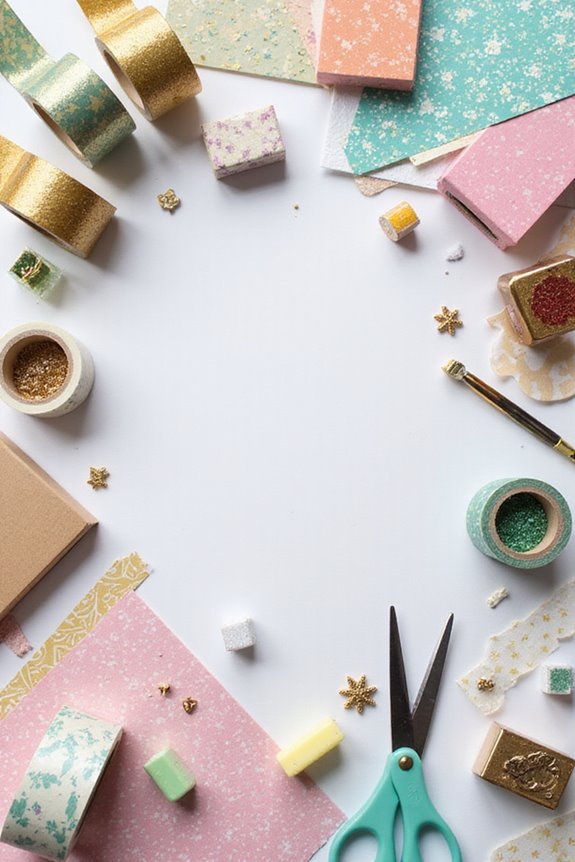
Essential Materials for Handmade Cards
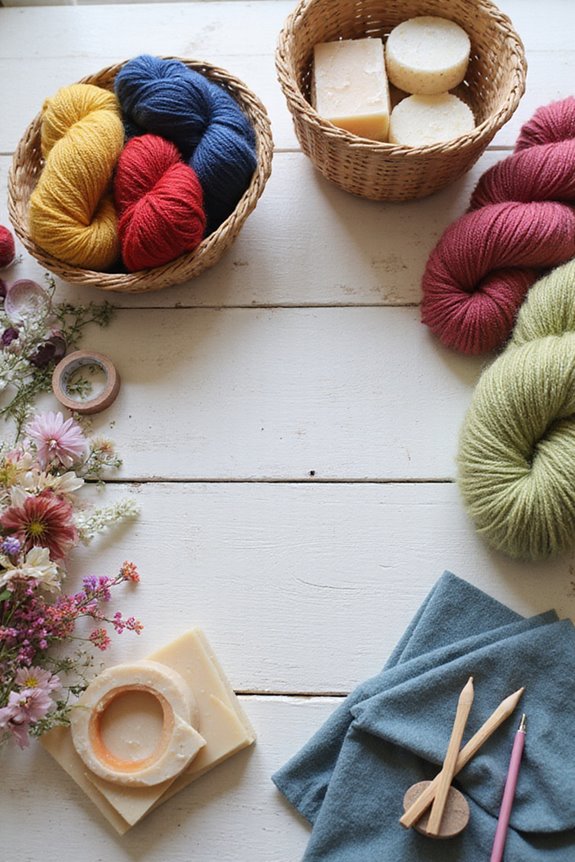
When we immerse ourselves in making personalized handmade cards, choosing the right materials is essential for achieving the best results.
First, let’s talk about cardstock varieties. A sturdy, high-quality cardstock is vital; black and white are staple colors, while vibrant hues help match specific themes. We can also use patterned paper to add visual interest.
Next, we need the right adhesive types. Double-sided tape, glue sticks, and liquid glue are perfect for securing layers and embellishments. For dimension, foam tape or dots are excellent choices, while glue pens help with detailed application. Additionally, incorporating high-quality vinyl stickers can enhance the overall design of the cards.
Lastly, clear acetate sheets let us create stunning shaker cards and overlays. With these materials, our cards will shine!
Choosing the Right Stamps and Inks
Creating personalized handmade cards doesn’t stop at choosing the right materials; selecting the right stamps and inks is just as important. Here’s what we need to know:
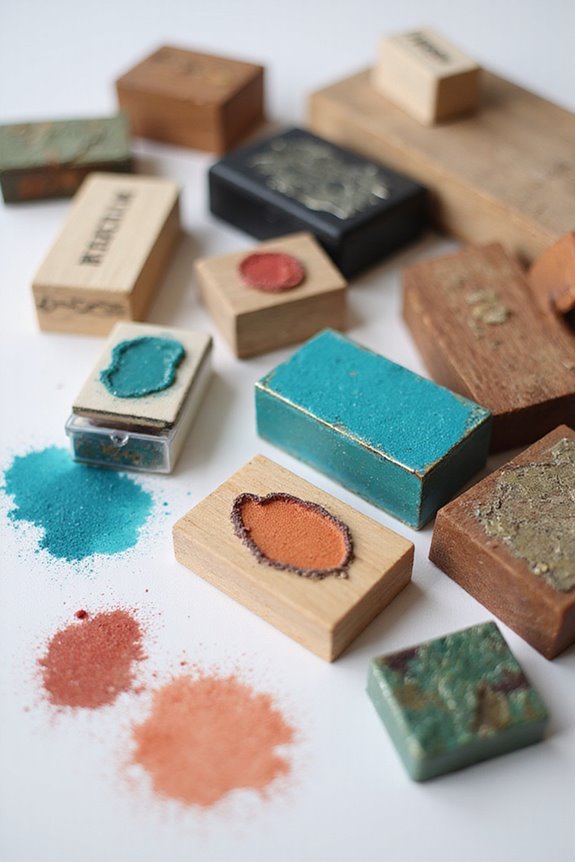
- Stamp Types: We can choose between rubber stamps, cling stamps, and clear photopolymer stamps. Each has its benefits, from traditional to modern applications.
- Ink Compatibility: Different inks suit different stamps. Dye-based inks dry quickly on porous papers, while pigment inks work well for detailed outlines.
When making our selections, consider the card design and stamp size. A good balance guarantees everything flows together nicely. Plus, custom stamps add a unique touch! 🌟
Additionally, using durable materials like beech wood or ABS plastic can enhance the longevity of our stamping tools.
Keep these factors in mind to accomplish stunning results with each card we create!
Tools and Equipment for Cardmaking
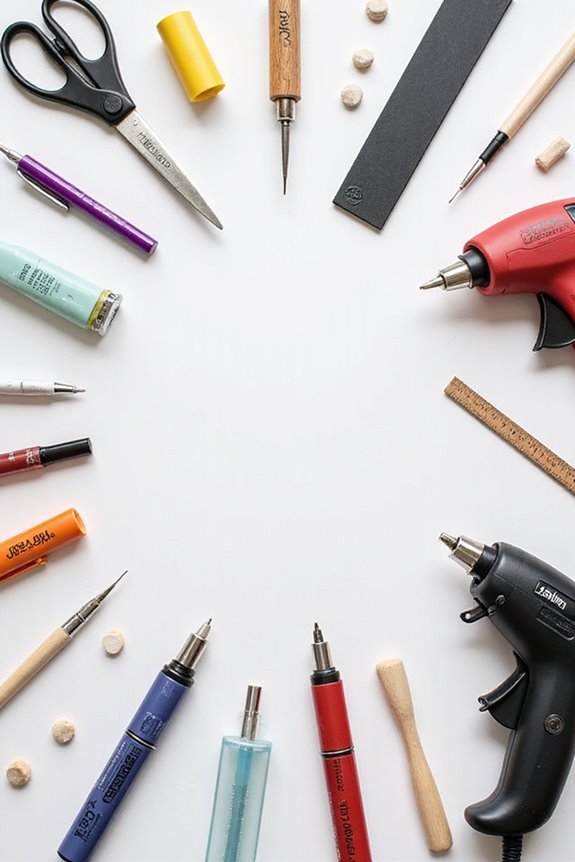
Having the right tools and equipment can make all the difference in our cardmaking experience. Let’s explore some essentials we shouldn’t overlook:
- Paper trimmer: For straight, precise cuts using various cutting techniques.
- Scoring board: This helps us create neat fold lines with scoring methods.
- Bone folder: It guarantees crisp folds without damaging our cardstock.
- Die cutting machine: Adds professional shapes and designs effortlessly.
Don’t forget the paper supplies! Use sturdy cardstock, colorful layers, and specialty papers for visual interest.
Finally, adhesive options like double-sided tape and repositionable sheets help us secure everything neatly. Additionally, consider using a self-healing craft mat for durability and protection during your cutting tasks to enhance your overall crafting experience.
Advanced Techniques to Enhance Your Cards
To elevate our cardmaking skills, we can explore advanced techniques that make our creations truly stand out. Here are some effective methods:
- Texture techniques: Try using relief paste or heat embossing for dimensional effects. Dry embossing adds subtle detail, while glitter embossing gives a sparkling touch. ✨
- Layering methods: Layer stencils for beautiful color blending, or use brayers for smooth ink application. The crayon resist technique creates vibrant patterns, and chalk enhances soft backgrounds. 🌈

Incorporating these advanced techniques elevates our cards, giving them depth and allure. Remember to experiment and practice, as mastering these methods takes time! Additionally, consider adding personalized designs to your cards for a unique touch that reflects the recipient’s interests. Don’t hesitate to combine techniques for unique results. Happy crafting!
Personalizing Your Card Design
When we think about personalizing our card designs, it’s essential to focus on the recipient’s tastes and styles. Using color psychology, we can choose hues that resonate personally, enhancing emotional impact. For instance, soft blues might suit a calm friend, while vibrant reds can energize someone spirited.
When it comes to sentiment selection, let’s pick greetings that mirror the occasion and relationship. Handwrite or select themed stamps to add a personal touch.
To keep our design cohesive, match ink colors with the overall color scheme. Incorporating elements like embossed patterns or small decorative accents can further enhance the card’s appeal. Additionally, using scrapbook journaling cards can add a unique and vibrant touch to your design, providing versatile options for personalization and creativity.
Tips for Organization and Efficiency in Cardmaking
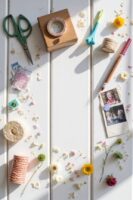
Organizing our cardmaking supplies can make a huge difference in streamlining our crafting experience. To maximize efficiency, let’s focus on effective card storage and categorization methods.
- Use plastic bins, drawer cabinets, or repurposed bookshelves to keep supplies accessible.
- Sort cards by occasion, season, or recipient to quickly find what we need.
- Implement laminated dividers or color-coded labels for easy navigation.
For bulk card creation, let’s save time by keeping a portion of frequently used cards near our workstation. Remember to maintain a consistent cleanup routine after each crafting session; this habit prevents clutter buildup.
Taking these steps will help us create our personalized handmade cards more efficiently, so we can truly enjoy the creative process! 🖌✨
Frequently Asked Questions
Can I Create Cards Without Using Stamps?
Absolutely, we can create cards without using stamps! By exploring various card techniques and alternative materials like die cuts, washi tape, and printed images, we reveal endless possibilities for unique and personalized designs that don’t require stamping.
What Is the Best Paper Type for Cardmaking?
Isn’t it essential to choose the right paper type for cardmaking? We’ve found that cardstock with the right thickness and texture guarantees durability while enhancing our design, making our creations truly stand out and feel professional.
How Do I Ensure Ink Dries Quickly on My Cards?
To guarantee ink dries quickly, we can use various ink drying techniques. Employing heat tools and thin layers provides quick drying solutions, while working in a warm environment enhances evaporation, preventing smudges and delays.
Are There Sustainable Options for Cardmaking Supplies?
Absolutely, there are eco-friendly materials available for cardmaking. We can use recycled paper and sustainable components, which not only reduce waste but also help protect our environment while creating beautiful, personalized cards together.
Can I Reuse Stamps, and How Do I Care for Them?
Like a painted canvas, our stamps can tell countless stories. By embracing proper stamp cleaning techniques and smart stamp storage solutions, we can guarantee their longevity, allowing us to reuse them creatively for every occasion.