To use brush pens for calligraphy, we need to master several key techniques. First, hold the pen lightly, about 45 degrees from the paper. ✏ For strokes, apply light pressure for thin lines and heavier pressure for thicker ones. Start with basic strokes like overturns and undeturns, practicing control and pressure variation. 📏 Using guidelines can help prevent jagged lines, making our letters smoother. Keep exploring to discover tips for blending colors and choosing the right paper!
Key Takeaways
- Select the appropriate brush pen type based on your skill level—soft tips for advanced techniques or hard tips for beginners.
- Grip the pen lightly and hold it slightly elevated to control pressure and maintain smooth strokes.
- Differentiate between thin upstrokes and thick downstrokes by varying pressure for dynamic lettering.
- Practice essential strokes like overturns and ovals regularly to build muscle memory and coordination.
- Maintain a consistent angle and use guidelines for alignment to achieve even, polished letters.
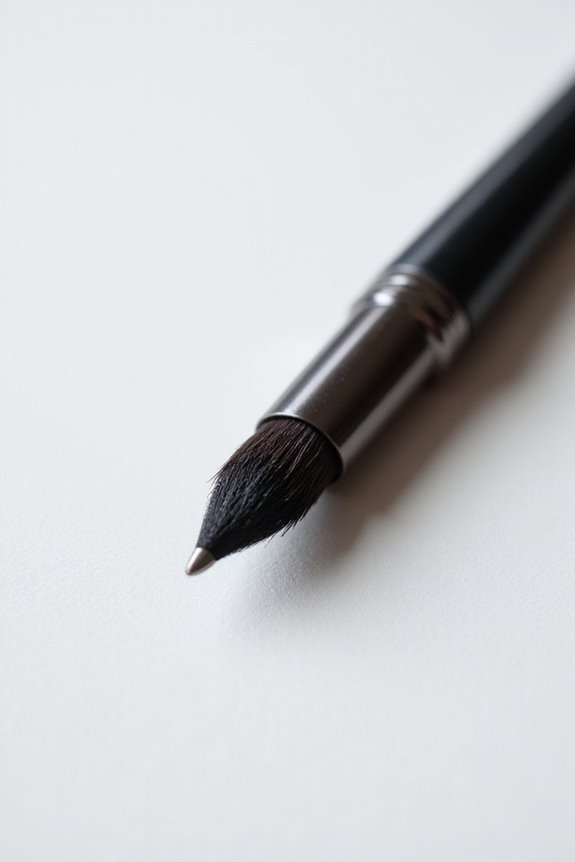
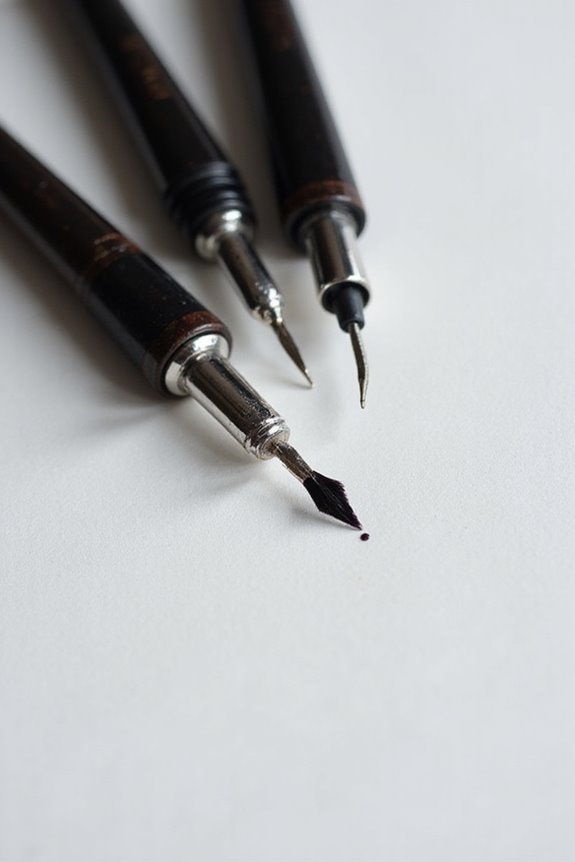
Understanding Brush Pen Types
When diving into the world of brush pens for calligraphy, it’s essential to understand the various types available. 🖌 Each type can greatly influence our writing experience, helping us create the beautiful letters we envision.
Brush pens primarily come in *soft tip* and *hard tip* options.
- Soft tips are flexible, allowing for dynamic strokes, but they require more skill to control.
- Hard tips provide a firmer feel, making them ideal for beginners seeking consistent lines.
Tip sizes also vary; fine tips allow for intricate details, while broad tips create bold strokes.
Some pens, like the Tombow dual brush pen, offer a combination of both soft and hard tips, giving us versatility in our artwork. Additionally, understanding the variety of hook sizes available in crochet can help enhance your overall crafting technique. Explore these options to find what suits your style!
Holding the Brush Pen Correctly
Next, let’s explore different grip styles. Gripping the pen lightly, while keeping it slightly up from the tip, allows for easy pressure variation. Using our pinky to stabilize our hand improves control.
Finally, make certain the pen is perpendicular to downstrokes. This position prevents uneven strokes, making our lettering look smooth and consistent. 🎨 With practice, these techniques will enhance our calligraphy! Additionally, applying ergonomic handles can significantly improve comfort during longer writing sessions.
Mastering Basic Stroke Techniques

Mastering basic stroke techniques is vital for anyone looking to elevate their calligraphy skills. 🎨 By focusing on the control of pressure and the variation in stroke thickness, we can create beautiful, fluid letterforms.
To achieve stroke consistency, it’s important to differentiate between thin upstrokes and thick downstrokes. Light pressure creates delicate lines, while heavy pressure forms bold strokes that contrast beautifully.
We should practice smooth stroke shifts by controlling our pen lifts and pressure. Gradually changing our pressure during strokes, like overturns and underturns, fosters fluid movements.
Consider these tips:
- Keep the nib at a consistent angle (~45 degrees).
- Practice basic strokes individually before combining them.
- Use guidelines to guarantee alignment and prevent jagged lines.
In addition, incorporating elements of design complexity into your practice can help you challenge yourself and enhance your skills.
With practice, we’ll see incredible improvements!
Practicing Essential Brush Calligraphy Strokes

Building on our understanding of basic stroke techniques, we’re ready to practice some fundamental brush calligraphy strokes. 🎨 Each stroke plays an essential role in forming the letters and connecting them seamlessly.
Let’s start with overturn strokes: begin with a thin upstroke, gradually increasing pressure into a thick downstroke. For undeturn strokes, reverse this by starting thick and evolving to a light upstroke.
Next, we’ll practice entry strokes: thin upstrokes that follow the slant guidelines. Don’t forget oval strokes, initiated from the right side, smoothly curving into a closed shape.
Finally, incorporating these into letterform connections enhances our skills. Use practice drills to combine these strokes in letters like “n” and “u,” while ensuring fluid changes. Remember, having the right tools like acid-free adhesives can help preserve your calligraphy projects over time.
Controlling Pressure for Stroke Variation
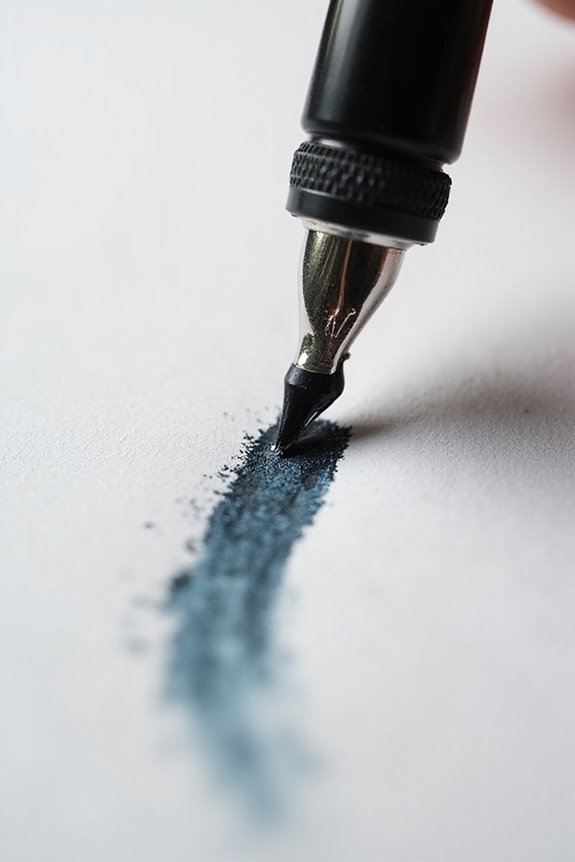
Controlling pressure is essential for achieving beautiful stroke variation in brush calligraphy. 🎨 As we apply different forces while writing, we can create thick downstrokes and light upstrokes that give our letters character.
To master pressure application techniques, let’s practice with deliberate strokes. Start with light pressure for thin upstrokes and gradually increase pressure for thick downstrokes. 🌟
- Hold your brush pen at about a 45-degree angle.
- Use your whole wrist and hand to control pressure, not just your fingers.
Engaging in muscle memory training is critical. Create multiple pages of strokes, varying your pressure from light to heavy. This practice helps us consistently apply the right pressure, enabling those expressive calligraphy features we admire! ✍
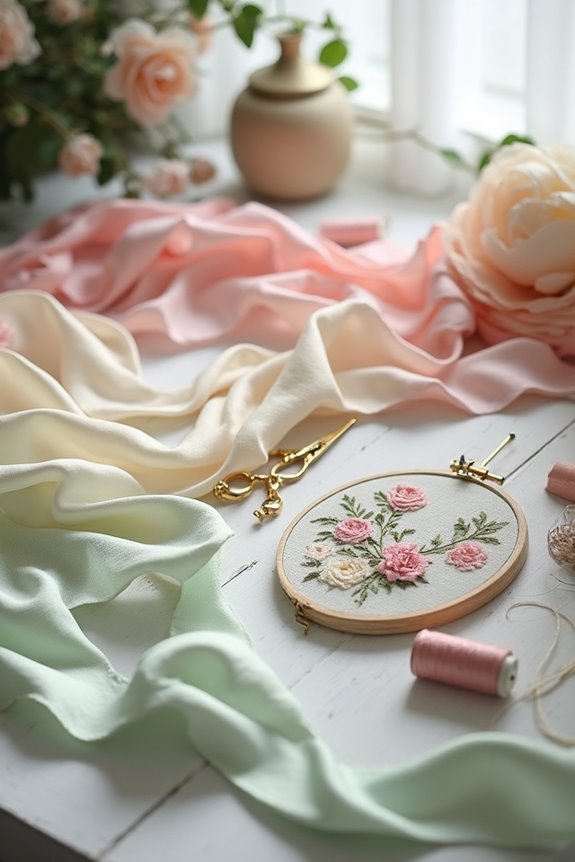
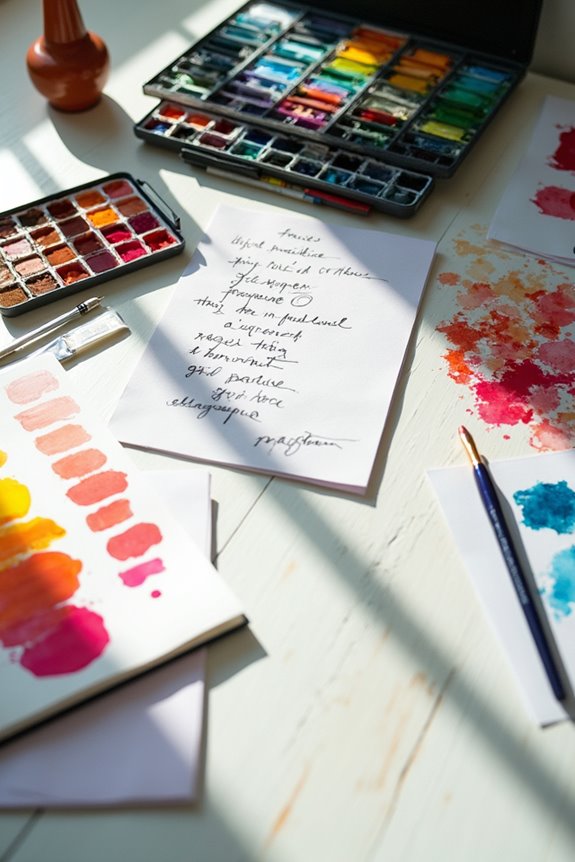
Techniques for Blending and Layering Colors
Let’s practice these techniques for dynamic, visually appealing calligraphy! 🌈 Additionally, utilizing a glass paint mixing palette can significantly enhance your blending and layering process by providing a smooth surface for mixing colors effectively.
Tips for Improving Your Brush Calligraphy Skills
- Warm-Up: Begin with some doodles to get comfortable with the pen.
- Drills: Practice pressure-release strokes and “coffee bean” shapes for rhythm.
- Stroke Patterns: Focus on thin upstrokes and thick downstrokes, especially for oval letters like “o” and “s”.
Also, consider creative layouts to incorporate stylish embellishments. Consistent practice is key, so let’s keep refining our technique and reviewing our progress regularly. Remember, every stroke is a step toward better calligraphy! ✨
Recommended Paper for Brush Pen Calligraphy
Finding the right paper for brush pen calligraphy can greatly impact our writing experience and final results. Here are some tips for effective paper selection:
- Smooth Paper: Look for smooth papers like Rhodia or Canson, as they minimize fraying and improve stroke control. 🖌
- Weight Matters: Heavier papers (around 100 lb/270 gsm) are durable and perfect for blending and final artwork. 📄
- Acid-Free: Use acid-free paper to preserve your artwork’s longevity, preventing discoloration over time.
- Avoid Textured Surfaces: Slightly textured paper can catch the nib, disrupting our flow.
In short, focus on smooth, acid-free choices with suitable weights, and you’ll see a positive texture impact in your calligraphy!
Frequently Asked Questions
How Do I Clean My Brush Pens After Use?
To clean our brush pens effectively, we should use mild soap and water. We’ll follow ink preservation techniques and guarantee we’ve got the right cleaning supplies ready, maintaining our pens for lasting creativity and vibrant results.
Can I Use Brush Pens on Textured Paper?
Can we really achieve our creative vision using brush pens on textured paper? While we can, it often leads to fraying tips and uneven results. Smooth paper is generally a better choice for ideal performance.
What Are Common Mistakes Beginners Make in Brush Calligraphy?
We often see beginners struggle with ink flow and letter spacing. Neglecting these fundamentals can lead to frustration and inconsistent results, so let’s focus on mastering control and spacing for smoother, more beautiful strokes.
How Often Should I Practice Brush Calligraphy?
Did you know practicing just 15 minutes daily can greatly boost our skills in just a month? For ideal skill improvement, let’s commit to a consistent practice frequency, focusing on those fundamental strokes!
Are There Any Specific Brands Recommended for Beginners?
When it comes to specific brands for beginners, we’ve found that Pentel, Tombow, and Zebra offer the best affordable brush options. These pens help us practice effectively without breaking the bank while honing our skills.