As an Amazon Associate, we earn from qualifying purchases. Some links on this site are affiliate links at no extra cost to you. Our recommendations are based on thorough research and editorial judgment.
How To Create Custom Scrapbook Albums
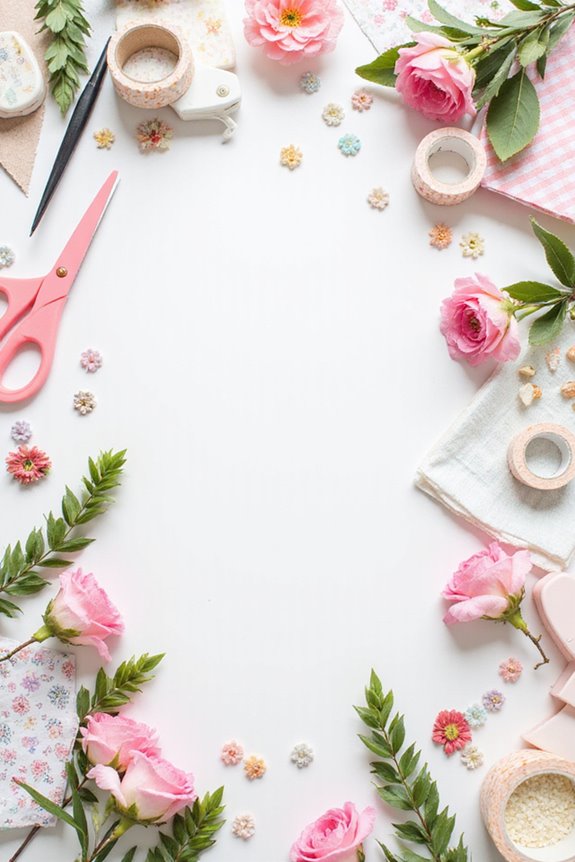
Creating custom scrapbook albums is fun and rewarding! First, let’s pick the right album style—D-Ring albums for flexibility or strap bound for durability. Use acid-free paper and adhesives to protect our photos. Don’t forget essential tools like paper trimmers and crafting tweezers for precision. For layout, align photos using the rule of thirds and add depth with layering. Finally, store completed albums in a cool, dry place for protection. Let’s explore more tips and techniques! 📚✨
Key Takeaways
- Choose the right album style and size, such as D-Ring for flexibility or 12″x12″ for larger projects.
- Select acid-free papers and decorative materials to ensure the longevity of your scrapbook pages.
- Utilize essential tools like paper trimmers, adhesive options, and crafting tweezers for precise and effective layout creation.
- Incorporate design techniques like grid alignment and layering to enhance visual appeal in your scrapbook.
- Organize completed albums chronologically or thematically and store them in cool, dry conditions for preservation.
Selecting the Right Scrapbook Album
When we start selecting the right scrapbook album, it’s important to contemplate several factors that can affect our creative process. First, let’s look at album styles. D-Ring albums are great for flexibility since we can easily add or remove pages. Strap bound styles, while durable, lie flat but offer limited updates.
Next, size considerations come into play. Common sizes include 12″x12″ for larger projects, or 8″x8″ for more portability. Remember, bigger albums need extra shelf space, while smaller ones hold fewer pages. When selecting a size, consider using 12″x12 scrapbook sleeves that enhance visibility and protect your memories.
To summarize, choose an album style that suits your creative needs and a size that fits your storage options. Happy scrapbooking!
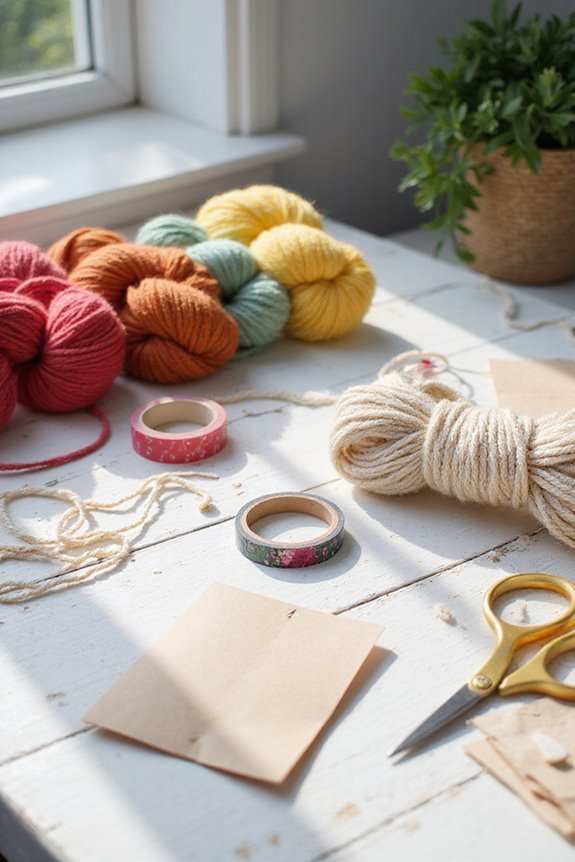
Essential Materials for Scrapbooking
Creating beautiful scrapbooks requires more than just creativity; we need the right materials to bring our visions to life. Selecting the right paper types is essential. We recommend using acid-free, lignin-free paper to prevent yellowing over time.
- Cardstock offers a sturdy base for pages and designs.
- Patterned papers can enhance themes and should also be acid-free.
For adhesive options, choose acid-free adhesives to keep photos safe.
- Double-sided tape works great for lightweight elements.
- For heavier items, try liquid glue or strong adhesives.
- Foam tape adds dimension, while washi tape is perfect for decorative touches!
Additionally, incorporating high-quality vinyl stickers can elevate your scrapbook aesthetics and add a personalized touch.
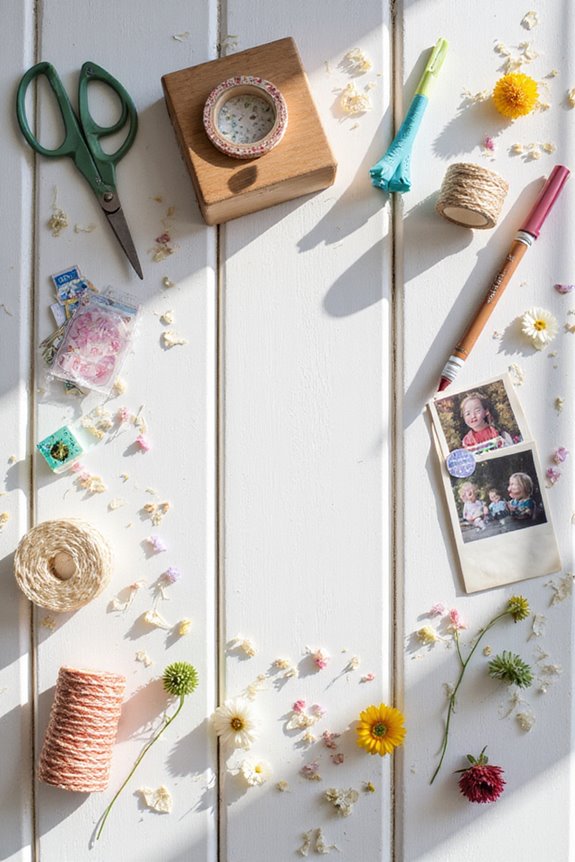
Basic Tools for Crafting Your Pages

Having the right tools is just as important as selecting materials when we craft our scrapbook pages. Here are some essentials we can’t overlook:
- Paper Trimmers: These help us cut our papers to the right size with clean edges. For best results, choose one with a ruler for accurate measurements. ✂
- Cutting Mats: Protect our work surfaces and keep our blades sharp. A self-healing mat is ideal for repeated cuts.
- Adhesive Tools: Glue sticks or tape runners securely attach our embellishments and photos. Make sure they’re acid-free to preserve our pages! Acid-free certification is essential for maintaining scrapbook integrity over time.
- Crafting Tweezers: These precision tools help us place tiny embellishments without damaging our pages. 🤏
With these basic tools, we’re well on our way to creating stunning scrapbook pages!
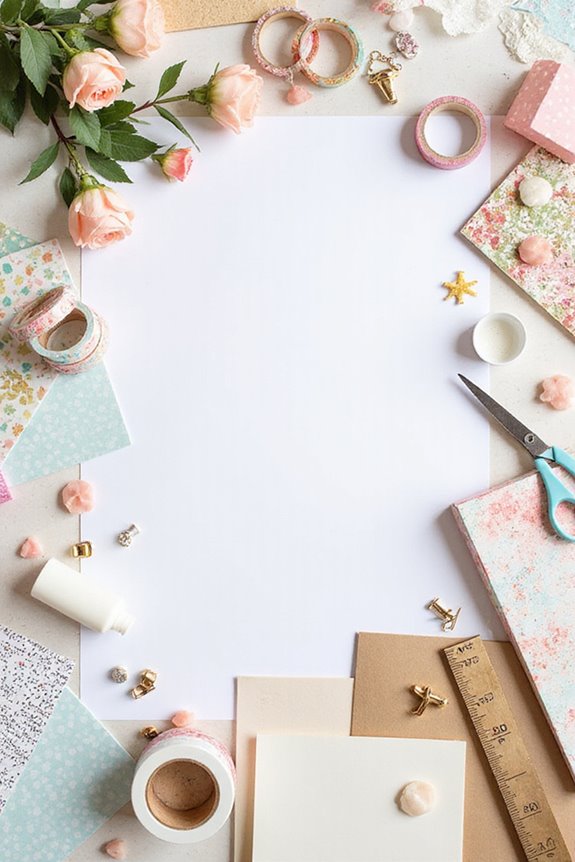
Designing Your Scrapbook Layout
Designing a scrapbook layout is an exciting part of the crafting journey where creativity meets organization. To start, let’s implement grid alignment, which helps us line up photos and memorabilia neatly. We can leave small “eyelines” for visual separation, making our layouts clearer and more structured.
Next, consider using layering techniques; we can create depth by stacking patterned paper or using foam tape for die-cuts.
For a balanced design, use the rule of thirds by positioning focal images near intersection points. This creates dynamic layouts and maintains viewer engagement.
Lastly, incorporating sketches gives us a foundation for placement, saving time while allowing for personal flair. Additionally, using durability and smooth texture in your materials ensures that your scrapbook stands the test of time. Let’s build beautiful, cohesive pages together!
Adding Personal Touches and Embellishments
While we’re diving into the world of personal touches and embellishments, let’s remember that these elements can truly elevate our scrapbook pages. To achieve thematic cohesion, we should choose embellishments that align with our overall color scheme and story.
Here are some fun embellishment techniques to try:
- Layering stickers with sequins for depth.
- Mixing textures like ribbons and chipboard for visual interest.
- Creating borders with washi tape for a structured look.
Don’t forget to use items like brads and clear stickers to add dimension without bulk. Additionally, consider using project bags with a 2-layer pocket system to keep your embellishments organized and easily accessible. By balancing these elements properly, we can keep our pages harmonious and visually appealing. Happy crafting!
Organizing and Storing Your Completed Albums
To keep our completed scrapbook albums safe and accessible, we should follow some basic storage and organization guidelines. First, let’s maintain a cool environment at or below room temperature to prevent deterioration. Aim for 35% humidity to avoid moisture damage or mold growth.
For album accessibility, we can store smaller albums upright on open shelves, while larger ones should lie flat for support. Use acid-free, archival boxes, wrapping albums in acid-free paper for extra protection. Let’s organize albums chronologically or thematically to streamline access.
Don’t forget to keep extra page protectors inside their albums and use labeled storage bins for a tidy look! Regularly check for damage to guarantee our precious memories stay beautifully preserved. 📚✨
Frequently Asked Questions
How Do I Choose a Theme for My Scrapbook Album?
When we’re choosing a theme for our scrapbook album, let’s consider color schemes and personal stories. These elements often reflect our shared experiences, making the album not just beautiful, but deeply meaningful to us.
What Size Photos Work Best for Standard Scrapbook Pages?
We’ve found that photo sizes like 4″x6″ and 5″x7″ work best for standard scrapbook pages, offering great layout options. They balance well with space for embellishments and journaling, ensuring a visually appealing design.
Can I Use Digital Elements in My Scrapbook?
We can’t imagine using digital elements in our scrapbooks, right? But digital scrapbooking opens a world of creativity! Combining techniques for hybrid scrapbooks lets us enjoy the best of both digital and traditional worlds.
How Do I Preserve My Scrapbook for Long-Term Storage?
To preserve our scrapbook for long-term storage, we should use acid-free materials and keep it in archival storage. We’ll maintain ideal temperature and humidity levels to slow deterioration and protect our cherished memories.
What Are Popular Scrapbook Album Themes?
When we think about popular scrapbook album themes, holiday memories and travel adventures come to mind. They beautifully capture the joy of experiences, allowing us to cherish those special moments for years to come together.