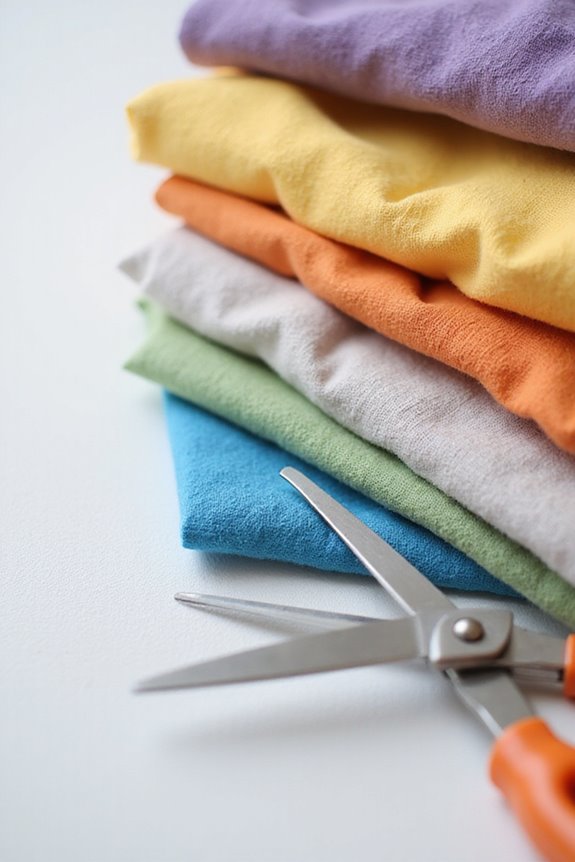
To make personalized fabric banners, we start by selecting the right fabric like weather-resistant polyester or vinyl-coated canvas for durability. Next, we’ll cut our fabric pieces, aligning layers for even cuts. Using a straight stitch, we can sew hems with a consistent seam allowance of 1/4 to 1/2 inch. For quick options, consider fabric glue or iron-on tape! Don’t forget to add grommets for hanging and weigh the bottom for stability. Let’s explore more creative options! 🎨✨
Key Takeaways
- Choose the right fabric, like polyester for indoors or vinyl-coated canvas for windy outdoor conditions, to ensure durability and visual appeal.
- Use high-quality fabric, such as Aida cloth, and ensure to trim selvage edges for a neat foundation before starting the banner.
- Utilize sewing techniques like straight stitching and backstitching for strong seams, or opt for no-sew methods with fabric glue or iron-on tape for quick results.
- Enhance your banner with finishing touches like hemming for durability, grommets for hanging, and decorative elements for added visual interest.
- Personalize your design by strategically placing messages, graphics, or images, ensuring vibrant colors and sharp prints by choosing tightly woven fabrics.
Selecting the Right Fabrics for Your Banner
When we’re selecting the right fabrics for our banners, it’s important to contemplate various factors that impact both appearance and durability. Here are some tips on fabric durability and print quality:
- Polyester canvas is highly resistant to weather, making it perfect for outdoor banners.
- Vinyl-coated canvases offer extra tear strength, essential for windy environments.
- For indoor banners, 100% polyester fabric delivers vibrant colors with excellent washability.
Remember, fabric thickness matters! Medium-weight options balance durability with color display. Tightly woven fabrics enhance print sharpness and brightness. Additionally, consider using self-healing craft mats to protect your cutting tools and ensure precise cuts when working with fabrics.
🏷 In conclusion, choose based on your needs, whether it’s for impact or longevity. Making the right choice sets the foundation for an eye-catching banner!
Cutting and Preparing Fabric Pieces
If we’re cutting multiple layers, align them neatly, and trim off any selvage edges. This guarantees even pieces and fabric stability.
Remember to lay everything flat before cutting and use pins or clips to keep layers secure. Following these layering techniques will help us achieve a professional finish! 🪡 Additionally, using high-quality Aida cloth can enhance the overall look and durability of your personalized fabric banners.
Essential Sewing Techniques for Banners
Creating personalized fabric banners involves various essential sewing techniques that can really elevate our project. First, we typically use a straight stitch to join pieces and secure hems, ensuring banner durability. Consistent seam allowance of 1/4 to 1/2 inch guarantees neat edges.

🧵 For extra support, we can employ backstitching at seams’ beginnings and ends.
Next, we’ll fold fabric edges under twice for clean hems—pinning or clipping helps keep everything aligned. Using bias tape on raw edges not only reinforces but also adds decorative flair.
🌟 Finally, we should remember to press our seams flat to enhance bond strength. With these sewing techniques, our banners will not only look great but also stand the test of time! Additionally, using high-quality materials like beech wood or bamboo for hoops can ensure longevity and durability in any banner project.
No-Sew Methods for Quick Banner Creation
We’ve covered some handy sewing techniques for creating durable fabric banners, but let’s explore some quick and fun no-sew methods. Using no sew adhesives, we can create personalized banners in no time!
- Fabric glue is perfect for lightweight materials.
- Iron-on hemming tape bonds fabric edges neatly and quickly.
- Felt is great since it doesn’t fray; just cut shapes and letters easily.
To assemble, try folding fabric over string with iron-on adhesive for a clean finish. It only takes a single ironing step! For a fast option, use peel-and-stick fabric sheets to attach elements instantly. Additionally, consider using non-toxic, water-based formulas to ensure a safe crafting experience for all ages.
Decorating Your Fabric Banner
Decorating your fabric banner can be an enjoyable way to express your creativity and add a personal touch. 🖌 When we think about embellishments, it’s helpful to contemplate various techniques that can transform a simple banner into a stunning piece of art.
- Color Combinations: Choose fabrics that complement each other, mixing patterns for a dynamic look.
- Texture Contrasts: Incorporate elements like burlap alongside smooth cotton for an enchanting visual experience.
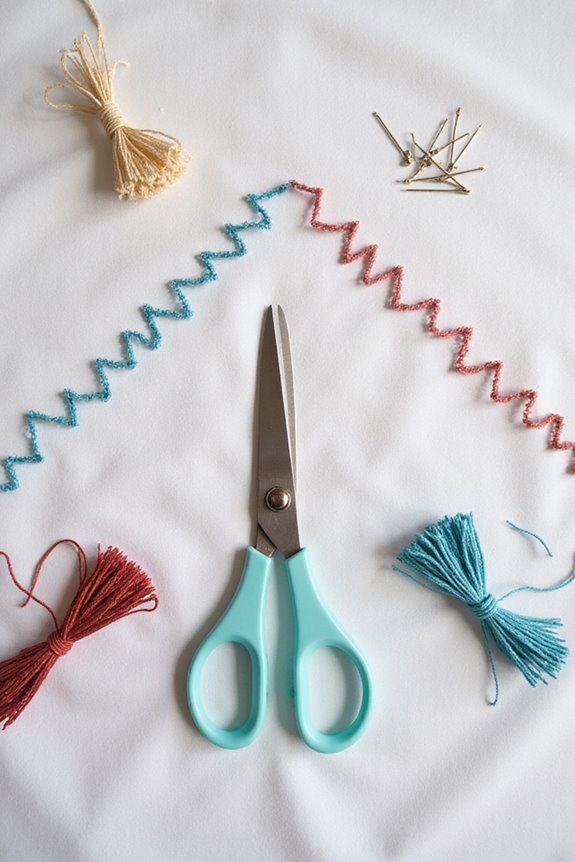
Consider using appliqué shapes or lettering to personalize your banner further. We can apply fabric paint or dye, just remember to let layers dry to avoid smudging. Don’t forget to add ribbons, buttons, or clothespins for extra flair! Each detail contributes to a unique, eye-catching banner. 🎨 Additionally, using high-quality yarn can enhance the overall appearance of your banner project by ensuring neat and crisp edges.
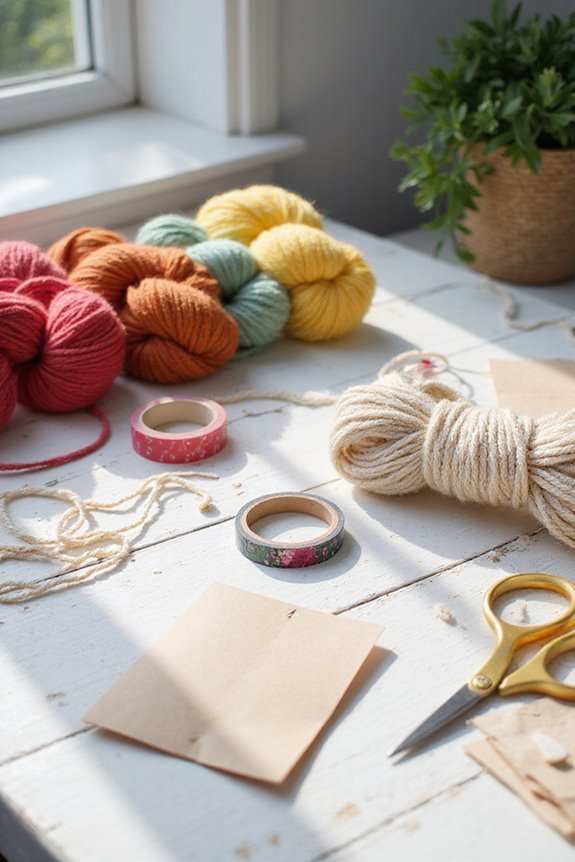
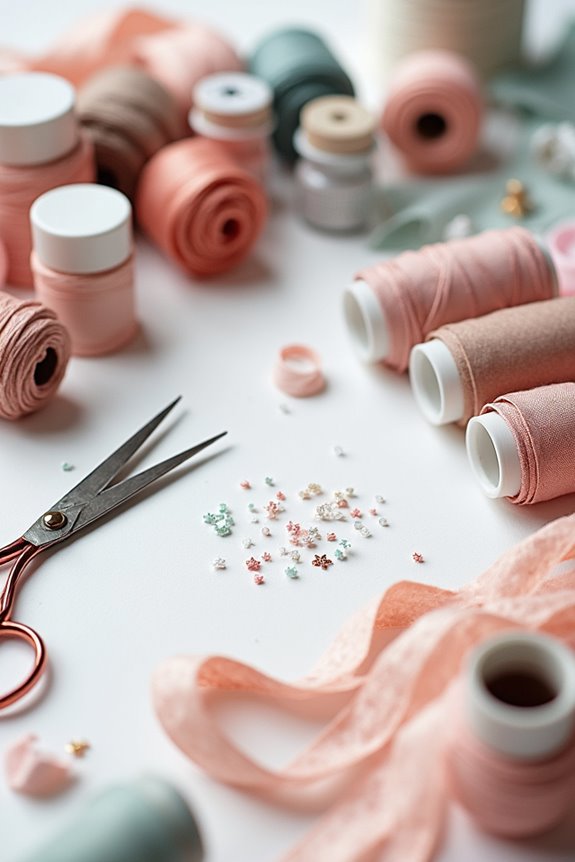
Tools and Materials You Will Need
Before diving into your project, let’s gather the essential tools and materials needed for crafting personalized fabric banners. 🛠 Whether you’re a beginner or more experienced, having the right supplies makes the process smoother and more enjoyable.
Tools Overview:
- Scissors or Rotary Cutter: For clean cuts.
- Acrylic Ruler & Tape Measure: To measure and cut accurately.
- Sewing Machine & Thread: For assembling layers.
Materials Checklist:
- Cotton or Canvas Fabric: Choose based on desired style.
- Fabric Paint & Markers: For customization.
- Jute Twine: To string your banner.
- Iron-on Adhesive: For no-sew options.
Gathering these tools and materials guarantees we can express our creativity without interruptions. Let’s get started!
Assembling and Hanging Your Banner
As we immerse ourselves in assembling and hanging our personalized fabric banner, it’s essential to concentrate on the right techniques to guarantee it looks great and stays securely in place. 🏗 First, we must decide on the hanging method that best suits our design and location. Options include:
- Single dowel hanging for a classic look.
- Double dowel for added stabilization against wind.
- Pole pockets to evenly distribute weight.
Consider using grommets for secure fastening, inserting zip ties or bungee cords for flexibility. 💡 To assure banner stabilization, we should weigh the bottom or use decorative elements for added support. Always check that our banner hangs taut to avoid wrinkles. Together, we’ll create a stunning and resilient display!
Finishing Touches for a Professional Look
To achieve a polished and professional look for our personalized fabric banner, we should focus on finishing touches that enhance both durability and aesthetics. 🪄 Whether it’s through careful hemming, edge treatments, or adding grommets, these details are essential.
- Hemming Techniques: We can sew or weld edges for strong, durable finishes.
- Edge Treatments: Clean cut edges are sleek but may lack edge durability. Hemming provides better longevity.
- Grommets and Attachments: Adding grommets every 2 feet will reinforce hanging points and prevent tears.
Implementing these finishing touches will not only boost our banner’s professional aesthetics but also guarantee it stands strong against environmental stressors. Let’s dedicate time to perfect these details for impressive results! 🎉
Tips for Displaying Your Banner Effectively
How can we make certain our personalized fabric banner stands out in any setting? First, let’s focus on location selection. We should pick a spot with high foot traffic and make sure the background contrasts with our banner colors. Avoid cluttered areas that can distract from our message.
Next, we can use effective mounting techniques. Using tension fabric frames keeps the banner taut and wrinkle-free, showcasing a professional appearance. For outdoor displays, reinforce fabric with grommets and weighted bases to combat wind. Additionally, adjustable stands can help optimize height and angle.
Finally, always test visibility from different distances. By following these tips, our banners will be eye-catching and engaging for everyone! 🎉
Frequently Asked Questions
What Are the Best Themes for Personalized Fabric Banners?
Did you know 80% of attendees remember events with personalized touches? For birthday celebrations, we love vibrant themes; for wedding receptions, elegant florals capture feelings beautifully. Choosing the right theme makes all the difference!
How Do I Wash My Fabric Banner After Making It?
When washing our fabric banner, we should use gentle techniques, like hand washing or a delicate cycle, with mild detergent. Prioritizing fabric care guarantees it stays vibrant and retains its beautiful design for future use.
Can I Use Recycled Materials for My Banner?
Absolutely, we can definitely use recycled materials! Embracing eco-friendly options not only helps reduce waste, but it also showcases sustainability. Let’s create vibrant banners that speak to our commitment to a greener planet together!
How Can I Create a Banner for Outdoor Events?
To create a banner for outdoor events, we should focus on durable outdoor materials combined with effective weatherproofing techniques. This guarantees our banner withstands the elements while maintaining its vibrant appearance throughout the event.
What Is the Best Way to Store My Fabric Banner?
When it comes to banner storage, we should roll or fold our fabric carefully, using acid-free tissue for preservation. Keeping them in a cool, dry place guarantees longevity and maintains fabric integrity for future use.